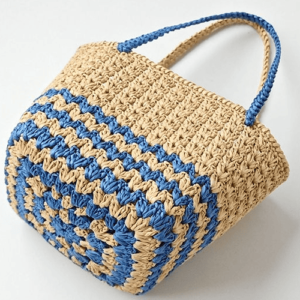
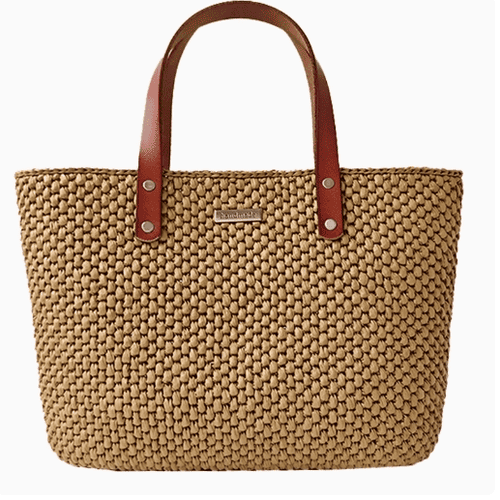
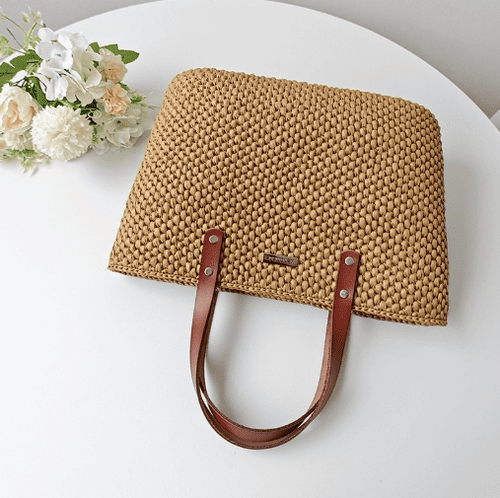
Straw Tote Bag Crochet Kit
$49.99
When the goal is to design a piece that is both attractive and functional, the Straw Tote Bag Crochet Kit fits the bill nicely.
It includes all the necessary materials-straw yarn, the right hook, sturdy handles, a magnetic clasp, and even a handmade marker-so there no last-minute hunt for extras.
Step by step, the calming rhythm of the stitches reminds us that were not just following a pattern; were building a bag we will actually carry and show off.
Because the instructions are clear and the tools are provided, the kit suits total newcomers and seasoned crocheters, guiding everyone toward a lightweight, sturdy tote.
In the end, creating this piece transforms a collection of fibers into a dependable handmade statement.
Description
Table of Contents for straw tote bag crochet kit
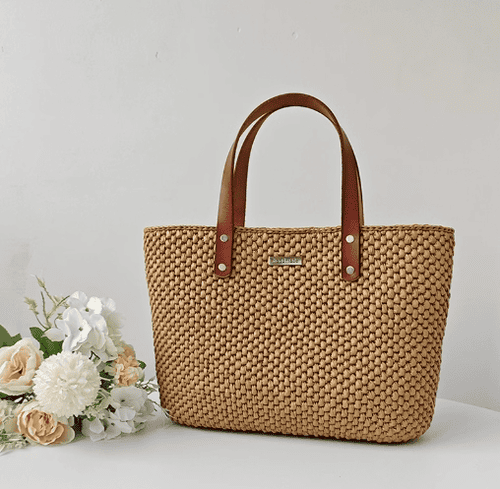
Straw tote bag crochet kit : If you are anything like us, you love mixing creativity with real-world usefulness. That sweet combo is what makes a crocheted straw tote so special-an eco-friendly, eye-catching carry-all that shines at summer picnics, beach days, or trips to the neighborhood farmers market.
In this easy guide, well take you through every step of making your own bag, from gathering supplies and learning basic stitches to playful tweaks and simple care tips. By the end, you will feel ready and excited to hook up your new favorite go-to accessory.
Why we keep coming back to straw tote bag?
We keep coming back to these bags for a bunch of good reasons:
🌿 Earth Friendly Natural raffia yarn breaks down after use, so our hobby leaves less waste behind.
👜 Cute and Tough The open weave looks fresh, yet the thick fibers hold up to novels, sunscreen, and even a light grocery run.
🧘♀️ Calm and Satisfying Stitching the pattern is meditative, and strutting around with a bag we made ourselves always boosts our mood.
Straw tote bag crochet kit
✔ 2.5mm or 3.0mm Hook-select the size that matches your preferred tension and yarn weight.
✔ Raffia Yarn-minimally processed, textured fibers provide a rustic, refined finish to the bag.
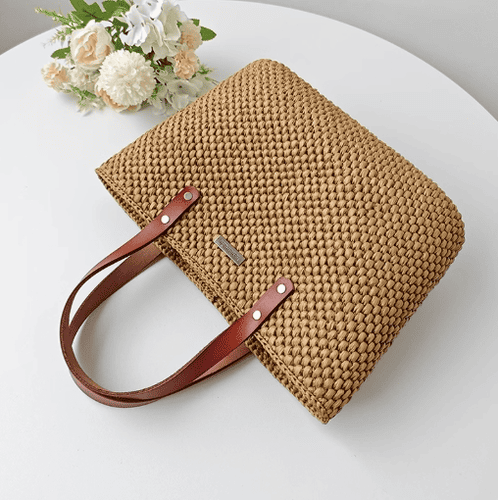
✔Base of bag– A firm, evenly stitched circle worked in the oval that make the tote and keeps it standing.
✔ Marker tracks the first stitch of each round, ensuring straight, even rows.
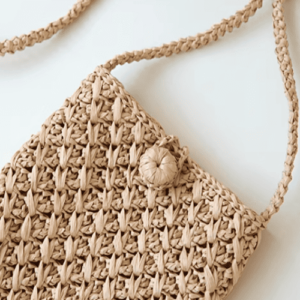
✔ Handmade Marker charms the project while serving as a practical, attractive detail.
✔ Magnetic Buckle simply draw the two sides together and the bag snaps shut with a satisfying click.
✔ Cowhide Handle sturdy, supple leather echoes the handmade ethos and stands up to daily use.
✔ Yarn Needle large eye make weaving in ends and stitching seams effortless.
Crochet bottom of straw tote bag
Corners: In each corner hole- 20 in total- work three single crochet stitches to forge a smooth, rounded curve.
Front : Along each hole-30 in total – two single crochet stitches in each hole, keeping the seam even.
Altogether, 124 stitches encircling the bag base.
The we use invisible slip stitch to finish round 1
1️⃣ Finish the Last Stitch of the Round
Work your last stitch in the round as you normally do. Then, carefully lift the loop off the hook so it stays put—just tug it up a little so nothing unravels.
2️⃣ Insert Hook Into First Stitch
Take your hook and slide it front to back under both loops of the very first stitch, right where you usually join with a slip stitch.
3️⃣ Grab the Working Loop
Now hook that working yarn you set aside earlier and pull it through to the back side of the piece.
4️⃣ Adjust Tension
Give the yarn a light tug until the new stitch sits level with its neighbors. If done right, it should look like a smooth spiral with no noticeable seam.
Also we make how to crochet base and body of bag, please check it for your reference.
Crochet Body of straw tote bag
✓ Round 2: Single crochet 124 times all the way around so the stitch count stays even.
✓ Round 3: (single crochet , extrended single crochet) repeat 62 times, the 124 stitches around the circle.
✓ Round 4: (extrended single crochet, single crochet) repeat 62 times, the 124 stitches around the circle.
✓ Rounds 5-48: Keep alternating Round 3 and Round 4– until you finish up at Round 48.
✓ Rounds 49:Slip stitch 124 times all the around.
Crochet two piece for magnetic buckle
Rounds 1: Put 10 chains (CH) in first step so you have a sturdy base.
Rounds 2-16: In every one of these rounds, just place 10 single crochets (sc) all the way around.
Install the magnetic buckle on the piece
When you finish crocheting the main piece, it s time to add the magnetic clasp.
Take the pointed end of the clasp and push it carefully through the fabric.
Then fold that end down flat so it sits snug and won t catch on anything.
Sewing the piece
Once our crocheted piece are done, First, we line up the edges so the colors and stitches line up just right. With a yarn needle and the same color yarn, we use a easy whip stitch, keeping the tension steady, so the seam is strong and tidy.
Put the piece to sewing on the bag
Once the crochet piece is complete, we attach it to the body of the bag. When we start sewing, we make sure the edges are perfectly aligned.
Using a yarn needle and matching yarn, we sew the piece evenly to the bag body, moving slowly to ensure a firm and neat seam.
After sewing, we conceal yarn end inside the bag to keep the finished product neat and beautiful.
Install the handle on the bag
Once the main body of the bag is completed, the cowhide handles are attached to enhance both functionality and visual appeal. Each handle is centered on its designated edge, and alignment is verified with a straight edge to maintain symmetry.
Next, brass hardware is secured at multiple anchor points, distributing tensile load evenly and preventing future sagging or deformation.
Throughout the installation, frequent line-of-sight inspections confirm that the grip angle remains ergonomic, assuring that the finished bag will feel comfortable in a user’s hand.
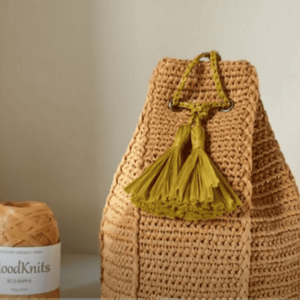
Install the handmade marker
To enrich the bag’s character, we affix the handmade tag in a deliberate yet unobtrusive manner.
It is placed in a location—generally adjacent to the handle or centred on the front panel—where the detail can be easily noticed without overwhelming the silhouette.
The marker is then sewn or fastened with precision so that it remains both attractive and securely anchored.
Finally, a quick inspection ensures that the tag drapes evenly and harmonizes with the bag’s overall aesthetic.
Also we make how to crochet piece and sew the bag and install handle and handmade marker of video for your reference.
Reference sources
1.Learn the most comprehensive guide for single crochet(sc)
Author:Sarah Stearns
Publication date: on June 15, 2021, updated:December 14, 2024
Title: How to single crochet (sc)for beginners
Summary as blow:
- Step-by-Step Single Crochet for Beginners
- Single Crochet into a Foundation Chain
- Single Crochet into another Row
- Single Crochet in the Round
- Increases and Decreases
- Working Single Crochet in Different Loops