


Peanut Crochet Pattern Step-By-Step Tutorial
Peanut crochet pattern :The rounded outline of the peanut may be achieved via singular crochet techniques of increases and decreases. To form the bottom shell of the peanut, we mostly begin the crochet from the top half.
In order to achieve a more lifelike appearance, we employ light brown yarn and create textural borders using front loop stitches.
To maintain the classic, a full form shape it’s typically stuffed with filling fiber. With careful planning, pull out the stems for 4 rows of peanuts to make charming curves.
Grab your yarn and hooks; let’s create something cute and crazy together!
Table of Contents for peanut crochet
Material kit of peanut crochet
- Hook: 3.0mm
- Stuffing: (polyester fiberfill)
- Yarn(light brown )
- Yarn needle
- Marker
List of necessary tools
- Scissors
Abbreviation for peanut crochet pattern
These are the required abbreviations for peanut crochet pattern
- ch = Chain stitch
- sc = Single crochet
- sl =Slip stitch
- st(s) =Stitch(es)
- mc =Magic circle (or magic ring)
- R=Round
- inc=Increase
- dec=Decrease
- BLO=Through back loops only
Best selling products
-

Raffia Cross Pattern Basket Handbag Kit
$19.99 -

Hexagonal Bucket Bag Kit
$29.99 -

Raffia Handbag Kit
$29.99 -

Hammock Bag Kit
$29.99 -

Wheat Bucket Bag Kit
$19.99
Tips
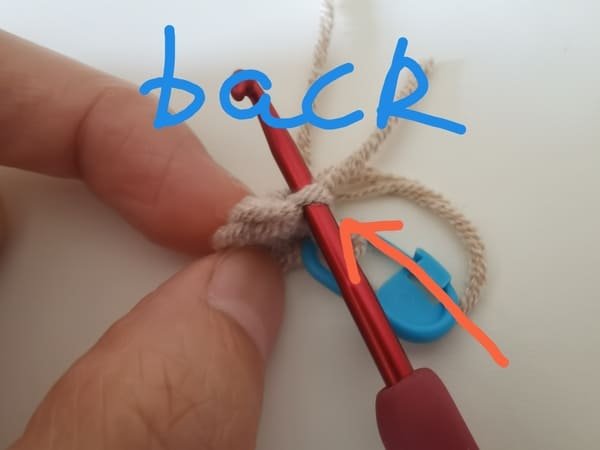
In order to achieve a more lifelike appearance.we use crochet BLO from round 2 to round 18.
For back loop only (BLO), we take the loop which is farther from us, the back loop for peanut crochet.
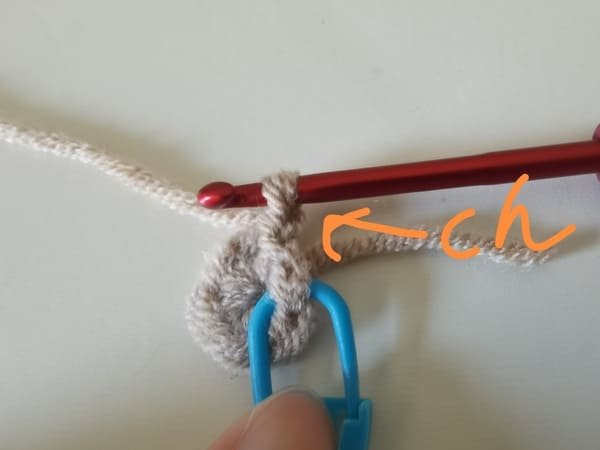
The crochet chain stitch is needed because it aids in starting new rounds, sustains height, keeps edges even, maintains shape, and avoids gaps in the tidy and structured arrangement.
Crochet the main body (rice )for crochet pig
- R1: 6 sc in to magic ring (6)
- R2: BLO(inc,sc,inc)*2(10)
- R3: BLO(4sc,inc)*2(12)
- R4 : BLO(2sc,inc)*4(16)
- R5: BLO(3sc,inc)*4(20)
- R6-R7: BLO20sc(20)
- R8: BLO(3sc,dec)*4(16)
- R9: BLO(6sc,dec)*2(14)
- R10: BLO14sc(14)
- R11: BLO(6sc,inc)*2(16)
- R12: BLO(3sc,inc)*4(20)
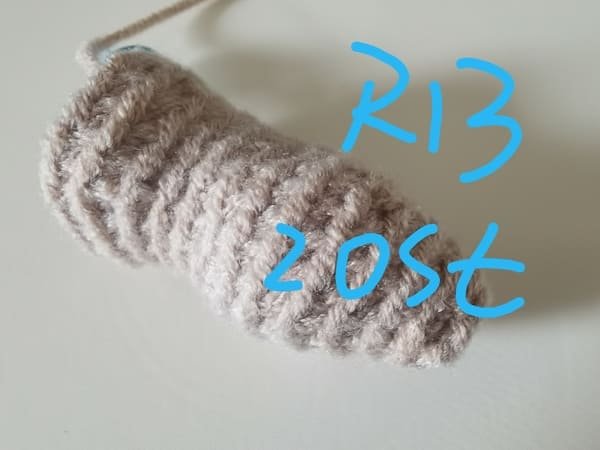
- R13-R14: BLO20sc(20)
- R15: BLO(3sc,dec)*4(16)
- R16: BLO(2sc,dec)*4(12)
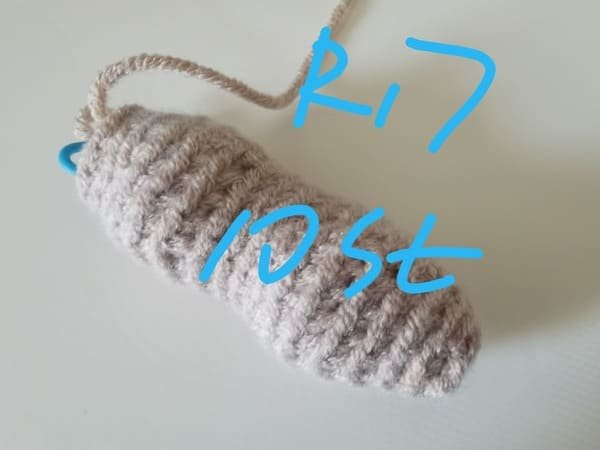
- R17: BLO(4sc,dec)*2(12)
- Fiberfill
- R18: BLO(dec,sc,dec)*2(6)
- 20ch for hand carrying
- 4 stem for peanut
Create a magic ring and do six single crochets in it.
In the explanation above yarn end of magic rings can be tight with fingers of towards the left hand while the right hand pinches the fabric. This helps create the center of the ring or part of it the middle.
Want to learn magic ring , please click:How To Crochet Magic Ring ? l Step-By-Step l Video & Text &Photo
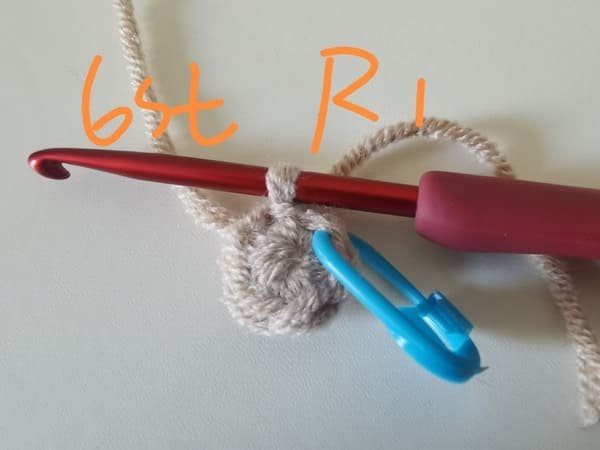
Slip Stitch: It will be done with a hook passing through the first yellow v stitch. A yarn over will be done and pulled with the two outer strands resting on the hook. This yields us one loop which is slip stitch.
After the slip stitch (sl) we are left with 6 stitches for round 1.
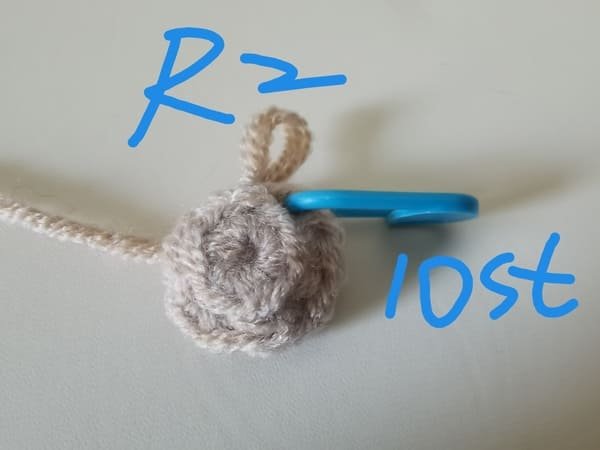
Crochet order: BLO( inc,sc,inc)repeat 2 times.
After the slip stitch (sl) we are left with 10 stitches for round 2.
It should be noted that we need to strictly follow the corchet order.
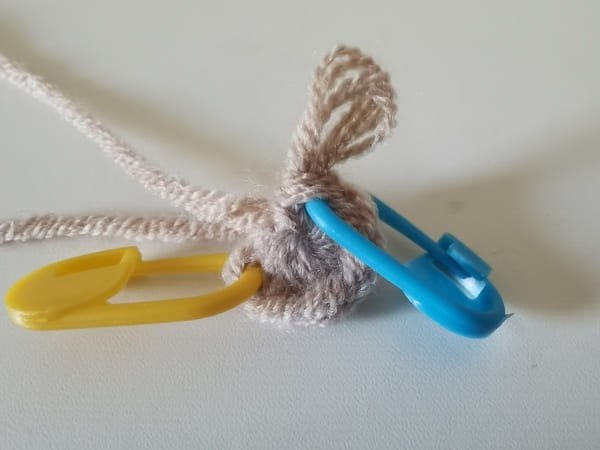
After completing each round of crocheting, we must also check from the stitch count of the yellow mark button to the stitch count of the blue mark button to see if it is consistent with the total stitch count of this round.
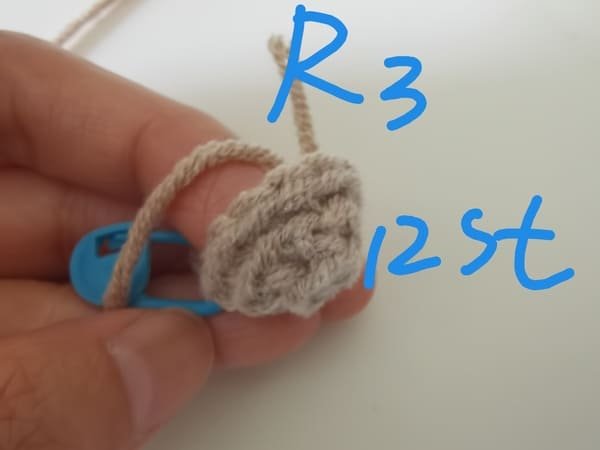
Crochet order: BLO( 4sc,inc)repeat 2 times.
After the slip stitch (sl) we are left with 12 stitches for round 3.
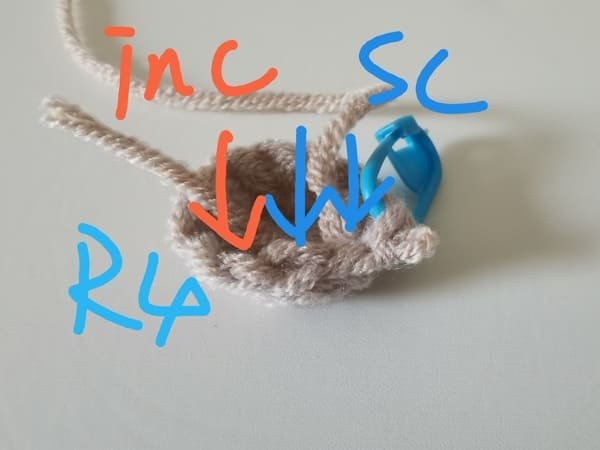
Crochet order: BLO( 2sc,inc)repeat 4 times.
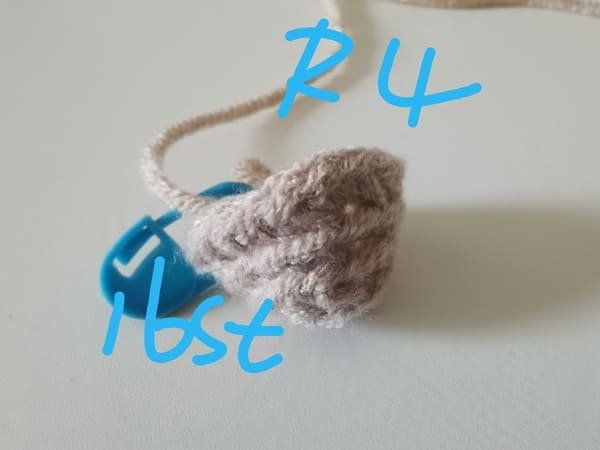
After the slip stitch (sl) we are left with 16 stitches for round 4.
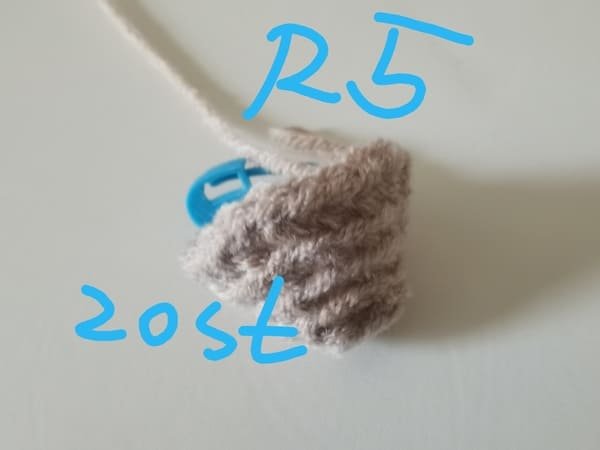
Crochet order: BLO( 3sc,inc)repeat 4 times.
After the slip stitch (sl) we are left with 20 stitches for round 5.
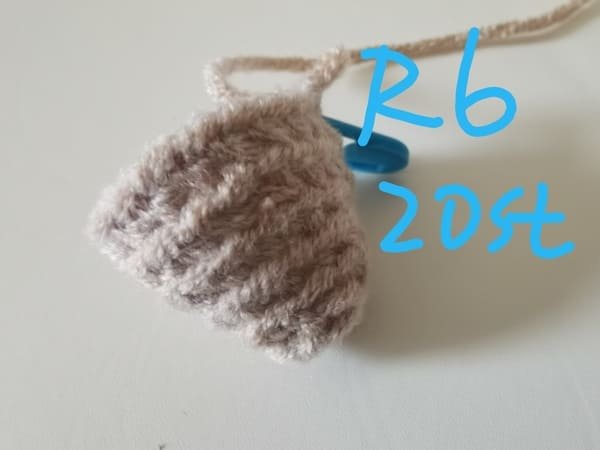
Crochet order:20 single crochets(sc) in each 20 chain stitch(ch).
After the slip stitch (sl) we are left with 20 stitches for round 6.
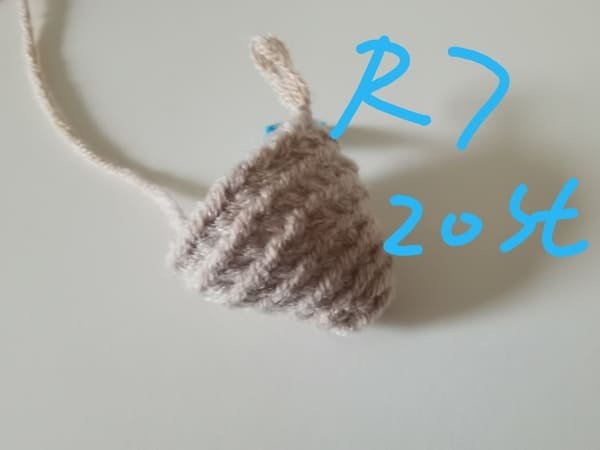
Same as round 7.
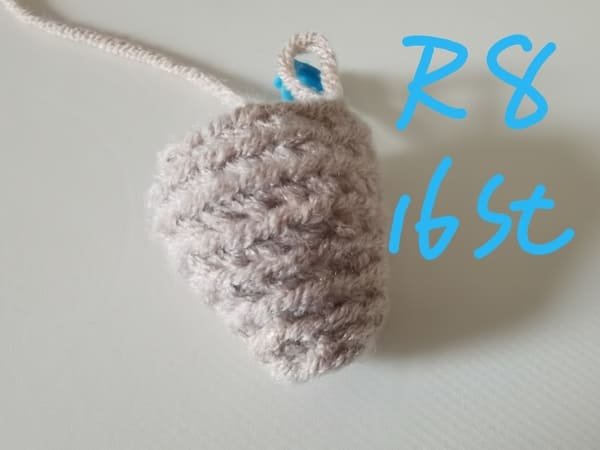
Crochet order: BLO( 3sc,dec)repeat 4 times.
After the slip stitch (sl) we are left with 16 stitches for round 8.
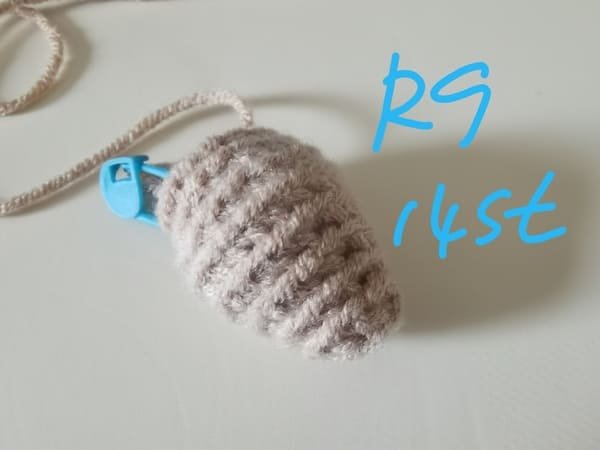
Crochet order: BLO( 6sc,dec)repeat 2 times.
After the slip stitch (sl) we are left with 14 stitches for round 9.
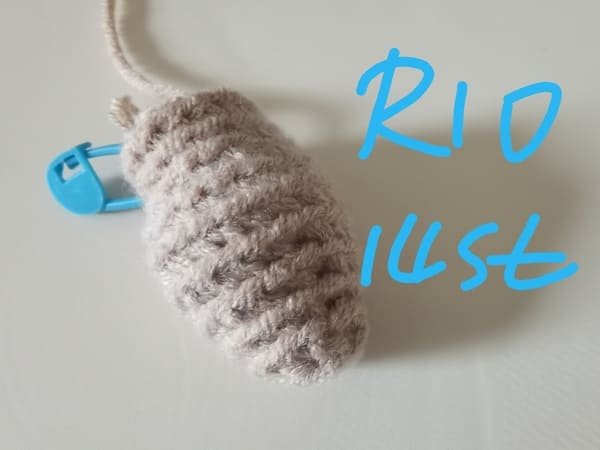
Crochet order:14 single crochets(sc) in each 14 chain stitch(ch).
After the slip stitch (sl) we are left with 14 stitches for round 10.
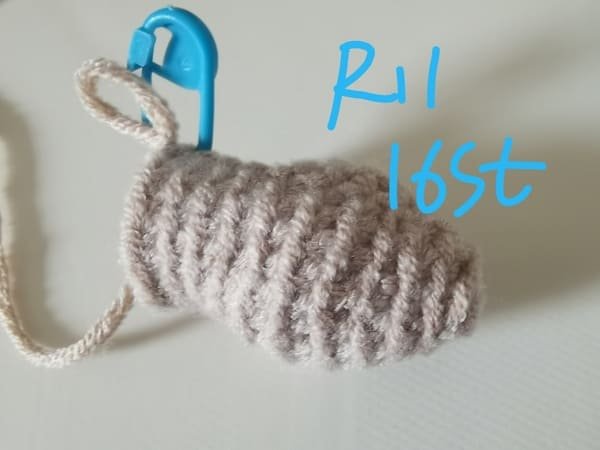
Crochet order: BLO( 6sc,inc)repeat 2 times.
After the slip stitch (sl) we are left with 16 stitches for round 11.
In order to make shaped of peanut , so we need crochet increases again.

Crochet order: BLO( 3sc,inc)repeat 4 times.
After the slip stitch (sl) we are left with 20 stitches for round 12.
Crochet order:20 single crochets(sc) in each 20 chain stitch(ch).
After the slip stitch (sl) we are left with 20 stitches for round 13.
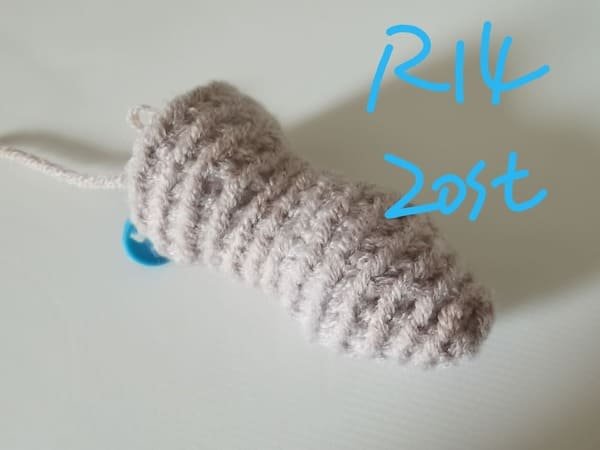
Same as round 13.
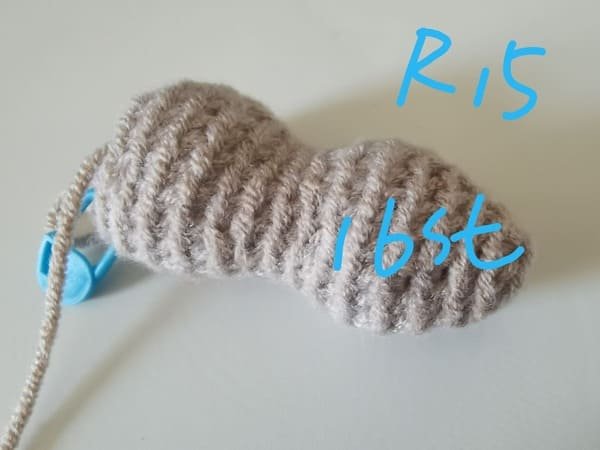
Crochet order: BLO( 3sc,dec)repeat 4 times.
After the slip stitch (sl) we are left with 16 stitches for round 15.
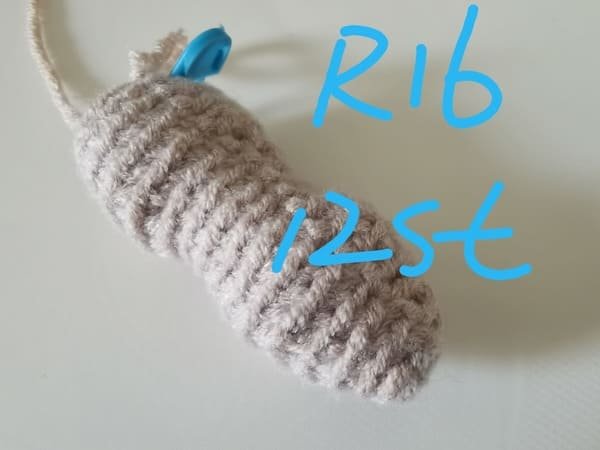
Crochet order: BLO( 2sc,dec)repeat 4 times.
After the slip stitch (sl) we are left with 12 stitches for round 16.
Crochet order: BLO( 4sc,dec)repeat 2 times.
After the slip stitch (sl) we are left with 10 stitches for round 17.
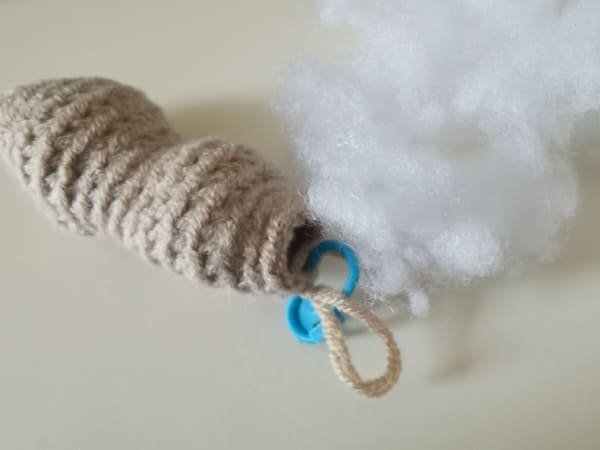
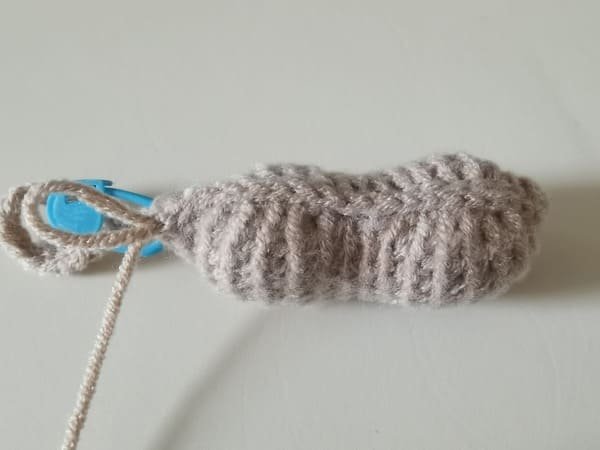
At this point, we can successfully consider our peanut finished, so we take care to add stuffing through the gap of the body.
The head and body of the peanut will be evenly filled. The goal is retaining a nicely rounded plumpness to the shape therefore only a reasonable amount of stuffing needs to be added.
Painstaking attention to the portion around the mid bulge will maintain that famous peanut shape.
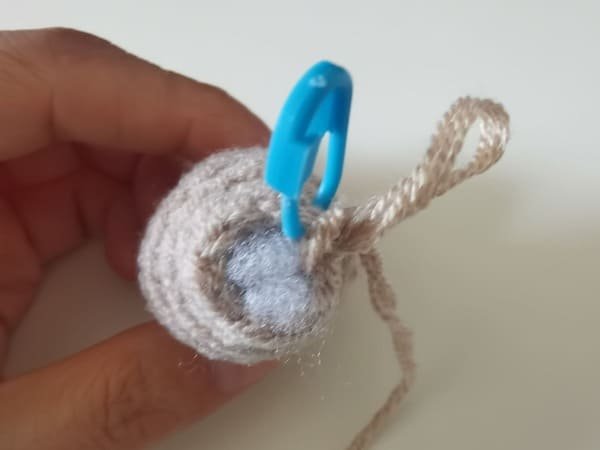
The fiberfill is completed.
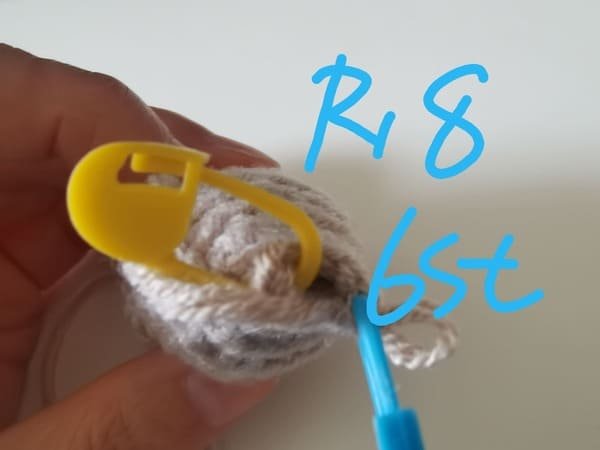
Crochet order: BLO(dec,sc, dec)repeat 2 times.
After the slip stitch (sl) we are left with 6 stitches for round 18.
Do not slip stitch firstly.
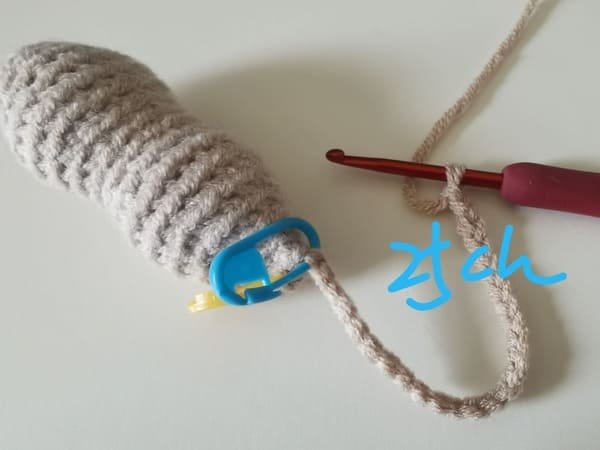
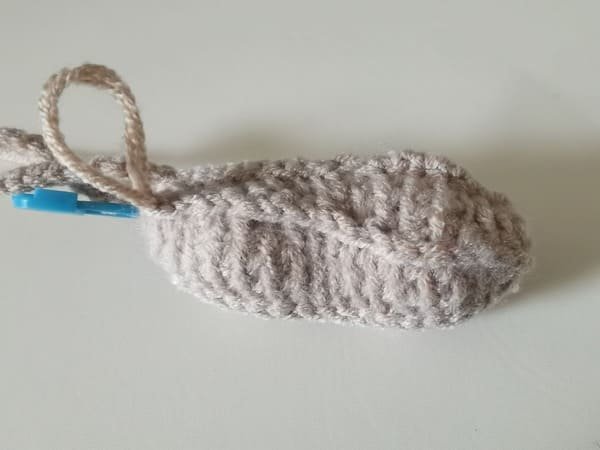
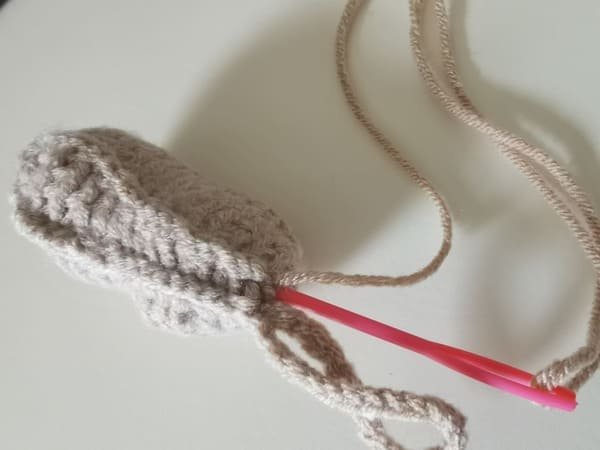
We crochet 25 chain stitches for hand carrying, which can help us to hang the key chain.
After crochet 25 ch.
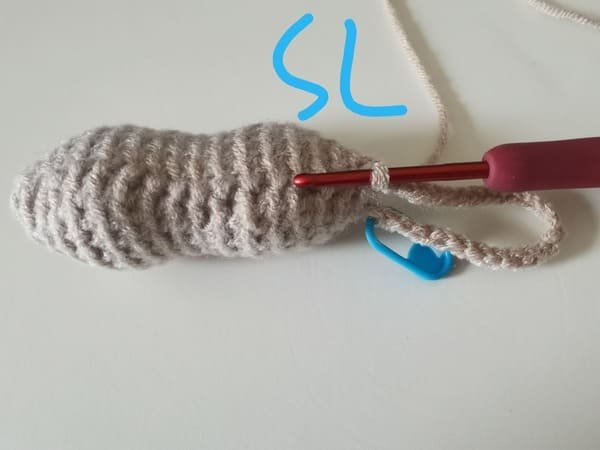
We slip stitch with first stitch.
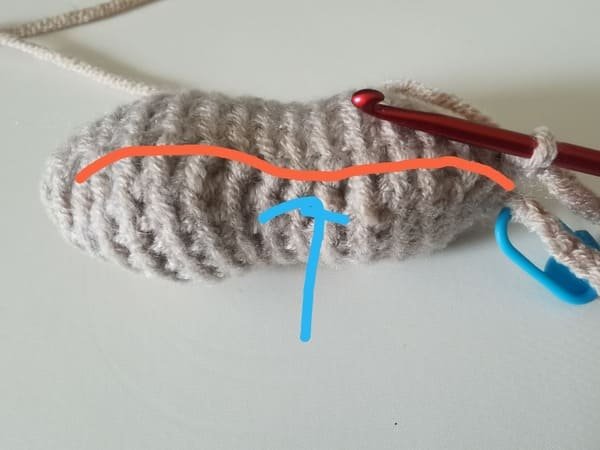
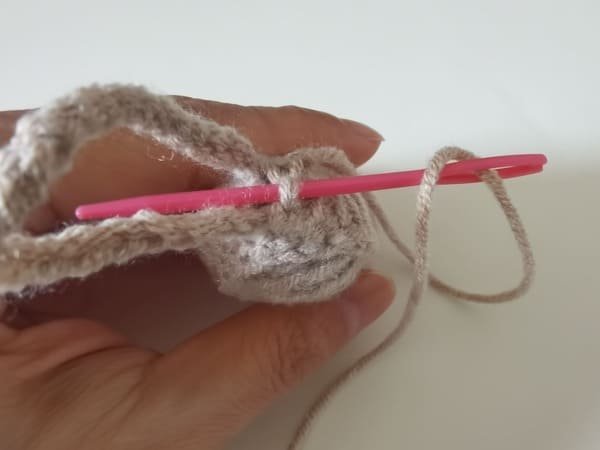
Following the slip stitch position(show as picture, we start to crochet the first stem).
Hook inert the next front stitch, then slip stitch for this round.
The first stem is completed for peanut crochet.
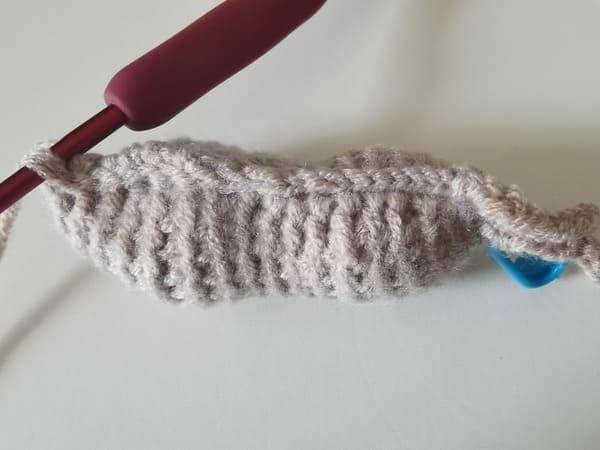
Then we crochet the second stem use same slip stitches method.

The third stem is competed.
The fourth stem is competed.
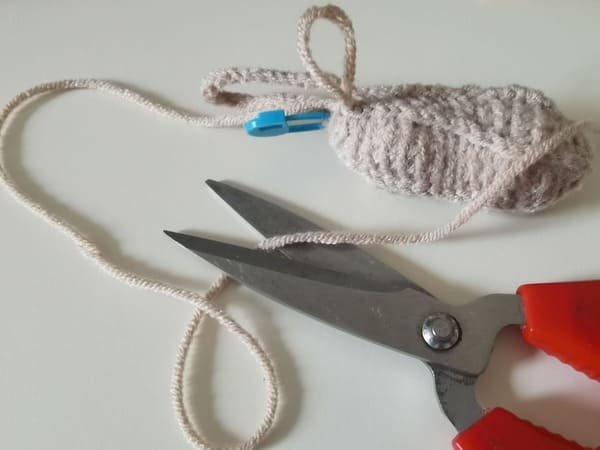
Leave 10 cm yarn end, and cut yarn end, use hook to bring out the yarn end .
We use a yarn needle to close the small hole , then fasten off.
The steps to hide the yarn tail for our crochet peanut involve first threading the tail onto a yarn needle.
Then, we pull it through stitches along the seam or within the body of the peanut, gently pulling to maintain a smooth shape.
To thoroughly secure it, we go back and forth a couple of times. Once snug, we trim any excess yarn hidden beneath the surface.
This step takes our crochet project to the next level because now our peanut look finishing clean while also making sure braid isn’t loose.
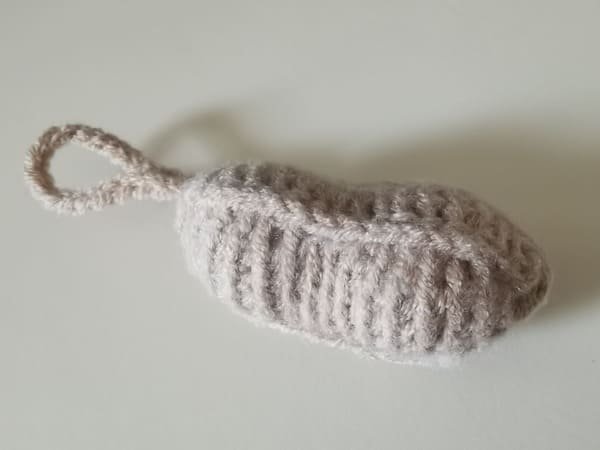
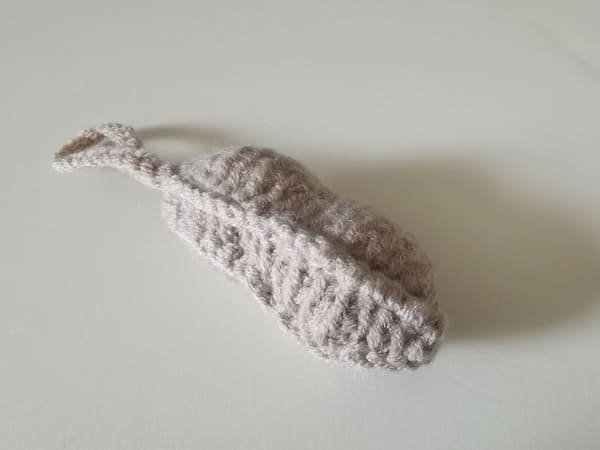
The peanut crochet is delightful and engaging project. We use light brown yarn to resemble the real peanut shell, and we shape the crocheted piece using soft curves. Moreover, our peanut looks like a snack which is plump and squeezable, but cuter than a real snack.
Reference sources
1.Learn the most comprehensive guide for single crochet(sc)
Author:Sarah Stearns
Publication date: on June 15, 2021, updated:December 14, 2024
Title: How to single crochet (sc)for beginners
Summary as blow:
- Step-by-Step Single Crochet for Beginners
- Single Crochet into a Foundation Chain
- Single Crochet into another Row
- Single Crochet in the Round
- Increases and Decreases
- Working Single Crochet in Different Loops


