


Single Crochet Increase: The Ultimate Guide For Beginner| Text & Picture Step By Step
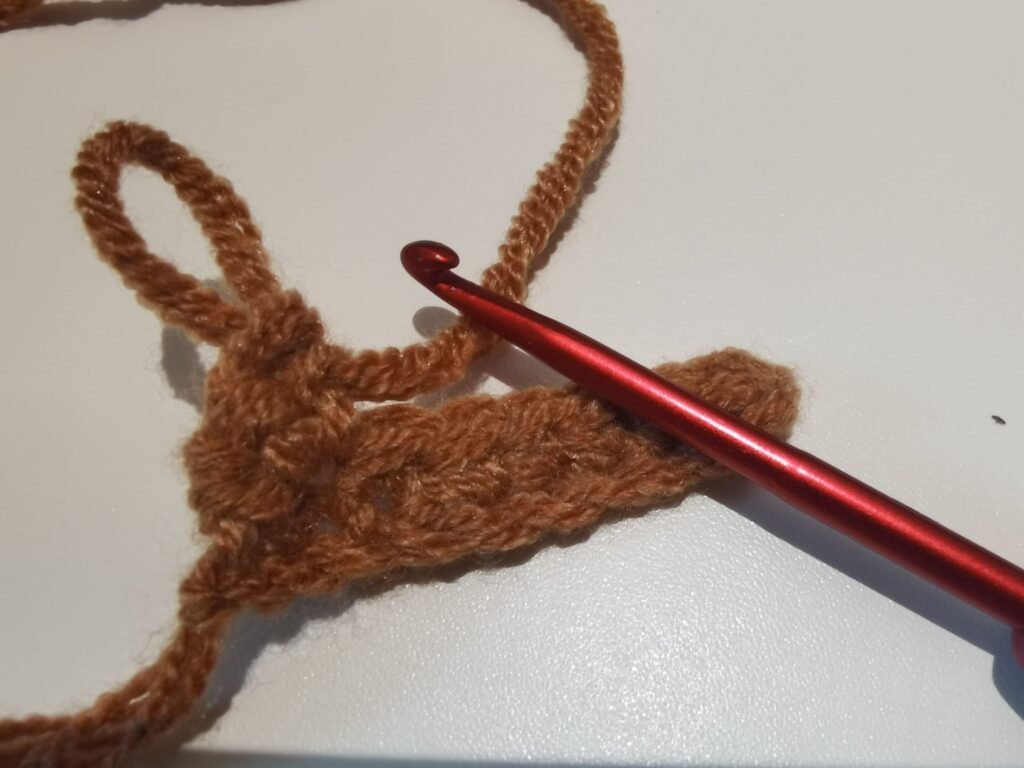
Table of Contents for single crochet increase
single crochet increase: once you feel comfortable with the single crochet stitch, the next step is learning the single crochet increase. It may sound fancy, but it’s really just two single crochets worked into the same stitch. This small tweak gives you a big boost in shaping your projects—widening a blanket, rounding a toy, or adding to your favorite amigurumi piece.
What is a single crochet increase?
A single crochet increase (or “sc inc” for short) is one of the simplest ways to add extra stitches to your row or round. You basically stitch two single crochets into the same original stitch.
Why do we use single crochet increases?
The single crochet increase is one of those simple tricks that makes a big difference in your project’s look. every so often you want a curve, a round edge, or a flowing flare. In that moment a tiny extra stitch saves the day.
You’ll reach for an increase in a few popular situations:
- when you’re widening a flat section, like growing a triangular shawl or a bell-shaped skirt;
- while shaping a garment, whether you’re expanding the body of a sweater or the cuff of a sleeve;
- when working in the round, which is almost every time you tackle amigurumi toys or crochet circle mats;
- and whenever you’re layering ruffles, shells, or other textured clusters.
So remember, any time your yarn needs extra room to breathe, a single crochet increase will give it that bit of space.
What material we’ll need
Here’s a quick list of the basic tools you’ll need for your next crochet project.
- Yarn: Any type you love will do, but worsted weight is the easiest choice for folks just starting out.
- Crochet hook: Pick one that matches the size printed on your yarn label. Every label has a recommended hook size.
- Scissors: A pair you keep handy for snipping ends.
- Yarn needle: This big-eyed needle will help you tuck away those pesky little ends when you finish.
How to single crochet increase (step-by-step)
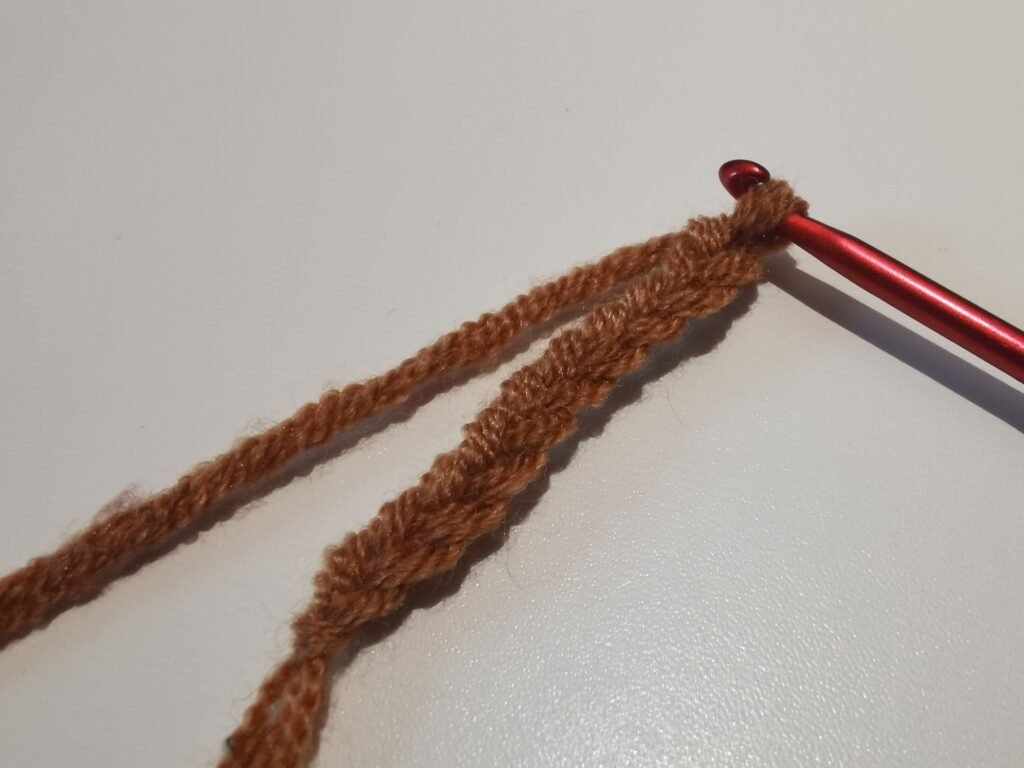
How to start your crochet project with a foundation row
Every great crochet project begins with a solid foundation. To set that up, you’ll first chain a small length—let’s say 10 chains for this example. Once that chain is in place, turn your work and crochet a row of single crochet, just as you normally would. This single-crochet row gives your project stability and a nice edge to build on later.
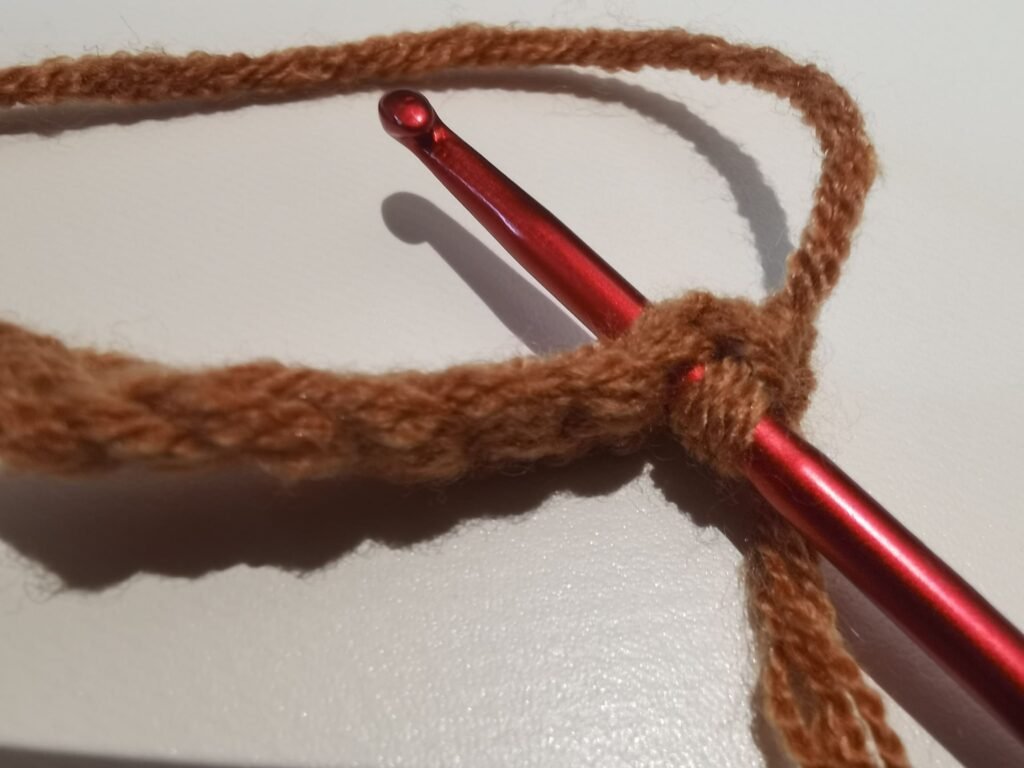
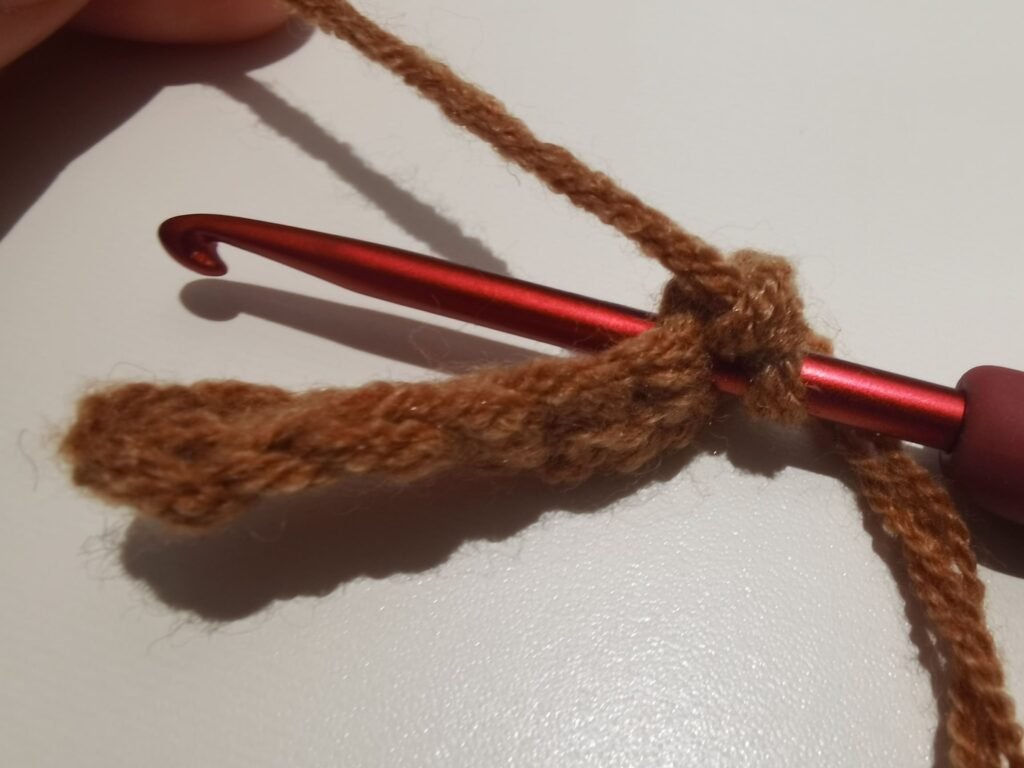
Time to increase stitches
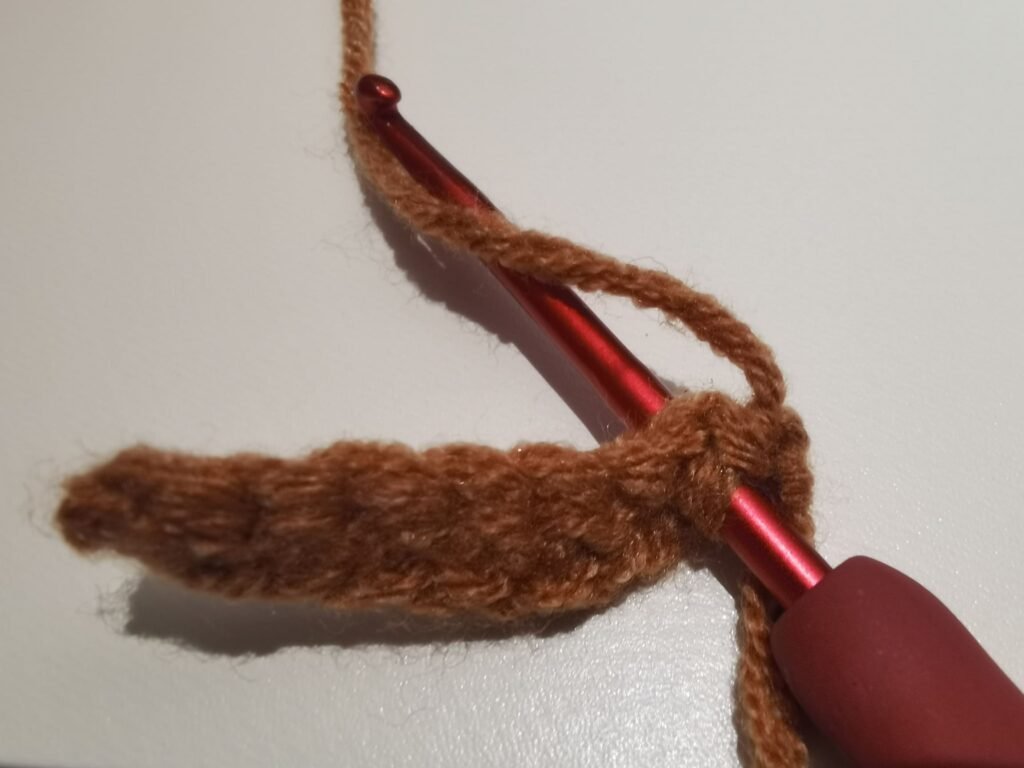
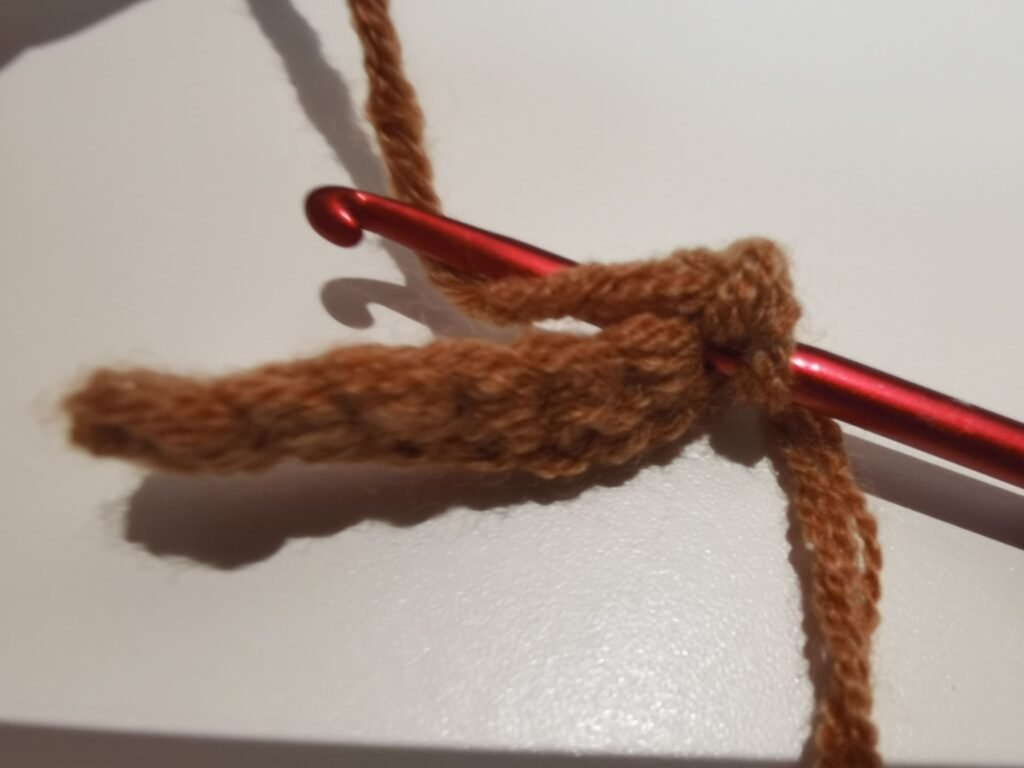
When you reach the point in your pattern where you need to add stitches, the next step is simple. Insert your hook into the next stitch of your foundation row. Don’t worry if it feels awkward at first; it gets easier with practice.
Making the first single crochet
Start your first increase by yarning over as usual, then pull up a loop so you have two loops on the hook. Yarn over one more time and pull through both loops to finish your single crochet. That’s the first part of the increase done!
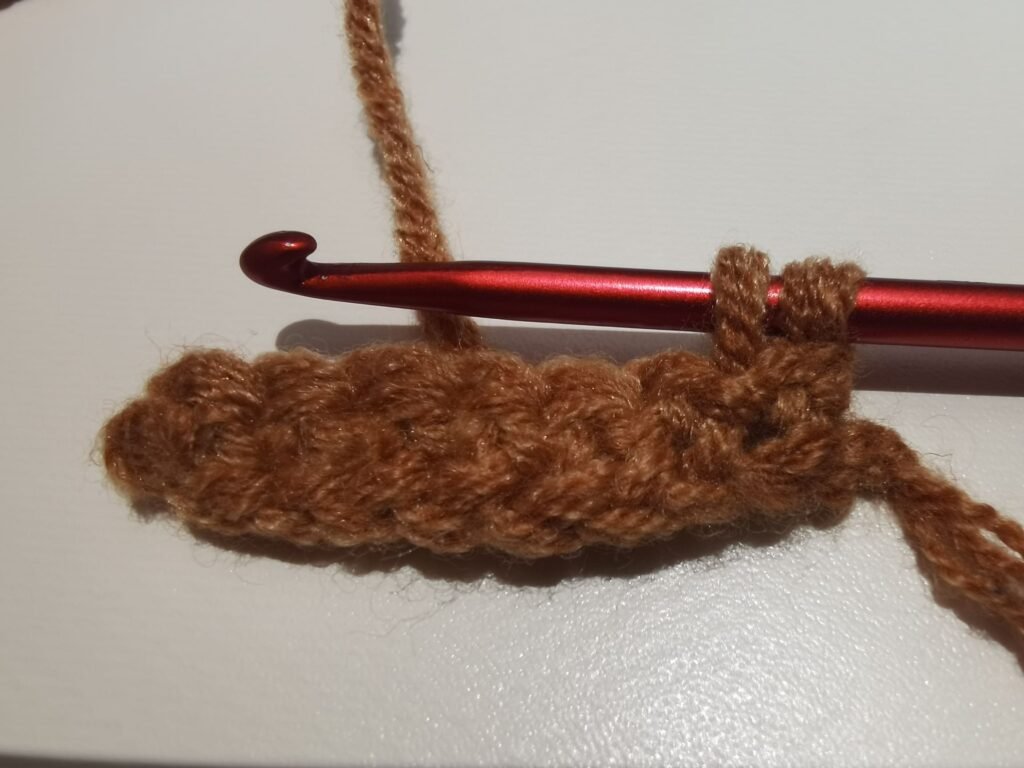

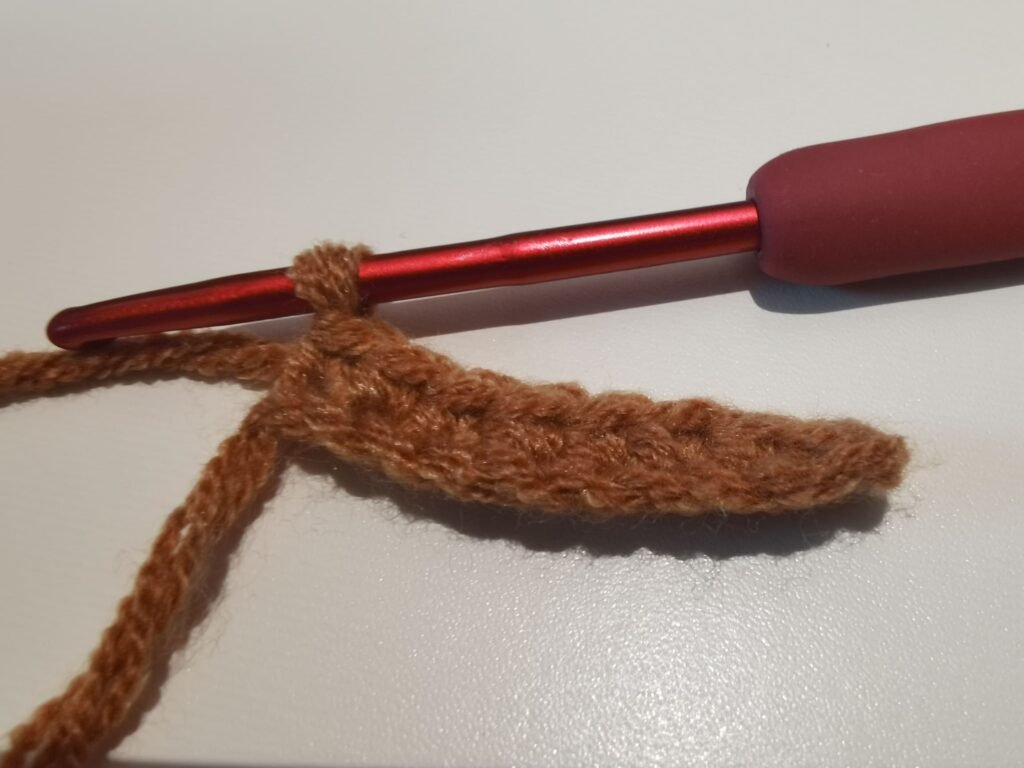
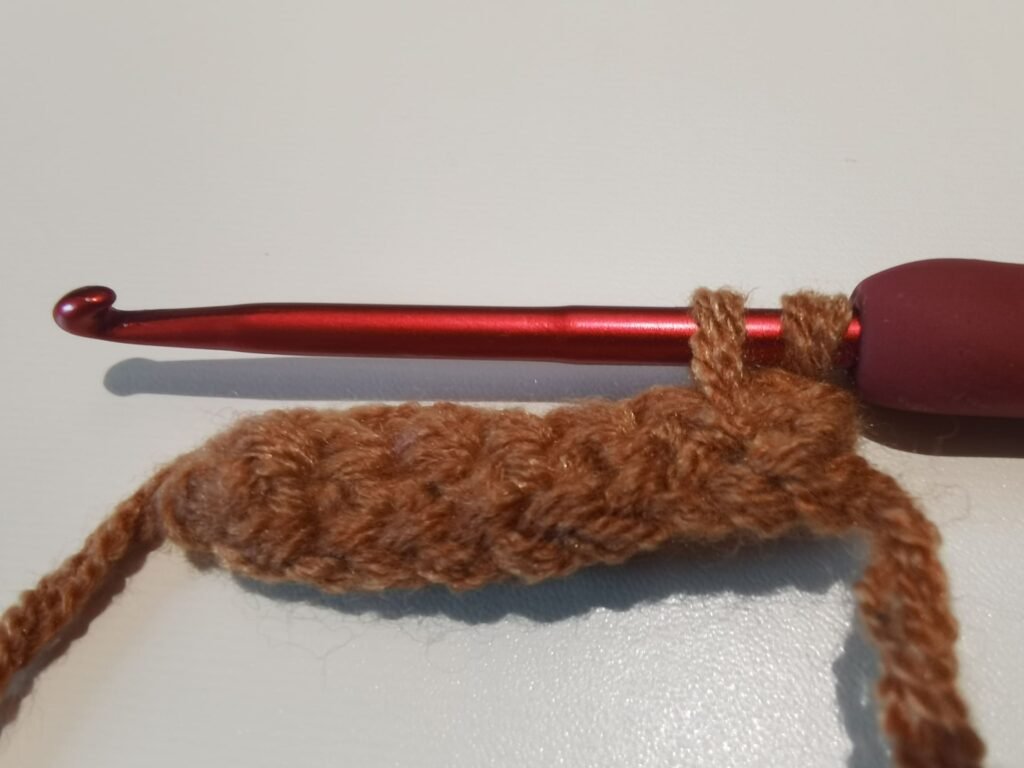
Adding the second single crochet
Now, without moving to another stitch, put your hook right back into that same stitch. Yarn over again, pull up a loop, yarn over a final time, and pull through both loops. And there you have it—you’ve turned one stitch into two.
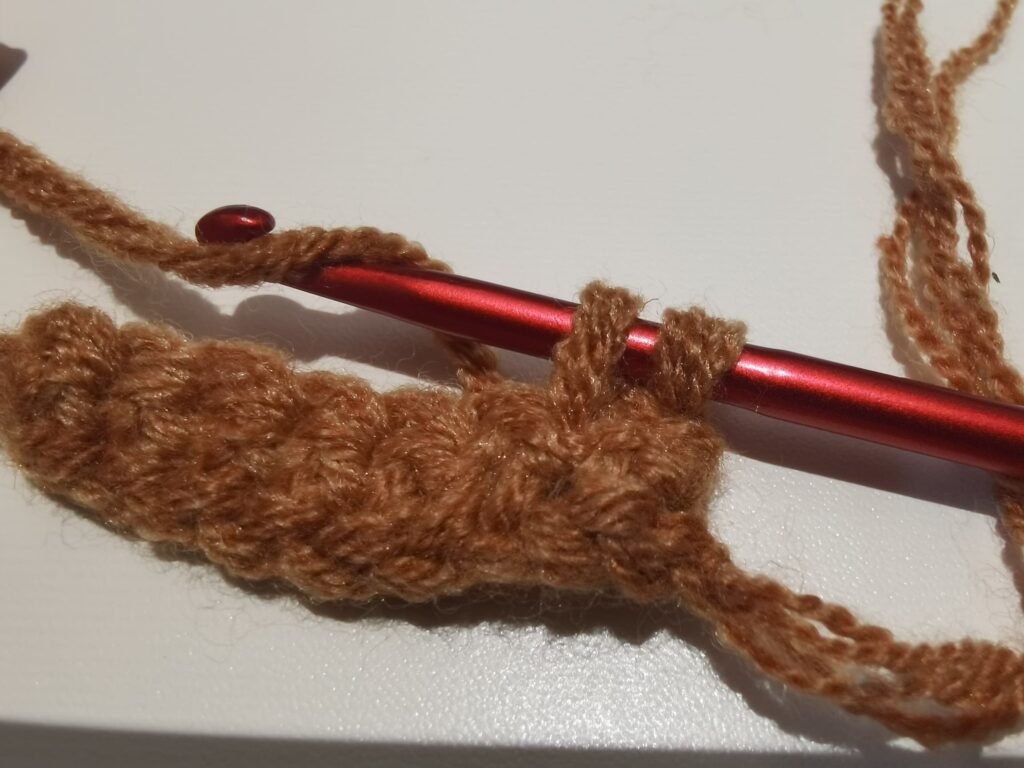
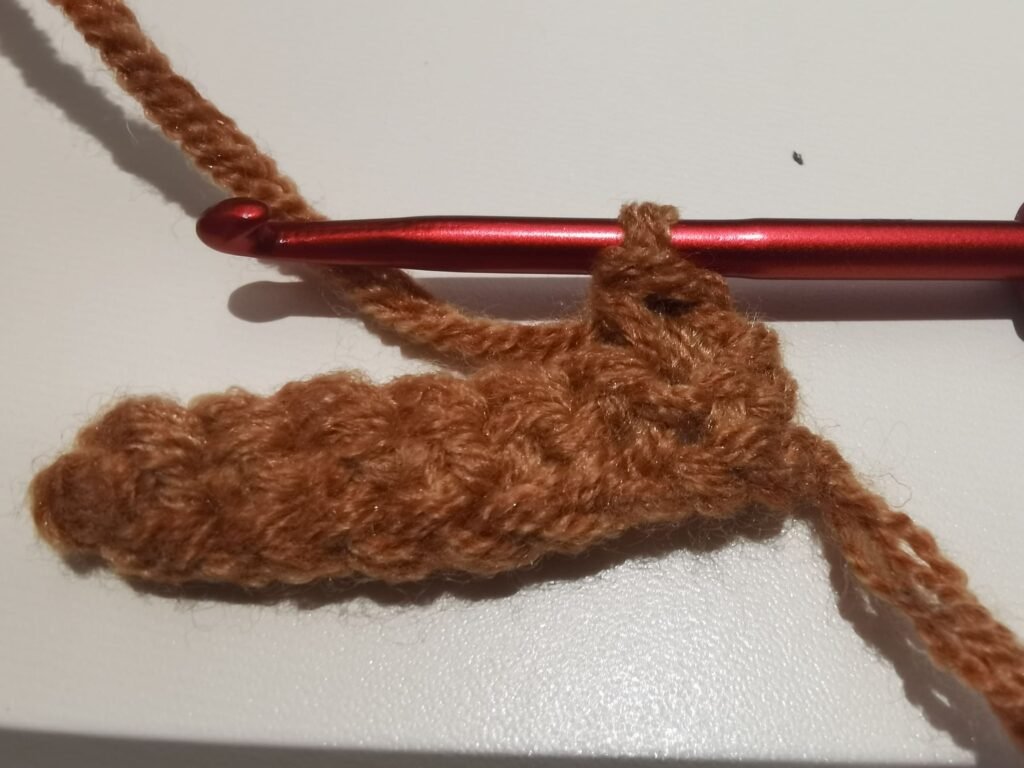
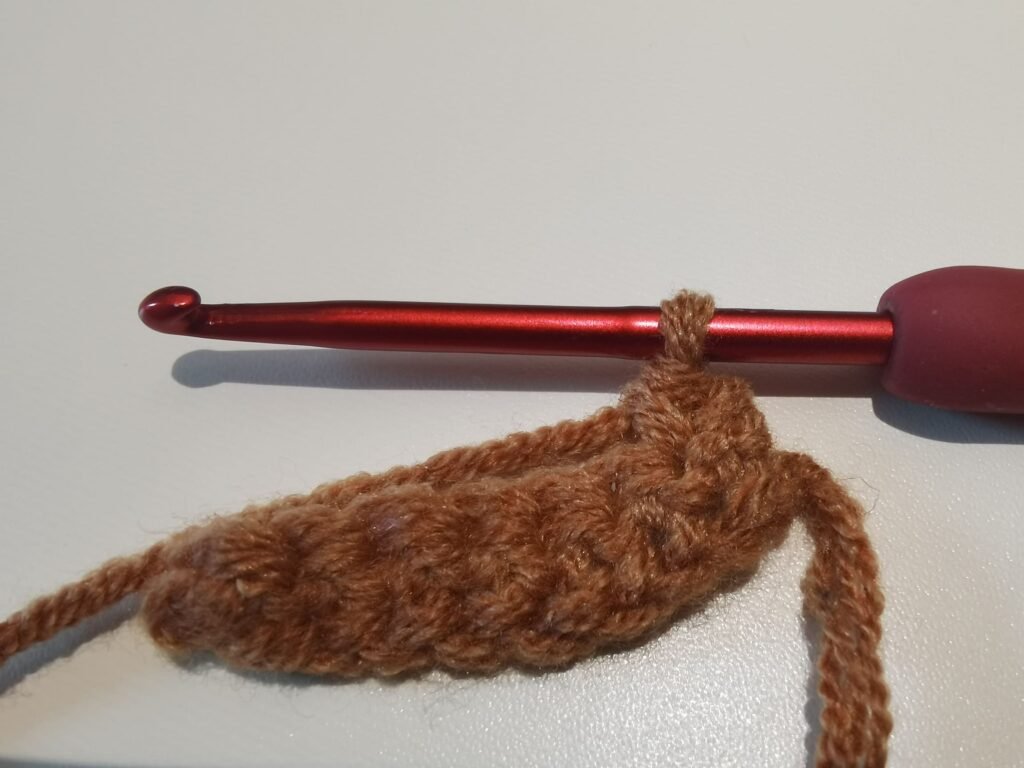
You’ve increased!
Now you’re ready to continue with your pattern, and your project will have a neat increase that sits flat and looks great. Happy crocheting!
Tips for neat and even increases
If you’ve ever tried to work an increase in knitting, you know it makes the fabric expand, but getting that expansion to look neat can be tricky. Fortunately, a few simple habits can help you keep your increases tidy.
- First, place a stitch marker at the spot where you plan to add stitches. This little loop of yarn is a friendly reminder of your next move, especially if you’re still finding your rhythm. After a few rows you’ll know the placement by heart, but the marker is a great safety net for beginners.
- Next, pay attention to your tension. Pulling the working yarn too tight may seem like a way to make the stitch look sharp, but it can actually pinch the fabric and create an uneven ridge. Try to keep the yarn relaxed in the increase the same way you do in the body of the work.
- Before you tackle a new pattern, experiment with your increases on a small swatch. Sample the method the designer suggests—whether it’s a yarn-over, lifted increase—and see how it sits alongside your regular stitches. This way you can fine-tune your technique without the pressure of ruining a big project.
- Finally, count your stitches at the end of every row. Losing track of the number is all-too-easy, yet a quick tally on your fingers or a scrap of paper will point out any errors before they snowball. With these tips in your pocket, your fabric should grow smoothly, one tidy increase at a time.
How to read a pattern with increases?
When you’re following a crochet pattern, Here are a few phrases you’ll often see:
- “sc inc in next st” means you should make a single crochet increase right in the next stitch, so you’ll work two single crochets in that same spot.
- “2 sc in next st” is pretty much the same thing—it tells you to nestle two single crochets into one stitch.
Practice pattern: flat circle (amigurumi base)
Round 1: Start with a magic ring and work 6 single crochet stitches right inside it. Pull the ring tight to close the center hole. (You should have a total of 6 stitches now.)
Round 2: For this round, place an increase—two single crochets—in every stitch. Count again to confirm you end up with 12 stitches total.
Round 3: Crochet 1 single crochet stitch, then do an increase, and repeat this pattern all the way around. You’ll finish with 18 stitches.
Round 4: This time, do 2 single crochets before each increase. When you’re done, you should see 24 stitches neatly lined up.
This method helps the fabric stay flat without curling. also we need crochet with pattern.The above is just an example for your reference.
How to fix common mistakes?
We’ve all faced little surprises in our crochet projects—lopsided edges, unexpected bumps, or those “what happened here?” moments. If you’re spotting trouble in your latest creation, try these simple fixes.
Common Crochet Problems and Solutions
🧶 Problem 1: You Only Made One Stitch When Two Were Called For
Sometimes the pattern says “two single crochets in the same space” but your hands only followed the first part. To fix it, carefully rip out the lone stitch then work both singles again in that spot. You’ll avoid the puckering that happens when an increase is missing.
🧶 Problem 2: Too Many Stitches Have Sneaked In
It’s all too easy to add an extra stitch here and there, especially when you’re counting aloud. Keep a tally on a scrap of paper next to you or use a row counter app on your phone. If the count is off, take a moment to spot where the extra stitch crept in and gently frog that section before the mistake spirals further.
🧶 Problem 3: The Fabric Is Wavy or Looks Warped
A wavy blanket edging is pretty, just not when it’s unintentional. This usually points to uneven tension. Try to relax your grip a little, especially on increases, and make sure every increase is spaced the same way from row to row. Consistent spacing helps the fabric lie flat.
🧶 Problem 4: Tiny Gaps Keep Popping Up
Soft yarns are a delight to touch, but they can hide sneaky holes. If you’re finding gaps, crank up your tension just a notch and remember to work under both loops of each stitch instead of pushing through the center. This small change helps pull the fabric together so those little holes vanish.
Single crochet increase vs. other increases
| Stitch Type | How to Increase | Effect | Best For |
|---|---|---|---|
| Single Crochet (sc) | 2 sc in the same stitch | Creates a gentle bump that hugs the fabric; neat and tight | Amigurumi, dense fabric, small accessories |
| Half Double Crochet (hdc) | 2 hdc in the same stitch | Adds a soft curve with slight height increase; maintains a compact shape | Shawls, lightweight hats, wearable items |
| Double Crochet (dc) | 2 dc in the same stitch | Produces dramatic height and open flare; loose and airy texture | Lacy throws, summer bags, flowy garments |
Double Crochet Increase: The Complete Beginner’s Guide
Half Double Crochet Increase The Ultimate Guide For Beginners
Frequently Asked Questions (FAQs)
Q: Can I increase at the beginning or end of a row?
Absolutely! A lot of lace and textured patterns ask you to add extra stitches at the beginning and sometimes at the end so the piece flares out nicely.
Q: My fabric is ruffling. Am I increasing too much?
Yes, those little ruffles often pop up when you add too many gathers in a row. If you space the increases a bit farther apart—or cut back on the total number of them—the fabric should lie much flatter.
Reference sources
1.Learn the most comprehensive guide for single crochet(sc)
Author:Sarah Stearns
Publication date: on June 15, 2021, updated:December 14, 2024
Title: How to single crochet (sc)for beginners
Summary as blow:
- Step-by-Step Single Crochet for Beginners
- Single Crochet into a Foundation Chain
- Single Crochet into another Row
- Single Crochet in the Round
- Increases and Decreases
- Working Single Crochet in Different Loops


