


Hello Kitty Crochet Pattern The Most Comprehensive Step-By-Step Explanation
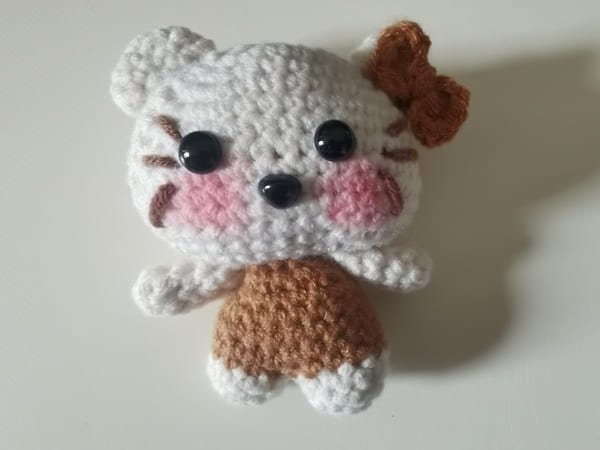
Table of Contents
Hello kitty crochet pattern:For creating this piece we will need standard crochet tools. A yarn in rice white color will be used for the main part of the toy while brown yarn to make whiskers . Adding a brown bow to her head finishes the look splendidly.
The process starts by creating the body parts using magic rings and single crochet stitches. Once the basic torso is complete, we can proceed to her distinctive features which we will shape in the order from top till down: her ears to arm and her signature bows.
Don’t worry – even if you are a first time toy maker, with the clear step by step instructions accompanied by photos that we provide you will end up with a soft toy you’ll cherish for years to come!
For beginners, this hello kitty is still a little complicated. Please be patient. Everyone can actually crochet a cute hello kitty.
Material kit of hello kitty crochet pattern
- Hook: 3.0mm
- Stuffing: (polyester fiberfill)
- Yarn(rice white & brown )
- Yarn needle
- Marker
- Safety eyes
- Safety mouth
List of necessary tools
- Scissors
- Hot melt glue or glue
Abbreviation for hello kitty crochet pattern
These are the required abbreviations for hello kitty crochet pattern
- ch = Chain stitch
- sc = Single crochet
- sl =Slip stitch
- inc = Increase (usually 2 stitches in the same stitch)
- dec =Decrease (typically done by crocheting two stitches together)
- st(s) =Stitch(es)
- mc =Magic circle (or magic ring)
- Tr=Triple crochet
- dc=Couble crochet
- w=3 Single crochet
- R=Round
Best selling products
-

Raffia Cross Pattern Basket Handbag Kit
$19.99 -

Hexagonal Bucket Bag Kit
$29.99 -

Raffia Handbag Kit
$29.99 -

Hammock Bag Kit
$29.99 -

Wheat Bucket Bag Kit
$19.99
Tips

The crochet chain stitch is needed here because it helps us to start new rounds, maintain height, create even edges, and keep our pattern structured neatly without any gaps.
The problem I have with stitches when crocheting is the same as with regular “missing stitches.”
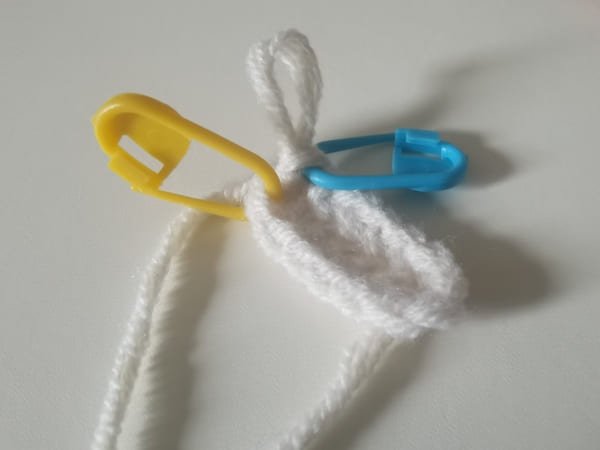
Every novice crocheter should use the marking button (yellow in this article) right after the first stitch is executed.
Also, as pointed out in the article, blue marking buttons should be set right after the last stitch is performed.
Crochet the head (use rice white )for hello kitty crochet pattern
- R1:7ch-starting from second to last stitch-5sc,w,4sc,inc(14)
- R2:(6sc,inc)*2(16)
- R3:inc,5sc,inc*3,5sc,inc*2(22)
- R4:inc*2,5sc,inc*6,5sc,inc*4(34)
- R5-R7:34sc(34)
- R8:inc,12sc,inc,2sc,inc,14sc,inc,2sc(38)
- R9-R11:38sc(38)
- R12:12sc,dec*3,12sc,dec*3,2sc(32)
- R13:dec,8sc,dec*4,8sc,dec*3(24)
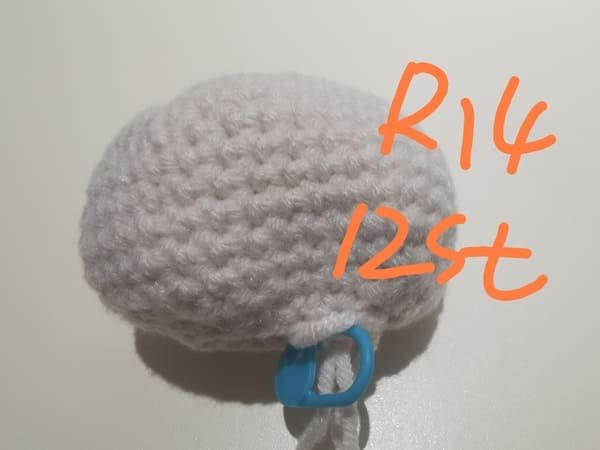
- R14:dec*12(12)
- Fiberfill

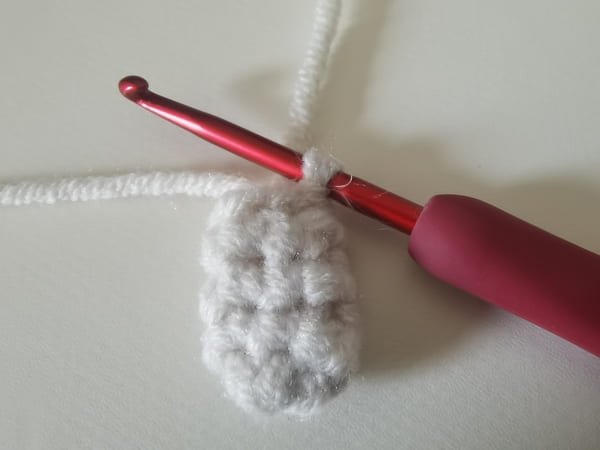
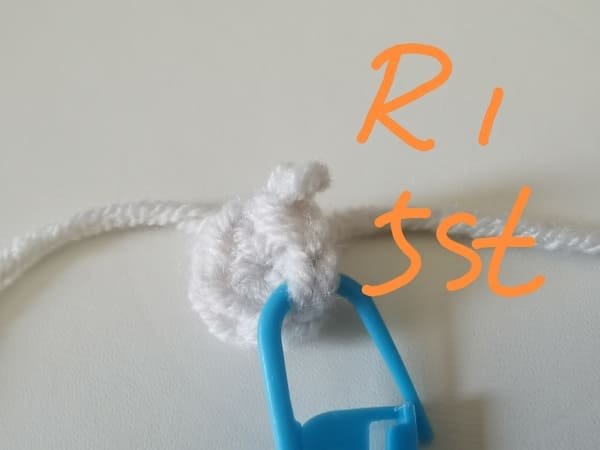
R1: Ch 7. Starting from the 2nd ch from the hook: 5 sc, 3 sc in last ch (this creates the turn), continue on the other side of the chain: 4 sc, inc in last st.
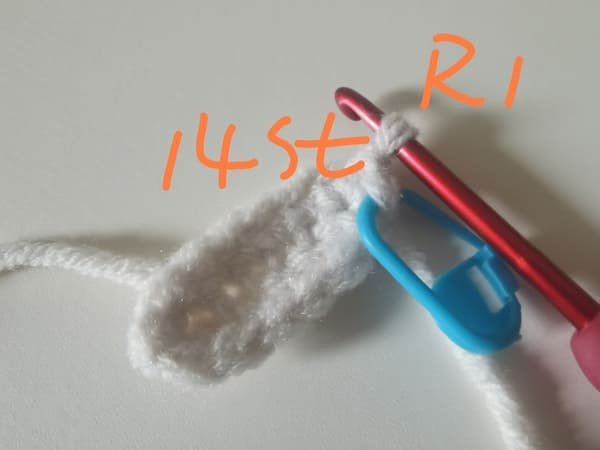
Slip stitch (sl): we using a crochet hook, pick the first yellow V shape stitch, yarn over, and pull through two loops on the hook. then we get on loop , which is slip stitch.
After the slip stitch (sl), we have 14 stitches for round 1.
View of round 1.
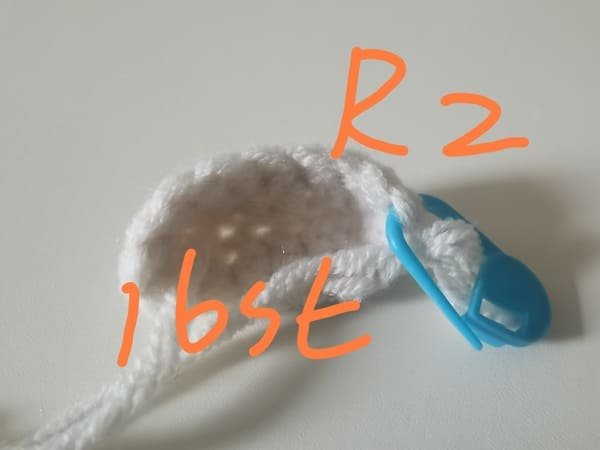
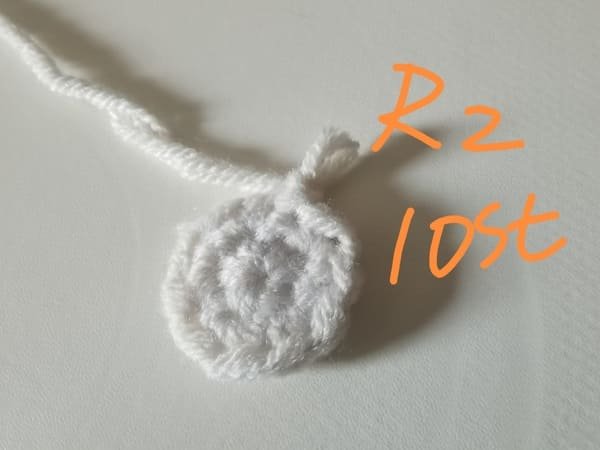
R2: (6 sc, inc) repeat 2 times. (16 sts total)
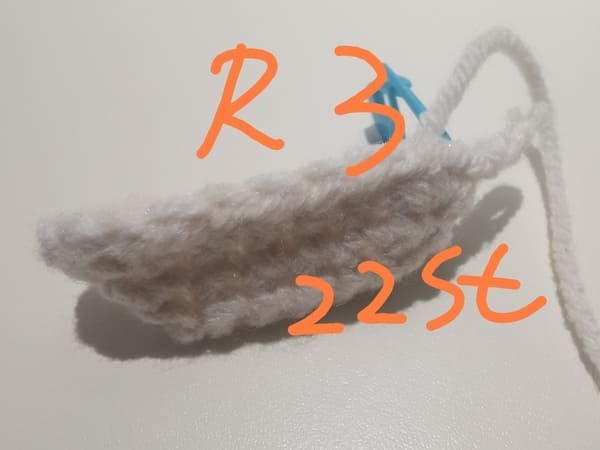
R3:Let’s begin with an increase. after that, do 5 single crochets. then do 3 increases , followed by another 5 single crochets. We will end with 2 more increases. That brings us to 22 stitches total.
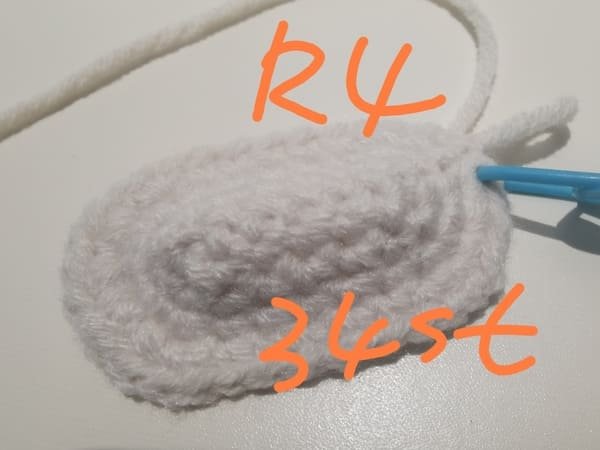
R4: We start with 2 increases, then do 5 single crochets. After that, we do 6 increases, then 5 single crochets, and lastly do 4 more increases. (Total of stiches: 34)
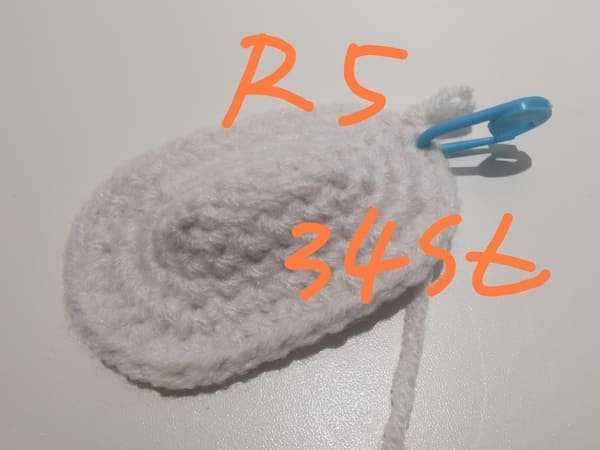
R5:We do one single crochet in every stitch for round 5.
(Total of stitches:34)
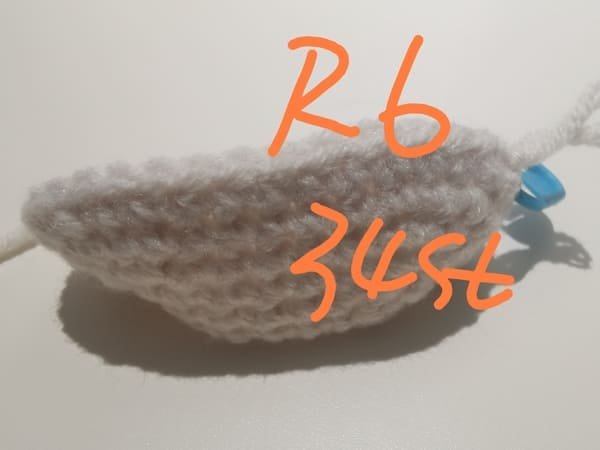
R6:same as round 5.
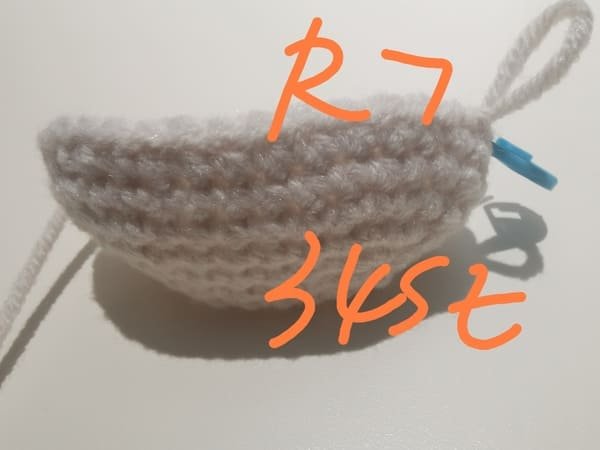
R7:same as round 6.
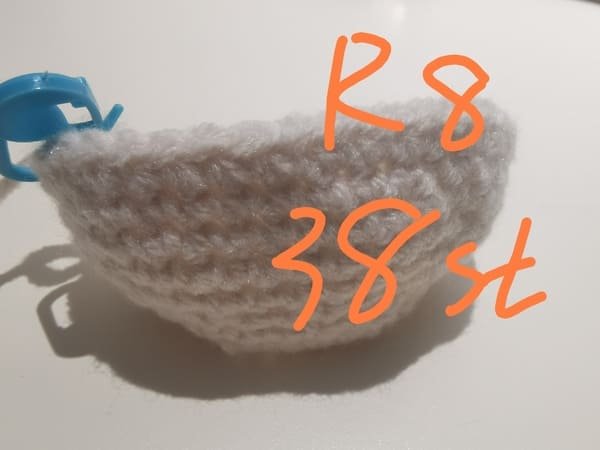
R8:We begin with 1 increase, then do 12 single crochets. next we do 1 increase, do 2 single crochets, do 1 increase and finally do 14 single crochets. then we do 1 increase and do 2 single crochets. (Total 38 stitches)
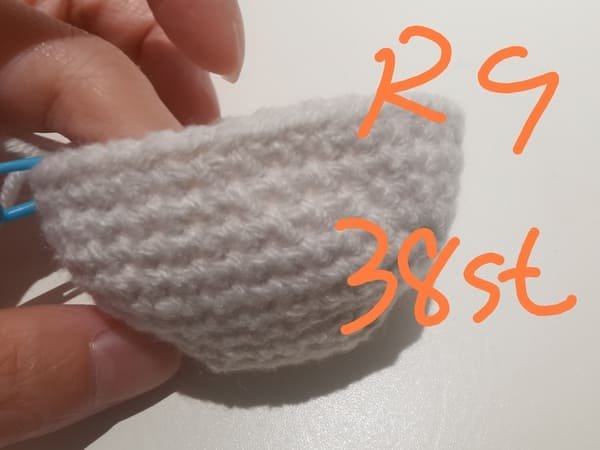
R9:We do one single crochet in every stitch for round 9.
(Total of stitches:38)
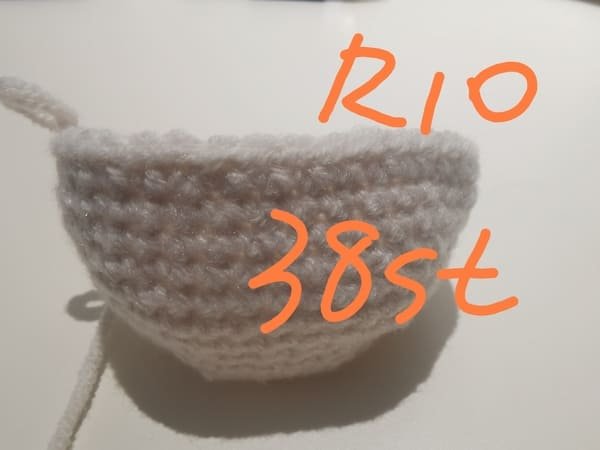
R10:same as round 9.
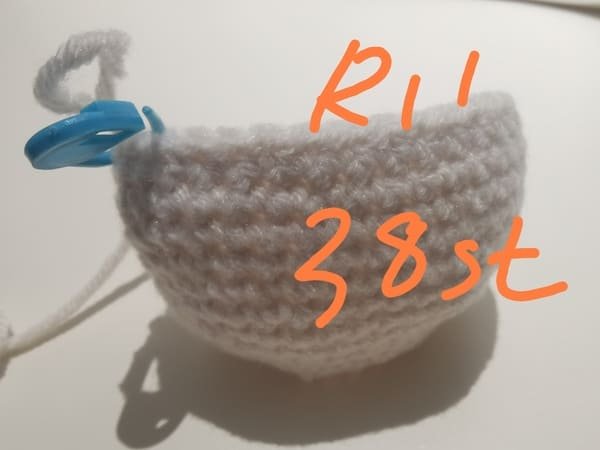
R11:same as round 10.
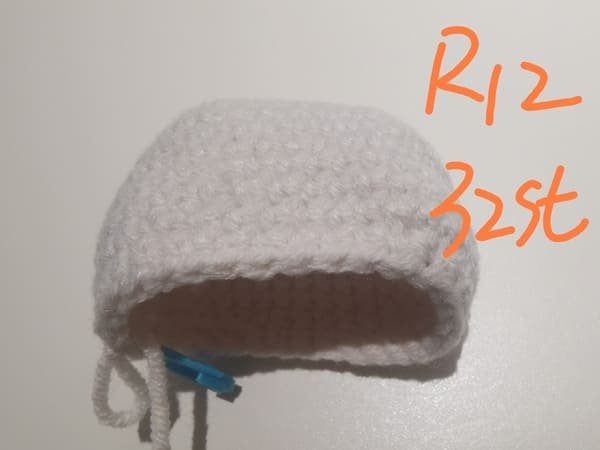
R12: Begin the round with 12 single crochets, followed by 3 decreases. after that, do another 12 single crochets, followed by 3 decreases, finishing this round with 2 single crochets. (Total of 32 stitches)
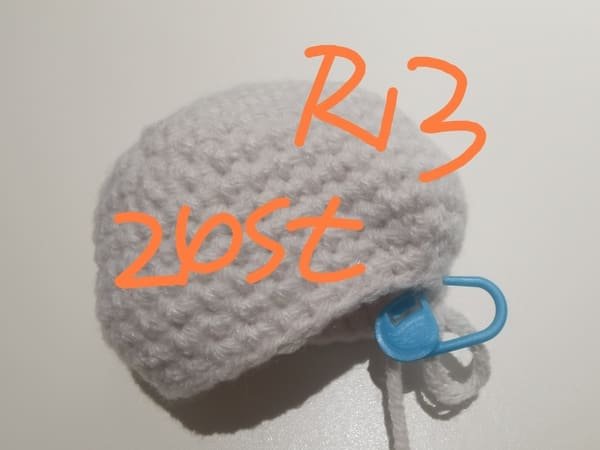
R13: Begin with 1 decrease then crochet 8 single crochets. After, work 4 decreases before completing 8 more single crochets. Conclude the round with 3 more decreases. (24 Total Stitches)
R2: (dec) repeat 12 times. (12 sts total)
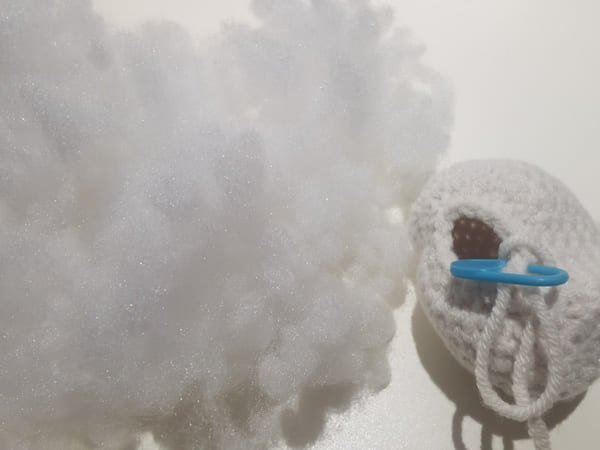
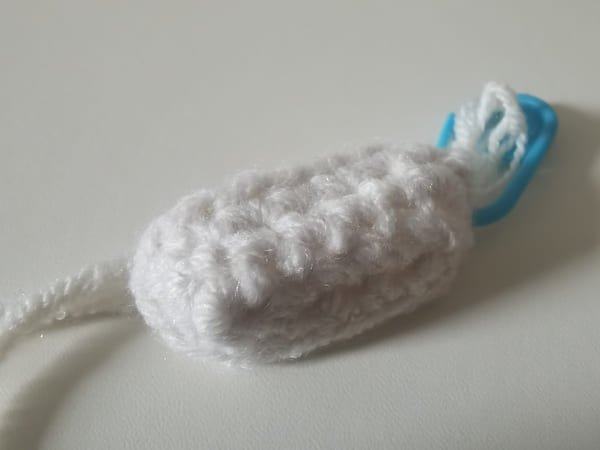
We make sure to evenly fill the hole in Hello Kitty’s head with soft, fiberfill stuffing so that her head maintains its shape and remains soft to the touch. Her head will look rounded instead of lumpy.
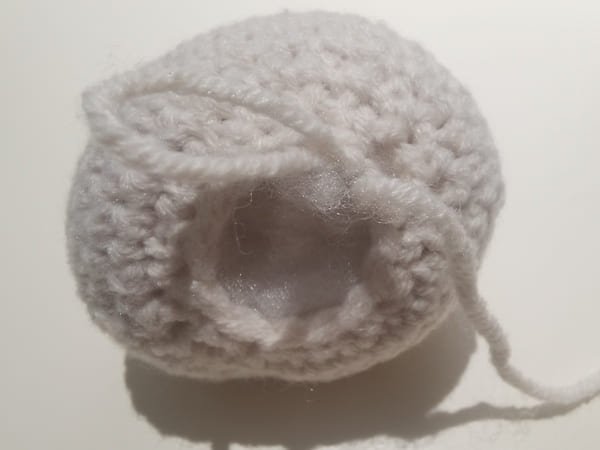
Fiberfill is completed for head for hello kitty crochet pattern
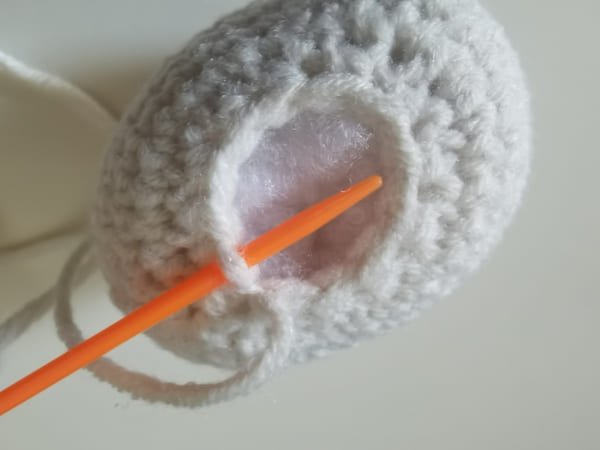
Using a yarn needle allows us to close it by picking up 12 front stitches .
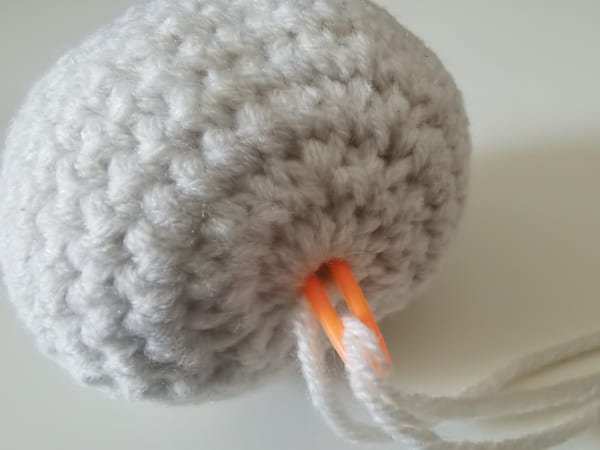
The closing of head is completed. then we conceal yarn end.
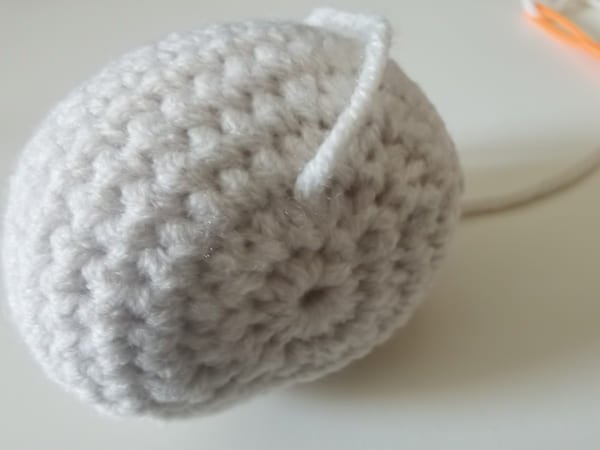
Conceal yarn end is completed.
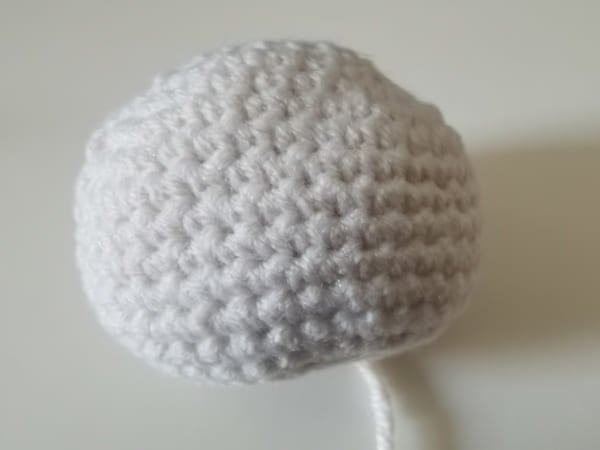
Head of hello kitty is completed.
Crochet the arm (use rice white )for hello kitty crochet pattern
- R1:6sc in to magic ring (6)
- R2-R4:6sc(6)
R1–R4: For 4 rounds, we maintain a constant stitch count of 6 single crochets per round which totals to 6 stitches per round. (6 stitches per round)
Now the first arm is completed.
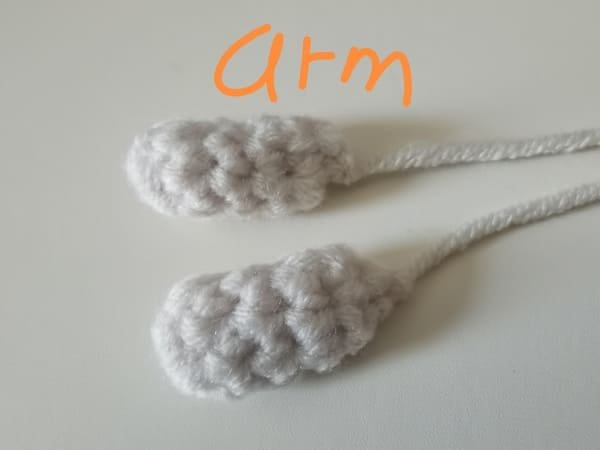
We need use same above crochet method to work the another arm again.
Finally, fold the arm in half and hook 2 single crochet again.(show as picture)
Crochet the ear (use rice white )for hello kitty crochet pattern
- R1:5sc in to magic ring (5)
- R2:inc*5(10)
- R3:10sc(10)
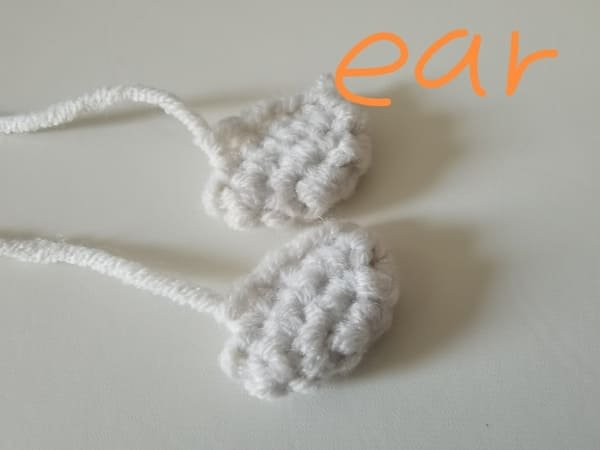
R1: Let’s create a magic circle and do 5 single crochets into it. (5 stitches)
R2: Let’s do 1 single crochet into every stitch for 5 increases. (10 stitches)
R3: Let’s do a single crochet in every stitch around once. (10 stitches)
Finally, fold the arm in half and hook five single crochet again.(show as picture),this will naturally create the shape of the ears.
Crochet the bow (use brown )for hello kitty crochet pattern
- (3ch,2tr,3dc,3ch,sl)*2 in to magic ring
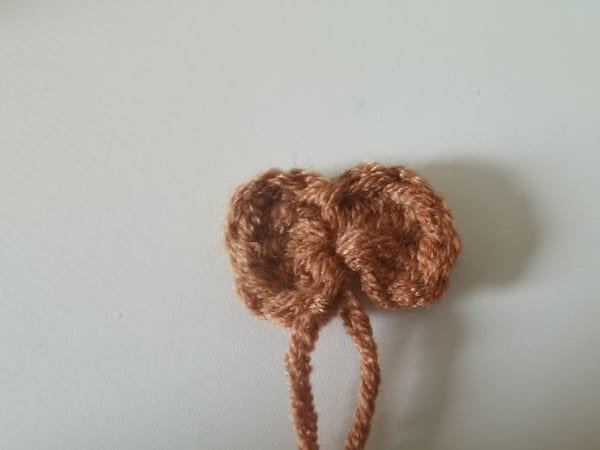
We begin by creating a magic ring. After that, we incorporate the next steps into the magic ring a total of two times:
(Ch 3, 2 tr, 3 dc, Ch 3, sl st)
This method for small bows works perfectly.
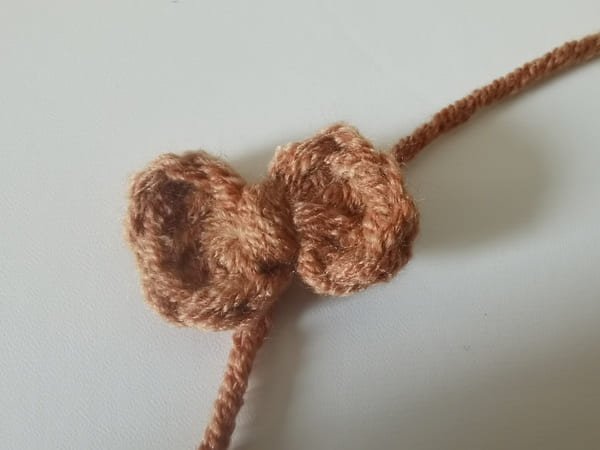
Use the excess yarn to make a knot in the middle of bow.
Crochet the body (use rice white & brown )for hello kitty crochet pattern
- R1:5sc in to magic ring(5)
- R2:inc*5(10)
- R3:10sc(10)
- R4-R6:20sc(20)
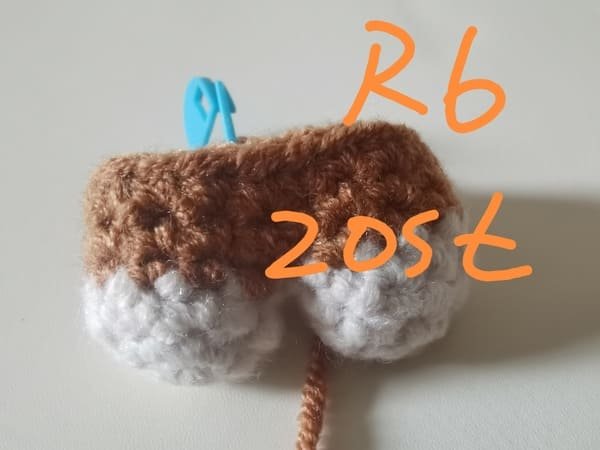
- R7:3sc,dec,8sc,dec,5sc(18)
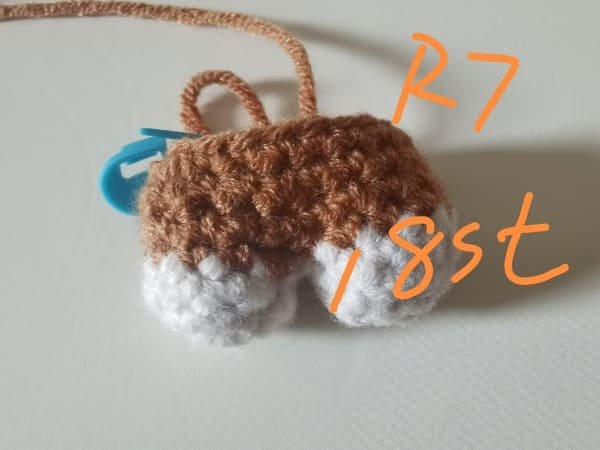
- R8:18sc(18)
- R9:(sc,dec)*6(12)
- R10:2sc, put arm 2sc,4sc,put arm 2sc,2sc(12)
- Fiberfill
R1:we will begin using a magic ring and perform 5 single crochets into it. Use the ring’s string to tighten and close the center. (5 stitches total)
Want to learn magic ring , please click:How To Crochet Magic Ring ? l Step-By-Step l Video & Text &Photo
R2: We get two single crochets added into each stitch which gives us a total of 10 stitches after 5 increases. (10 stitches).

R3: We do 1 single crochet in every stitch all around. This maintains the stitch count. (10 stitches)
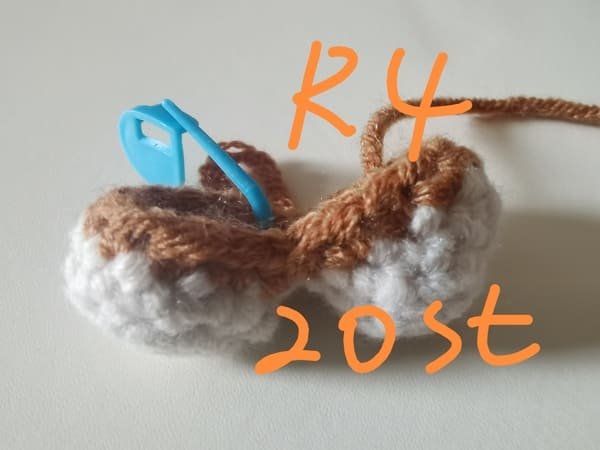
R4: Change the brown yarn firstly.
Use brown yarn to put the two feet together.
It is easy to make mistakes here. When you finish crocheting the first single crochet, you should use the yellow marking button. When you finish crocheting the last single crochet, you should buckle the blue marking button.
You should count the total number of stitches completed to see if it is 20.
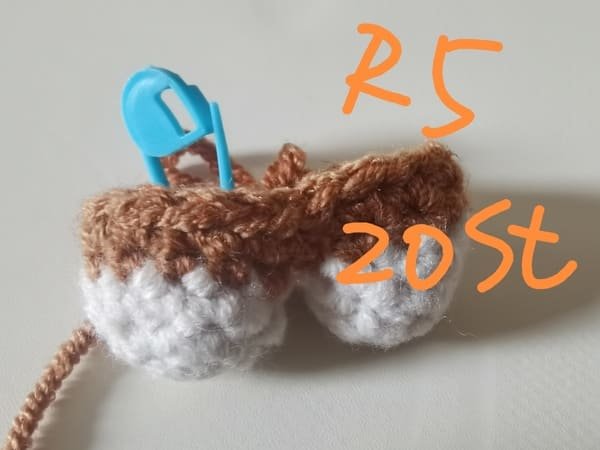
R5: We do 1 single crochet in every stitch all around. This maintains the stitch count. (20 stitches)
R6:Same as round 5.
R7: Begin with 3 single crochets, followed by a decrease. 8 single crochets, another decrease, and finish with 5 single crochets. (18 stitches total)
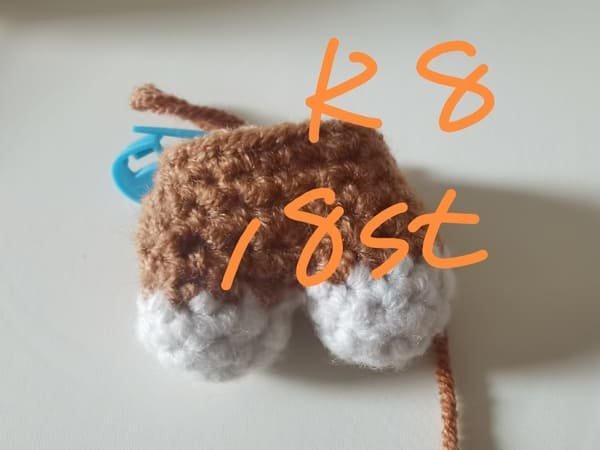
R8: We do 1 single crochet in every stitch all around. This maintains the stitch count. (18 stitches)
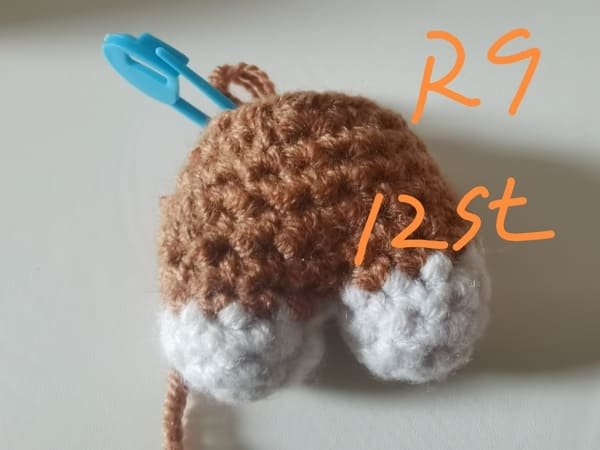
R9: We crochet 1 single crochet followed by 1 decrease for a total of 6 times. (12 stitches total).
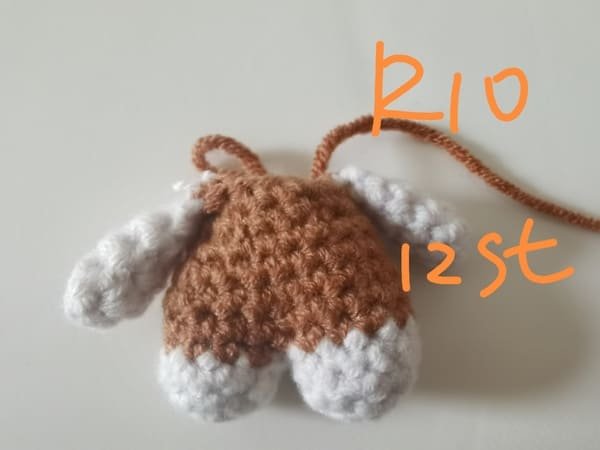
R10:2sc, put arm 2sc,4sc,put arm 2sc,2sc(12)
- Crochet 2 sc in 2ch
- Put arm ,then crochet 2 sc in next 2ch
- 4 sc in next 4 ch
- Put arm again,then crochet 2 sc in next 2ch
- Finally, crochet 2 sc in 2 ch. (12 stitches total).

Using our fingers or a small tool, we carefully fill the hole on Hello Kitty’s body with fiberfill, ensuring to stuff it into all the edges and corners. It is important that we spread out the stuffing properly so that the body is shaped, firm, and soft enough to be cuddly. This step is important to help maintain the rounded form which is so adorable on Hello Kitty.
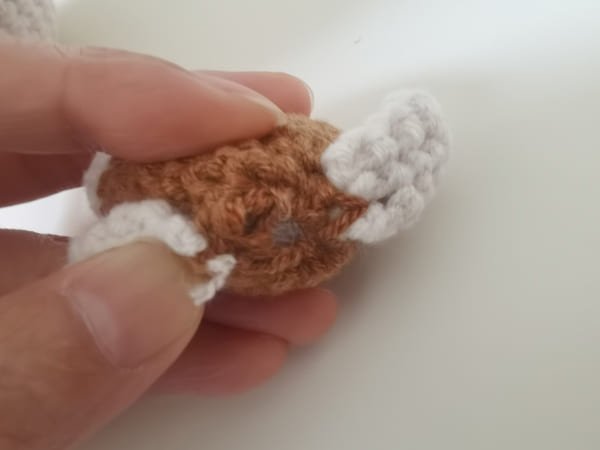
Fiberfill is completed for body for hello kitty crochet pattern.
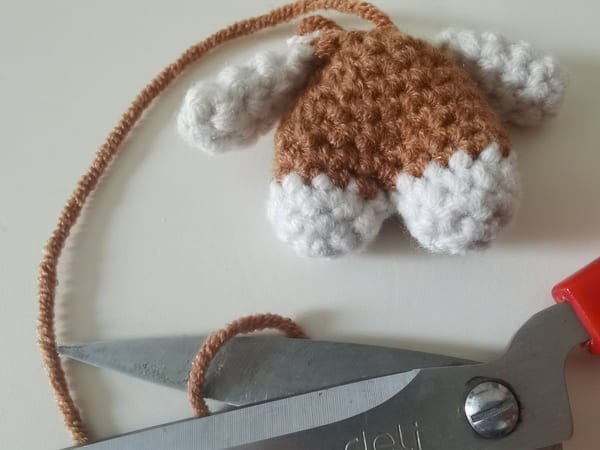
Leave 10 cm and cut yarn end, and use hook to bring out the yarn end .
Using a yarn needle allows us to close it by picking up 12 front stitches . then closing is so smaller than before.
Sew the ear on the head
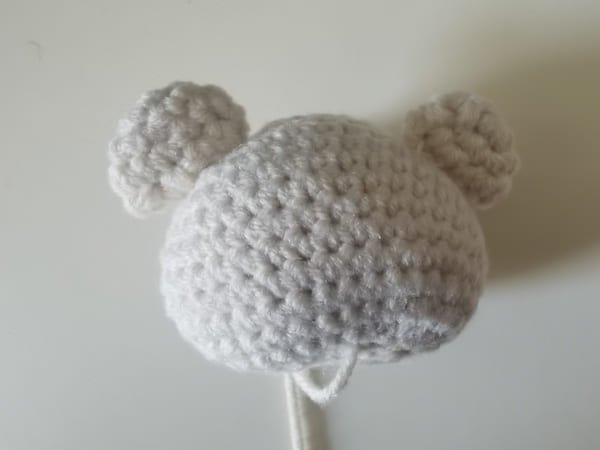
Sew ear: use the yarn needle to sew the ear on the round 3-round 7.
The ears should be symmetrical.
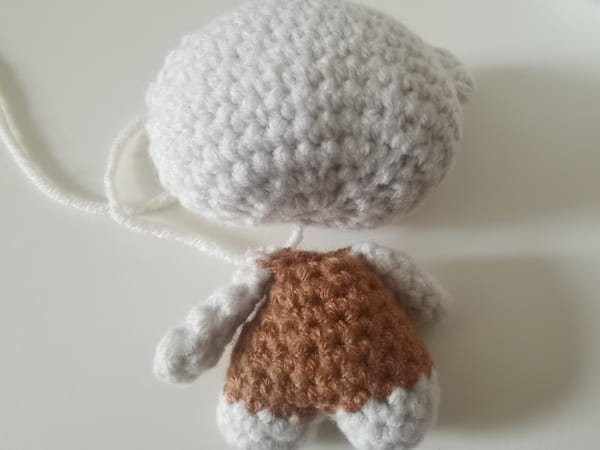
Place the body under the head and sew the two together using a yarn needle, one stitch up and one stitch down method to sew it .
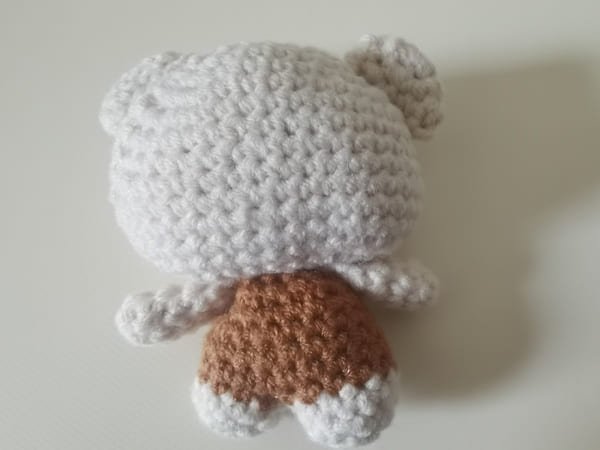
Sew the body and head is completed.
This type of sew is difficult for beginners, so we will make a video to explain it later.
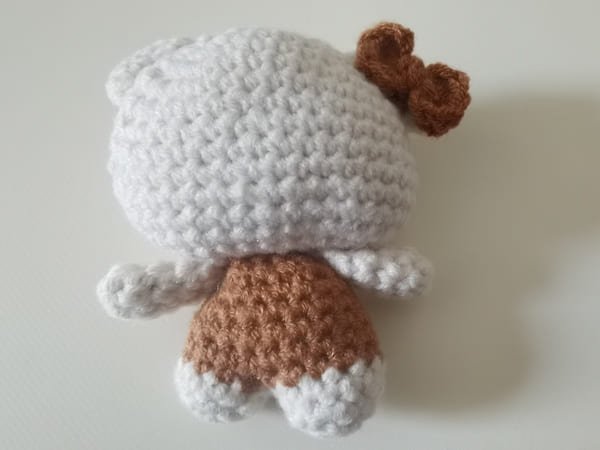
Sew the bow on the light ear of hello kitty.
Safety eyes:glue the eyes on the round 7, left 4 stitches between the two eyes.
Safety mouth:glue the mouth on the round 9,right below the eyes.
Sew whiskers: use brown yarn to sew the whiskers around the eyes.
Apply blush:put blush under the eyes to make hello kitty more cute.
Reference sources
1.Learn the most comprehensive guide for single crochet(sc)
Author:Sarah Stearns
Publication date: on June 15, 2021, updated:December 14, 2024
Title: How to single crochet (sc)for beginners
Summary as blow:
- Step-by-Step Single Crochet for Beginners
- Single Crochet into a Foundation Chain
- Single Crochet into another Row
- Single Crochet in the Round
- Increases and Decreases
- Working Single Crochet in Different Loops


