


Crochet Bag Granny Square Free Pattern | Step-by-Step Tutorial
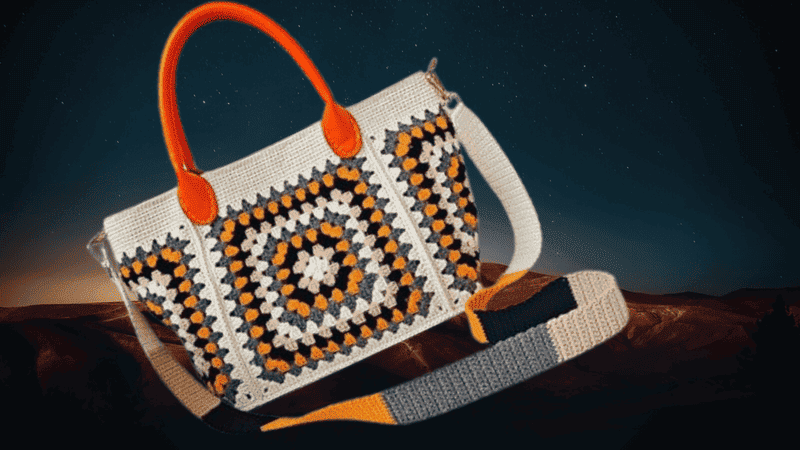
Table of Contents
Crochet bag granny square : The technique of crocheting ‘granny squares’ is classic and timeless and adds personality and color to any project. One of our favorite uses of granny squares is in bags—they are not only fun to crochet; they also form an accessory that is versatile and stylish with a splash of color.
In this tutorial, we will take you through the procedure of making your very own Crochet Granny Square Bag. Be you a novice or an advanced crocheter, you will find this project to be interesting and easy to work on.
Why we love granny square bags
Beyond simply being a crochet stitch which elicits a certain nostalgia, granny squares remind us of the bags we so fondly crochet because:
The unlimited color combinations of yarn, and the ability to create intricate and beautiful pieces of art, are a true reflection of our personalities.
Granny squares are constructed in a modular fashion so individual squares can be crocheted, and are then conveniently assembled, making the project far more manageable.
Granny squares add texture and visual interest as even the most simple of bags can be transformed into a delightful, handcrafted masterpiece.
The stitch is also offered at a more beginner level, but even then, there is scope for experimentation with the stitches and edging.
Granny square bags are a thoughtful and unique gift as we find that they are also perfect for casual outings, and beach trips.
Material kit for crochet bag granny square
💙hook & yarn needle & marker buckle : https://amzn.to/3TXavWn
💙handle:https://amzn.to/4nkuEme
💙cotton yarn : https://amzn.to/4pGAZtW
💙clasp hooks kit:https://amzn.to/422FcOj
💙magnetic buckle:https://amzn.to/3KyCZUG
💙plastic grid plate: https://amzn.to/3K93sIy
Abbreviation for crochet bag granny square
- ch = Chain stitch
- sc = Single crochet
- sl =Slip stitch
- st(s) =Stitch(es)
- R=Round
- dc=Double crochet
Base stitch for beginners
We’ve all been there! Here are some basic stitch we’ve learned along the way:
How To Crochet Magic Ring ? l Step-By-Step l Video & Text &Photo
Chain Stitch |Step By Step Guide| Text & Photo &Video
Single Crochet-You Want To Know The Most Detailed Information
Half Double Crochet In The Round-The Complete Guide
Double Crochet Stitches For Beginners
Video for crochet bag granny square
The aim of this video is to demonstrate a sequential approach to crocheting a granny square bag. We provide a comprehensive description for each component—from the creation of individual granny squares to the construction of handles and the final assembly of the bag.
This video is targeted at attendees of all levels—novices and seasoned crocheters alike—and we emphasize the importance of crocheting along to create your very own bag!
Crochet big pieces( bag body)
| Round | Pattern | Notes |
|---|---|---|
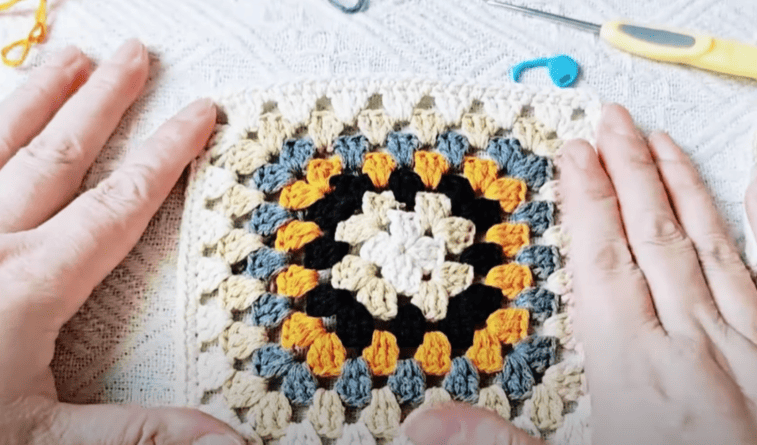
| R1 | We start with 3 chains (3ch), then make 2 double crochets (2dc), 3 chains (3ch), and repeat (3dc, 3ch) three times. Join with a slip stitch (sl) to end the round, and make 1 chain (ch) to secure it. | We should now have a small square base with 4 corners formed by the chain-3 spaces. |
| R2 | We crochet 3ch, 2dc, 3ch, 3dc, ch, then repeat [(3dc, 3ch, 3dc), ch] three times. Join with sl, and make 1ch to fix it. | The corners continue to grow with (3dc, 3ch, 3dc). |
| R3 | We crochet 3ch, 2dc, 3ch, 3dc, ch, 3dc, ch, then repeat [(3dc, 3ch, 3dc), ch, 3dc, ch] three times. Join with sl, and ch to fix. | Each side now has two (3dc) clusters separated by chains. |
| R4–R11 | We continue in the same way, increasing each side with an extra (3dc, ch) cluster between the corners in each new round. | As we go, our square will gradually get larger and more defined. |
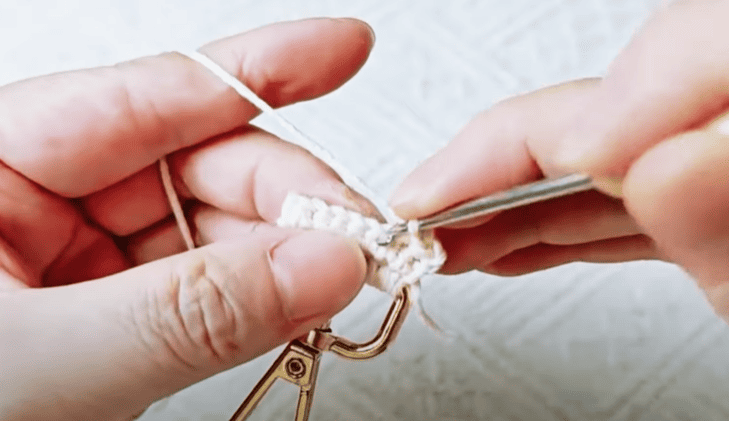
| R12 | In the corner spaces, we make 3 single crochets (3sc); in each regular stitch across the sides, we make 1 single crochet (1sc). Join with an invisible slip stitch and weave in the yarn ends. | This round creates a clean and sturdy edge. |
| Finish | We need to crochet 4 pieces in total using the same pattern. | These 4 pieces can later be joined to form the body of a bag or another project. |
Crochet small pieces bag bottom)
| Round | Pattern | Notes |
|---|---|---|
| R1 | We start with 3 chains (3ch), then make 2 double crochets (2dc), 3 chains (3ch), and repeat (3dc, 3ch) three times. Join with a slip stitch (sl) to end the round, then make 1 chain (ch) to secure it. | After this round, we’ll have a small square base with 4 chain-3 corners. |
| R2 | We crochet 3ch, 2dc, 3ch, 3dc, ch, then repeat [(3dc, 3ch, 3dc), ch] three times. Join with sl and make 1ch to fix it. | Each corner has (3dc, 3ch, 3dc), forming a growing square shape. |
| R3 | We crochet 3ch, 2dc, 3ch, 3dc, ch, 3dc, ch, then repeat [(3dc, 3ch, 3dc), ch, 3dc, ch] three times. Join with sl, then ch to secure. | Now each side has two (3dc) clusters separated by chain spaces. |
| R4–R7 | We continue in the same pattern, adding one more (3dc, ch) cluster between the corners on each side for every new round. | As we build, our square becomes larger and more defined. |
| R8 | In the corner spaces, we make 3 single crochets (3sc); in each regular stitch along the sides, we make 1 single crochet (1sc). Finish with an invisible slip stitch, then weave in the yarn ends. | This creates a smooth and clean border edge. |
| Finish | We need to crochet 2 identical pieces following the same pattern. | These two squares can later be sewn or crocheted together to form the main body of a bag or another project. |
Sew bottom with body
| Step | Instructions | Our Tips |
|---|---|---|
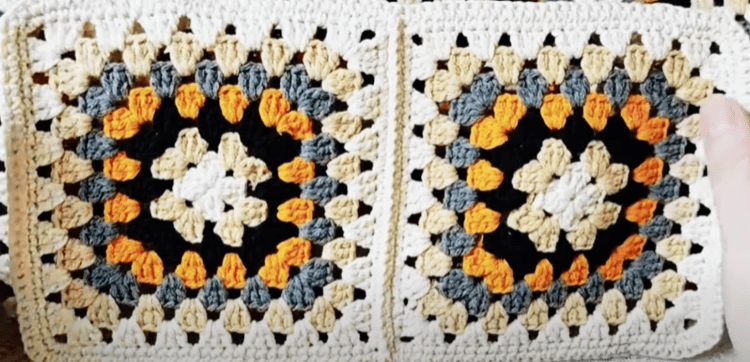
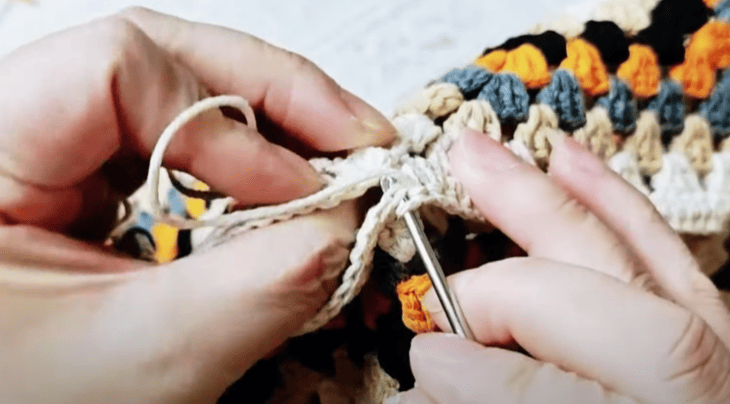
| 1. Join the Two Bottom Pieces | We align the two bottom pieces (right sides facing out or in, depending on your design). Then, we join them stitch to stitch using slip stitches all the way around. | Keep an even tension while working the slip stitches for a neat edge. Slow down at the corners to make sure each stitch lines up perfectly. |
| 2. Join the Four Body Pieces | We align the four body pieces Join each side stitch to stitch using slip stitches until the body is completely assembled. | After joining each section, open it flat and check for twisting. For extra strength, we can make a small knot at key points after slip stitching. |
| 3. Attach the Body to the Bottom | We use stitch markers to match the key points of the bottom and body (for example, every 10 stitches or at the top of each motif). Then, we join them stitch to stitch with slip stitches all the way around. | Make sure all markers line up before sewing to avoid misalignment. Around raised or angled parts, take your time—add a few extra stitches or single crochets (sc) to balance the tension if needed. |
Crochet opening
| Round | Pattern | Notes |
|---|---|---|
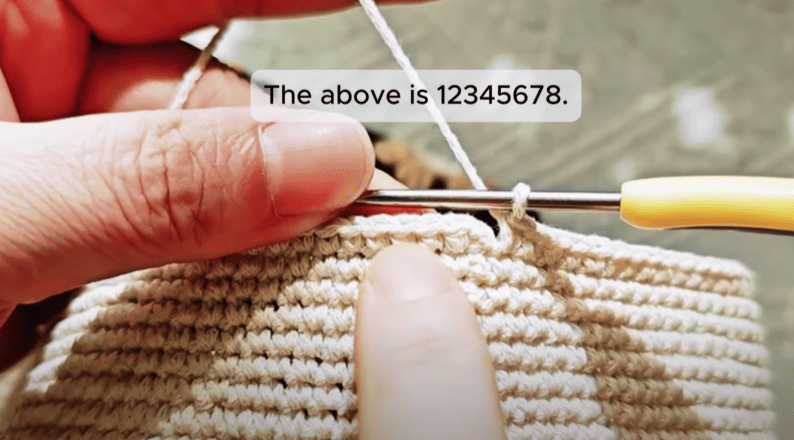
| R1 | We start with a chain (ch), then crochet 1 single crochet (sc) in each stitch. When we reach a corner or raised edge, we make 3 single crochets (3sc) in the same stitch. | This helps the piece stay flat and gives a neat rounded edge at the corners. |
| R2–R8 | We chain 1 (ch) at the beginning of each round, then make 1 single crochet (sc) in every stitch around. | Continue evenly; these rows build height and strengthen the edge. |
| R9 | We slip stitch (sl st) in each stitch around. For the last stitch, we make an invisible slip stitch to finish neatly. | Conceal or weave in the yarn end securely to complete the piece. |
Cut & sew mesh grid on the bottom
| Step | Instructions | Our Tips |
|---|---|---|
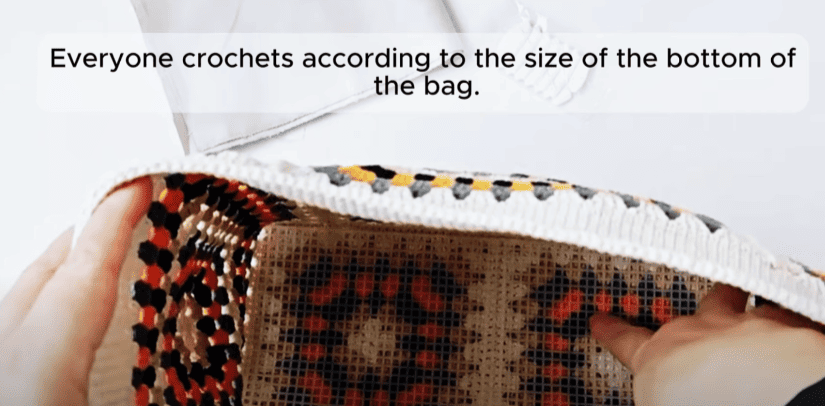
| 1. Trim the Mesh Piece | We trim the mesh piece to match the size of the bag bottom. It should be slightly smaller than the actual bottom piece. | Keeping it a bit smaller helps it fit neatly inside without bulging. |
| 2. Place the Mesh Inside | We place the trimmed mesh piece inside the bag bottom, positioning it evenly. | Make sure the mesh lies flat and covers the central area completely. |
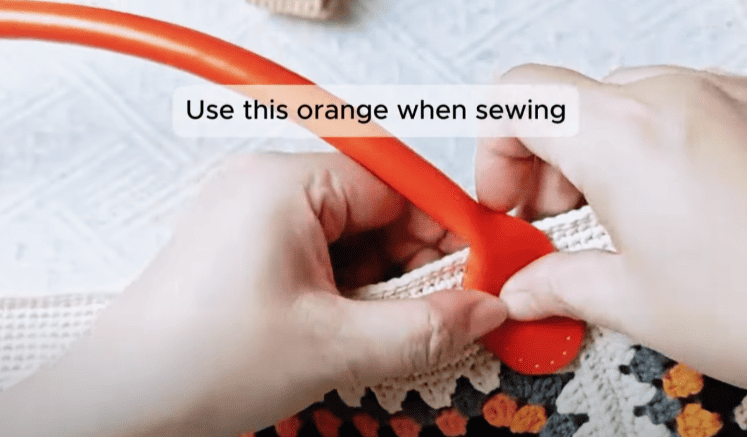
| 3. Sew the Mesh to the Bottom | Using a hand yarn needle, we carefully sew the mesh onto the bag bottom. | Stitch it firmly and evenly so the mesh stays secure and looks clean from both sides. |
Make & sew lining bag
| Step | Instructions | Our Tips |
|---|---|---|
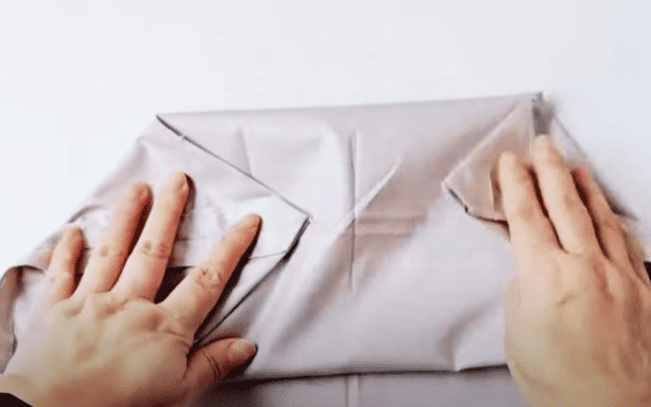
| 1. Mark the lining fabric | We measure the inside of the bag and mark the correct positions on the lining fabric based on the bag’s interior dimensions. | Double-check the measurements before cutting to ensure a perfect fit. |
| 2. Make the lining shape | We sew a triangular-shaped lining bag that fits a 12 cm bag bottom. | The lining should match the shape of the bag bottom and sides for a snug fit. |
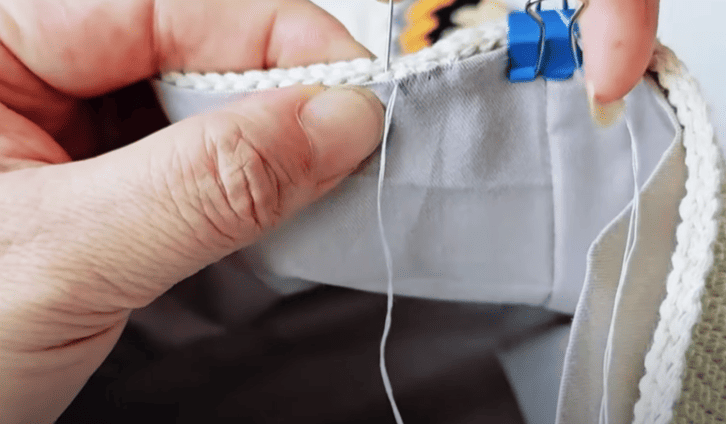
| 3. Sew the lining to the bag | We place the finished lining inside the bag with the side edges aligned to the bag body. Then, we use clips to hold it in place. With a yarn needle and thread, we sew each stitch twice for extra strength, keeping the stitches even and neat. | Make sure the lining sits flat and the stitching is clean and consistent all around the edge. |
Crochet strap
| Step | Instructions | Our Tips |
|---|---|---|
| 1. Round 1 (R1) | We start by making 8 single crochets (8sc) around the buckle ring. | Make sure the stitches are evenly spaced around the ring for a smooth and tidy look. |
| 2. R2 to the End | From Round 2 onward, we chain 1 (ch), flip over, and crochet 8 single crochets (8sc) in each row. We continue crocheting until the strap measures about 1 to 1.2 meters, depending on our height and preference. | We can adjust the strap length to suit our body height or personal style. You can also change yarn colors or textures if you like. |
| 3. Attach the Strap | Once finished, we attach the other end of the strap to the second buckle ring using a yarn needle. Sew securely and hide the yarn ends neatly after stitching. | Double-stitch for extra durability, especially if the bag will carry more weight. |
| 4. Final Step | After attaching, we stretch the strap and gently iron it at a low temperature to set the shape. | This step removes any elasticity so the strap stays firm and doesn’t stretch over time. |
Install strap
| Step | Instructions | Our Tips |
|---|---|---|
| 1. Sew on the D buckle | We sew the D buckle onto both sides of the bag body. | Position the D-buckle evenly and make sure they are firmly sewn to handle the weight of the bag. |
| 2. Attach the Strap | We hook the crocheted strap (with buckle rings attached) onto the D-buckle to complete the strap installation. | Check that both sides are secure and adjust the strap length before final use. |
Sew handle
| Step | Instructions | Our Tips |
|---|---|---|
| 1. Sew the Handles to the Opening | We sew the handles onto the bag opening. The sewing position can be adjusted based on the handle size and our preferred look. | Make sure both handles are aligned evenly on each side before sewing. |
| 2. Secure and Finish | We sew firmly and neatly so the handles stay in place. After finishing, we cut the yarn and weave in the extra ends carefully. | Reinforce the stitching if needed, especially for thicker handles or heavier bags. |
Reference sources
1.Learn the most comprehensive guide for single crochet(sc)
Author:Sarah Stearns
Publication date: on June 15, 2021, updated:December 14, 2024
Title: How to single crochet (sc)for beginners
Summary as blow:
- Step-by-Step Single Crochet for Beginners
- Single Crochet into a Foundation Chain
- Single Crochet into another Row
- Single Crochet in the Round
- Increases and Decreases
- Working Single Crochet in Different Loops


