Crochet Lucky Bag Tutorial: A Step-by-Step Guide For Beginners
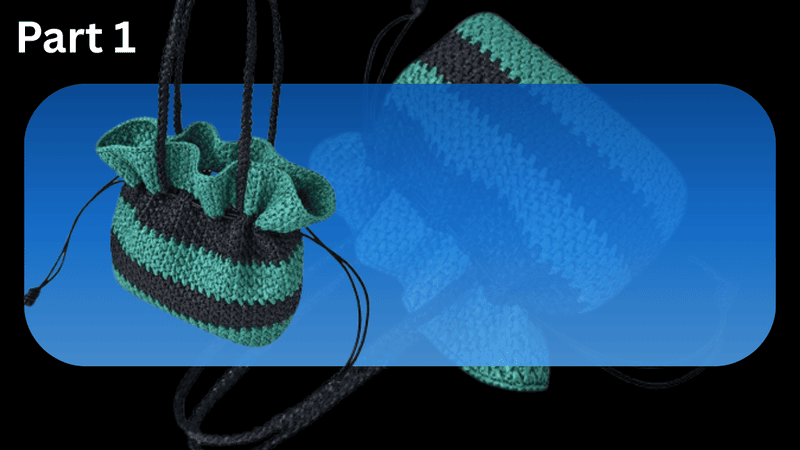
Table of Contents
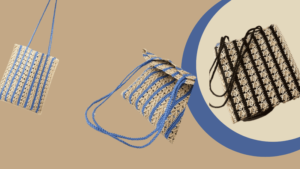
Crochet lucky bag: creating a lucky bag through crochet is a simple yet meaningful work of art. A lucky bag symbolizes prosperity, gifts, and new opportunities in a number of cultures.
It doesn’t matter whether you crochet it as a gift, a decorative pouch, or even a fashion accessory, this project is quick, gorgeous, and remarkably charming.
In this tutorial, we will work together to crochet a Crochet Lucky Bag, starting from yarn and tool selection, and ending with every stitch that forms the outline.
We will also offer personalisation suggestions and styling advice to ensure you make your lucky bag as unique as possible.
Base stitch for beginners
We’ve all been there! Here are some basic stitch we’ve learned along the way:
How To Crochet Magic Ring ? l Step-By-Step l Video & Text &Photo
Chain Stitch |Step By Step Guide| Text & Photo &Video
Single Crochet-You Want To Know The Most Detailed Information
Half Double Crochet In The Round-The Complete Guide
Double Crochet Stitches For Beginners
Material kit for crochet lucky bag
💙hook & yarn needle & marker buckle : https://amzn.to/3TXavWn
💙raffia yarn :https://amzn.to/4nsehUb
💙d buckle: https://amzn.to/41Q9wf4
💙8*18cm leather bottom:https://amzn.to/4pjHZwF
💙chain strap: https://amzn.to/4n3UVF6
Abbreviation for crochet lucky bag
- ch = Chain stitch
- sc = Single crochet
- sl =Slip stitch
- st(s) =Stitch(es)
- R=Round
- dc=Double crochet
- sk=Skip
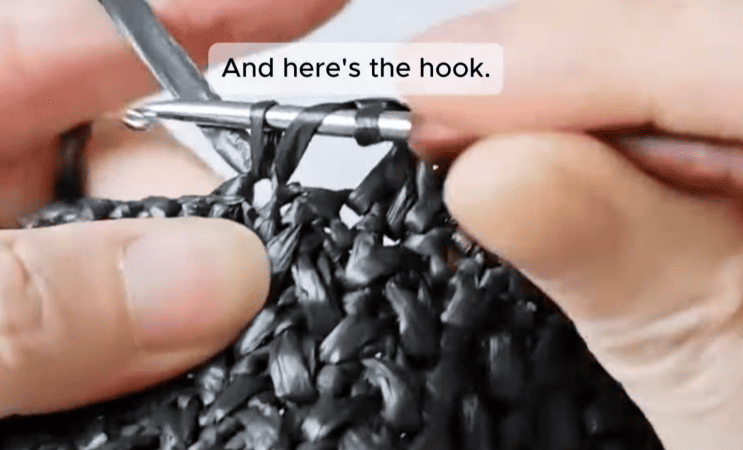
Video for crochet lucky bag
We’ll demonstrate how to crochet a Lucky Bag with this video!
Starting with a base, we build the body and end with a nice drawstring top.
Every stitch is easy to follow. This project is fun and meaningful, regardless of whether you use cotton yarn or raffia.
Come, crochet with us, relax, and let’s create a lucky bag which is blessed with joy wherever we go!
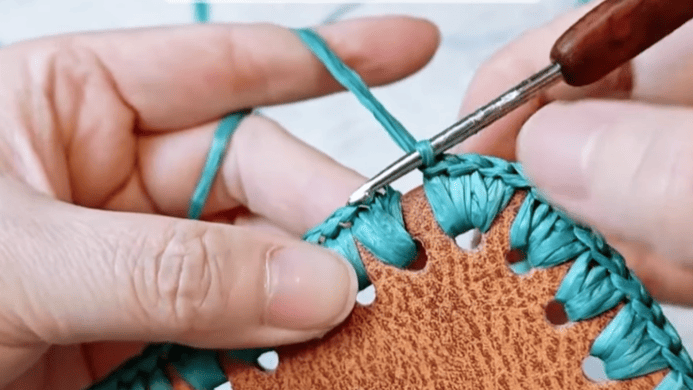
Crochet bottom
| Section | Hole Group Pattern | Example (per group) | Total Groups / Sides |
|---|---|---|---|
| Straight Edges (Long Sides) | Three holes per group | (2sc, 2sc, 3sc) | 2 sides |
| Corners (Turning Points) | Three holes per group | (3sc, 4sc, 3sc) | 4 corners |
| Straight Edges (Short Sides) | Two holes per group | (2sc, 3sc, 2sc) | 2 sides |
| Base Size | — | 8 × 18 cm | — |
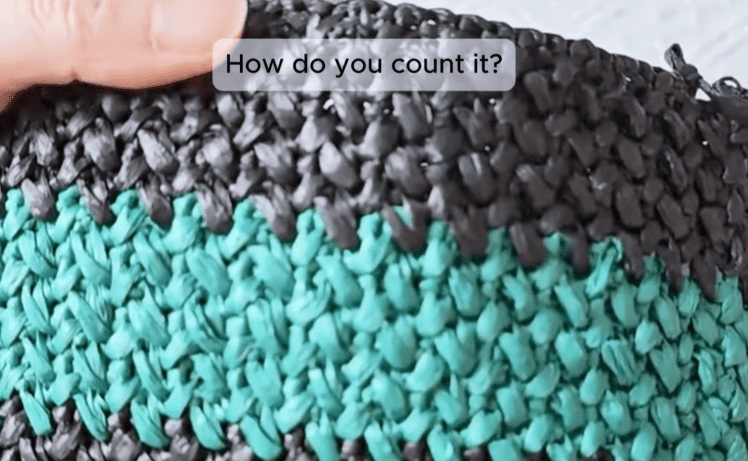
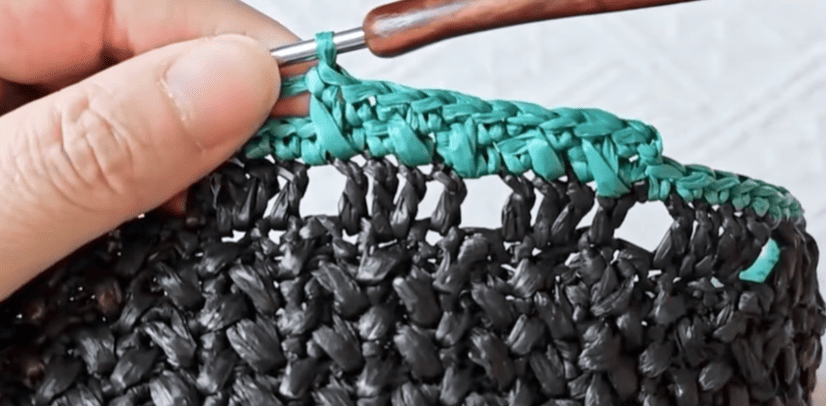
Crochet body
| Row(s) | Instruction | Notes |
|---|---|---|
| R1 | ch, 11sc; sl to end | Forms the foundation row |
| R2 | ch, (sc, pattern stitch, sk1) × 55 groups; work in forward direction; flip over; sl to end | Begin pattern rows |
| R3 | ch, (sc, pattern stitch, sk1) × 55 groups; work in reverse direction; sl to end | Alternate direction |
| R4–R9 | Repeat R2–R3 | Continue alternating rows |
| End of R9 | sl st to the last stitch, ch to fix, conceal yarn end | Finish first color section |
| R10–R17 | (Change yarn) Repeat R2–R9 | Second color section |
| R18–R25 | (Change yarn) Repeat R2–R9 | Third color section |
| R26–R33 | (Change yarn) Repeat R2–R9 | Fourth color section |
Crochet drawstring hole part
| Section | Stitch Pattern | Repeat / Groups | Notes |
|---|---|---|---|
| Start | (dc, 2dc, dc, ch, sk1) | × 10 groups | Begin base pattern |
| Side 1 | (dc, dc, 2dc, dc, ch, sk1) | 1 group | First side corner |
| Body | (dc, 2dc, dc, ch, sk1) | × 12 groups | Continue along the edge |
| Side 2 | (dc, 2dc, dc, 2dc, ch, sk1) | 1 group | Second side corner |
| End Section | (dc, 2dc, dc, ch, sk1) | × 3 groups | Final section before joining |
| Finish | sl st to end, ch to fix, conceal yarn end | — | Complete the round neatly |
Crochet opening
| Row(s) | Instruction | Stitch Count / Groups | Direction | Notes |
|---|---|---|---|---|
| R1 | ch, sc in each stitch, sc in each ch | 138 sts | — | Foundation row |
| R2 | ch, (sc, pattern stitch, sk1) × 69 groups | 69 groups | Forward | Work across, flip over, sl st to end |
| R3 | ch, (sc, pattern stitch, sk1) × 69 groups | 69 groups | Reverse | Work across, sl st to end |
| R4–R9 | Repeat R2–R3 | 69 groups | repeat 3 times | Continue alternating forward and reverse rows |
| R10 | sl st in each chain stitch; use yarn needle to make invisible join; conceal yarn end | 138 sts | — | Finishing round |
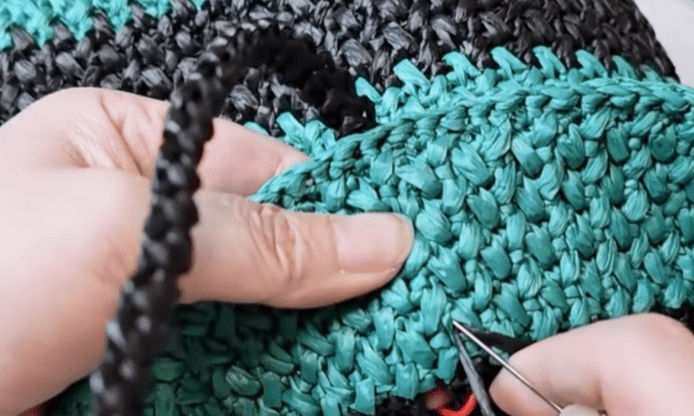
Crochet handle

- Make a tail of 20 centimeters.
- Using a crab stitch, crochet a handle which can be 35 to 48 cm long, changing the length to suit your preference or bag style.
- During the final stitch, the yarn end that will be used for weaving the handle should be left. yarn end should be pulled to a distance, which will be used for weaving.
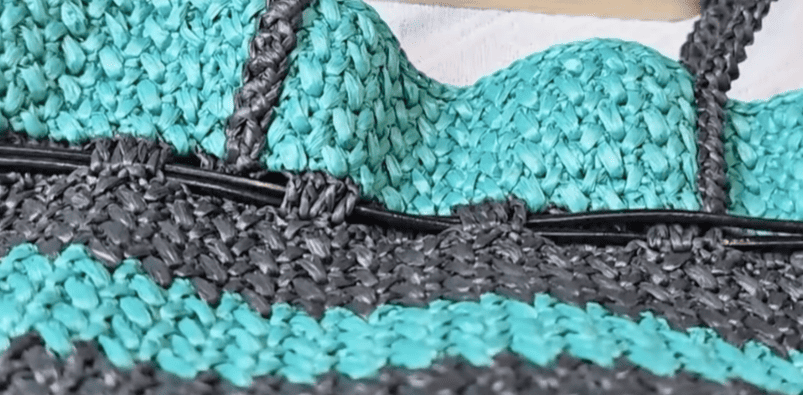
Sew handle
| Step | Instruction |
|---|---|
| 1 | Find the highest point of the black section below the bag opening. |
| 2 | From the bag opening, measure 10 cm to the left and 10 cm to the right. |
| 3 | Place a stitch marker at the intersection point of Steps 1 and 2. |
| 4 | Position the strap at the marked point and tuck the pointed end of the strap inside. |
| 5 | Align the bottom edge of the strap with the black edge of the bag. Insert the needle in one stitch and bring it out through the same spot, making sure the black sewing thread is not visible outside. |
| 6 | After sewing is complete, cut the yarn and weave in the ends neatly. |
Put drawstring rope in the hole
| Step | Instruction |
|---|---|
| 1 | Insert the drawstring from the side of the bag, weaving it in and out through each hole (one hole in, one hole out). |
| 2 | When you reach the end, leave the last two holes open. Thread the drawstring out through the space of the last stitch in the second-to-last hole. |
| 3 | Repeat the same process with the other drawstring on the opposite side. |
| 4 | After threading, there will be two short ends of the drawstrings left on each side. Pull both ends outward to tighten and shape the bag into a lucky bag form. |
| 5 | Tie the two ends on each side into a slip knot. This will make the bag look neater and more polished. |
Sew D buckle
| Step | Instruction |
|---|---|
| 1 | Locate the sewing positions on both sides of the bag, two rows below the bag opening. |
| 2 | Place the D-buckle at the corresponding positions and use a yarn needle to sew several times to make them more secure. |
| 3 | Finally, attach the chain strap to the D-buckle on both sides of the bag. |
Reference sources
1.Learn the most comprehensive guide for single crochet(sc)
Author:Sarah Stearns
Publication date: on June 15, 2021, updated:December 14, 2024
Title: How to single crochet (sc)for beginners
Summary as blow:
- Step-by-Step Single Crochet for Beginners
- Single Crochet into a Foundation Chain
- Single Crochet into another Row
- Single Crochet in the Round
- Increases and Decreases
- Working Single Crochet in Different Loops