


Crochet Envelope Bag Raffia Shoulder Bag – A Stylish Handmade Classic
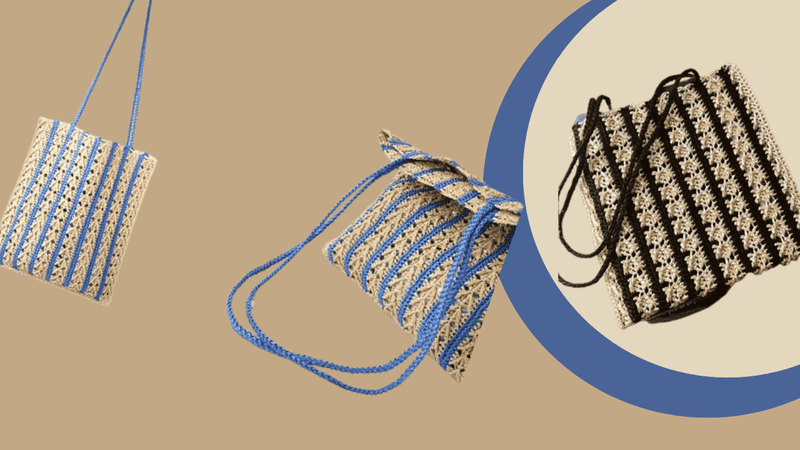
Table of Contents
Crochet envelope bag: we love how crochet projects can serve a purpose while maintaining a fashionable and handcrafted appeal. The crochet envelope bag made of raffia yarn is a perfect illustration of this. The design is sophisticated and modern which can be used on a day-to-day basis and on special occasions too. The envelope shape of the bag provides a clean and structured appearance and the sweet primitive raffia yarn is a great complement to warm weather.
This is a comprehensive guide which includes all the necessary steps, the materials to be used, the stitches, and the crocheting itself. Taking this guide, we can pursue crochet raffia bags with great ease and joy.
Why we love the crochet envelope bag
Let’s first discuss the significance of this design before we delve into the stitches and patterns.
The envelope shape is sleek and minimalistic which we adore. It adds refinement to an outfit whether you are heading to a café, shopping, or off to an occasion during the weekend.
The structure of the bag is accentuated superbly with raffia yarn. The finished bag is constructionally sound while being easy to hold and carry which is a plus. Not to mention, the raffia texture adds to the summery feel of the bag which is nice.
Material kit for crochet envelope bag
💙Raffia yarn: https://amzn.to/3KqdAwE
💙hook & yarn needle & marker buckle : https://amzn.to/3TXavWn
Abbreviation for crochet envelope bag
- ch = Chain stitch
- sc = Single crochet
- sl =Slip stitch
- st(s) =Stitch(es)
- R=Round
- dc=double crochet
- sk=Skip
- Tr=Treble crochet
Video for crochet envelope bag
This video demonstrates crocheting a fashionable envelope bag with raffia yarn. We crochet the bag’s body using a combination of double crochet and treble crochet stitches which we then sew together.
The strap, crocheted using crab stitches, is also seamlessly attached for a refined, hand-crafted appearance.
Crochet body
| Row / Step | Instructions | Notes |
|---|---|---|
| Foundation Chain | We start with a foundation chain that is a multiple of 4 + 2 chains + 3 turning chains. | This creates the base width of our panel. |
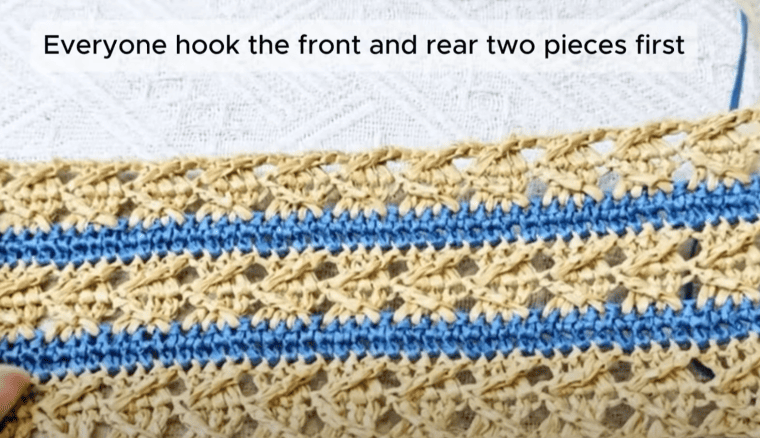
| R1 | Crochet backward 6 stitches from the hook. [(dc, dc, dc, crossed treble crochet on front side), sk 1], repeat this pattern, then dc to end. | Creates the first texture round. |
| R2 | Ch 3, flip over, crochet backward 4 stitches from the hook. [(dc, dc, dc, crossed treble crochet on back side), sk 1], repeat, then dc to end. | This completes the first pattern pair. |
| R3–R4 | Change yarn, ch 1, flip over, and sc in each stitch across both rows. | Two rounds of single crochet form one group. We crochet 7 groups in total. |
| R5 | Ch 3, flip over, sk 1, [(dc, dc, dc, crossed treble crochet on front side), sk 1], repeat, then dc to end. | Start the flower pattern section. |
| R6 | Ch 3, flip over, sk 1, [(dc, dc, dc, crossed treble crochet on back side), sk 1], repeat, then dc to end. | Two rows form one flower pattern group. Crochet 6 more groups. |
| Pattern Repeat Summary | Two rows of single crochet (R3–R4) = one plain group (7 groups total). Two rows of crossed treble pattern (R5–R6) = one decorative flower group (8 groups total including first two). | Keep alternating for a balanced texture. |
| Two pieces | We crochet two identical pieces— one for the front and one for the back. | Both panels follow the same pattern. |
| Final Size | Each finished piece measures 28 cm high × 24 cm wide. | The perfect size to hold a book or small tablet. |
| Finishing Step | Since we use raffia yarn, we press both pieces at low temperature (around 80°C) to flatten and shape them evenly. | Be careful not to overheat raffia yarn. |
Sew body

| Step | Instructions | Notes |
|---|---|---|
| 1. Align the pieces | We place the two crochet pieces together with their back sides facing each other (so the right sides are facing outward). | This ensures the seams stay neat on the outside. |
| 2. Join with Single Crochet | We work 1 single crochet (sc) in each matching stitch along the edges to join the two pieces together. | Keep stitches even and tight for a clean seam. |
| 3. Crochet along the sides | For the side edges, we crochet 2 single crochets (2 sc) into each hole or side space. | This keeps the edge strong and uniform. |
| 4. Work the Corners | At each corner, we crochet 3 single crochets (3 sc) into the same stitch to form a natural rounded turn. | This helps shape the corners smoothly. |
| 5. Continue Around | We continue this process all the way around the bag body until both pieces are fully joined. | After finishing, fasten off and weave in any extra yarn ends. |
Crochet strap
| Step | Instructions | Notes |
|---|---|---|
| 1. Strap Length | We crochet a shoulder strap about 70 cm long to match the envelope bag’s size and style. | You can adjust the length slightly for your comfort. |
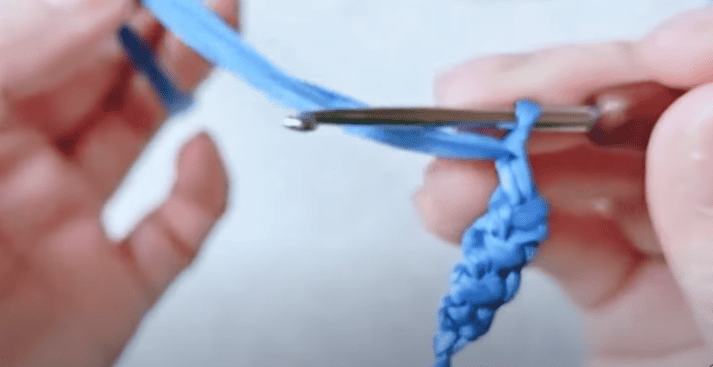
| 2. Start with Chains | We begin with 2 chains to start our base. | This prepares for the crab stitch pattern. |
| 3. Crochet with Crab Stitch | Using the crab stitch method (reverse single crochet), we crochet evenly along the length until the strap reaches about 70 cm. | The crab stitch creates a firm, twisted texture that’s strong and elegant. |
| 4. Finishing | Once the strap is finished, we fasten off and sew each end securely onto the sides of the bag opening. | Make sure both sides are even and tightly attached. |
Sew strap

| Step | Instructions | Notes |
|---|---|---|
| 1. Find the Sewing Position | We find the correct sewing spots by counting from the center of the bag opening, moving to the left and right until the second group of single crochet patterns on each side. | This keeps the strap balanced and symmetrical. |
| 2. Sew the Strap | Using a yarn needle, we sew the ends of the strap to the inside edge of the bag opening. | Sew neatly and evenly along the stitches. |
| 3. Secure and Finish | After sewing firmly, we hide and weave in any extra yarn ends to keep the inside clean and tidy. | Make sure the strap feels secure before use. |
Base stitch for beginners
We’ve all been there! Here are some basic stitch we’ve learned along the way:
How To Crochet Magic Ring ? l Step-By-Step l Video & Text &Photo
Chain Stitch |Step By Step Guide| Text & Photo &Video
Single Crochet-You Want To Know The Most Detailed Information
Half Double Crochet In The Round-The Complete Guide
Double Crochet Stitches For Beginners
Reference sources
1.Learn the most comprehensive guide for single crochet(sc)
Author:Sarah Stearns
Publication date: on June 15, 2021, updated:December 14, 2024
Title: How to single crochet (sc)for beginners
Summary as blow:
- Step-by-Step Single Crochet for Beginners
- Single Crochet into a Foundation Chain
- Single Crochet into another Row
- Single Crochet in the Round
- Increases and Decreases
- Working Single Crochet in Different Loops


