


Crochet Hammock Bag With Raffia Yarn: Step-by-Step Guide
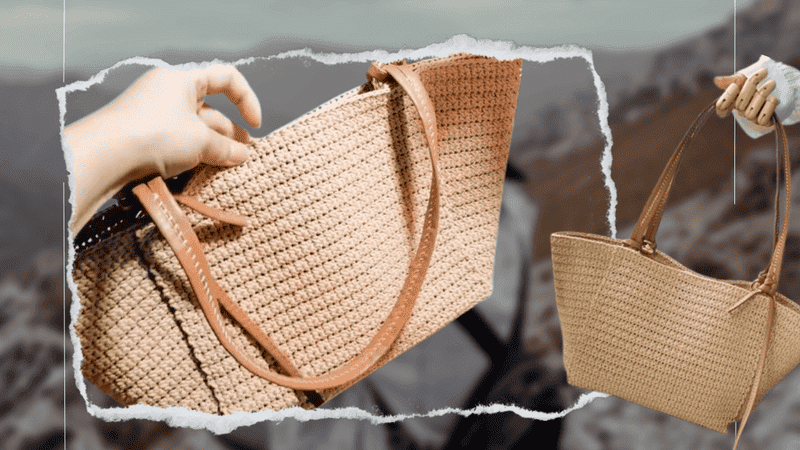
Table of Contents
Crochet hammock bag: very practical, stylish, and versatile, crochet bags have an irresistible appeal. Of all crochet bags, raffia yarn ones are most suited for leisurely, outdoor, summery times because of their lightweight, natural looks. This guide will focus on weaving raffia yarn into a crochet hammock-style bag, detailing and explaining every-step from materials to finish.
This will easily be the one-stop guide for anyone who wants to crochet a raffia yarn hammock-style bag. Every crocheting tip and technique, from the most basic to the most complex, will be outlined in this guide.
Material kit for crochet hammock bag
💙hook & yarn needle & marker buckle : https://amzn.to/3TXavWn
💙raffia yarn : https://amzn.to/4mjPwbQ
💙mesh grid: https://amzn.to/4ntrCMw
💙Magnetic snap buttons: https://amzn.to/3IK1D4e
Abbreviation for crochet hammock bag
- ch = Chain stitch
- sc = Single crochet
- sl =Slip stitch
- st(s) =Stitch(es)
- R=Round
- hdc=Half double crochet
- sk=Skip
Base stitch for beginners
We’ve all been there! Here are some basic stitch we’ve learned along the way:
How To Crochet Magic Ring ? l Step-By-Step l Video & Text &Photo
Chain Stitch |Step By Step Guide| Text & Photo &Video
Single Crochet-You Want To Know The Most Detailed Information
Half Double Crochet In The Round-The Complete Guide
Double Crochet Stitches For Beginners
Video for crochet hammock bag
The video illustrates ‘how to make a hammock using raffia yarn’ with particular focus on the creation of hammock bags.
Begining with a front & back piece, side panels, & bottom, sew together and afterward, the straps. Learn and follow each step to create one of the finest summer bags one can use.
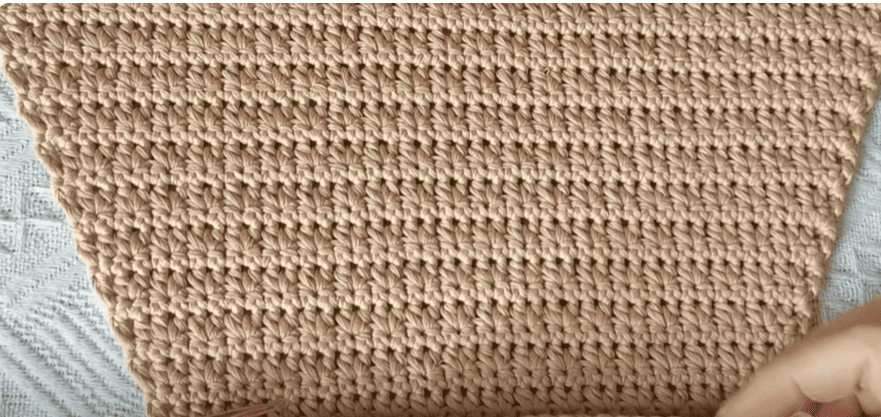
Crochet front & back piece

| Row | Instruction | Stitch Count / Notes |
|---|---|---|
| Foundation | 50 ch | Using 3 strands of yarn held together |
| R1 | 49 sc, in purl stitch | Work single crochet across the row |
| R2 | 2 ch, flip over, starting from 4th stitch from end: (2 hdc, sk1) repeat, hdc | Creates textured pattern |
| R3 | ch 1, flip over, 49 sc | Single crochet across |
| R4–R35 | Repeat R2–R3 | Alternate textured row |
Crochet two pieces for side
| Row | Instruction | Stitch Count / Notes |
|---|---|---|
| Foundation | 30 ch | Using 3 strands of yarn held together |
| R1 | 29 sc in each purl stitch | Single crochet across |
| R2 | 2 ch, flip over, start from 4th stitch from end: (2 hdc, sk1) repeat, hdc to end | Creates textured pattern |
| R3 | ch 1, flip over, 2 sc, 27 sc, 2 sc | Single crochet row |
| R4 | 2 ch, flip over, sk1, hdc, 2 hdc, (sk1, 2 hdc) *13, hdc, hdc | Textured row |
| R5 | ch 1, flip over, 2 sc, 29 sc, 2 sc | Single crochet row |
| R6 | 2 ch, flip over, (sk1, 2 hdc) *16, hdc | Textured row |
| R7 | ch 1, flip over, 2 sc, 31 sc, 2 sc | Single crochet row |
| R8 | Follow the same stitch pattern as R4 | Textured row |
| R9 | Follow the same stitch pattern as R5 | Single crochet row |
| R10 | Follow the same stitch pattern as R6 | Textured row |
| R11–R30 | Repeat every 3 rows as a group until R30 | Alternate textured and sc rows |
| R31 | ch 1, flip over, sc in each stitch | Single crochet row |
| R32–R33 | Repeat the stitch pattern of R29–R30 | Alternate textured and sc rows |
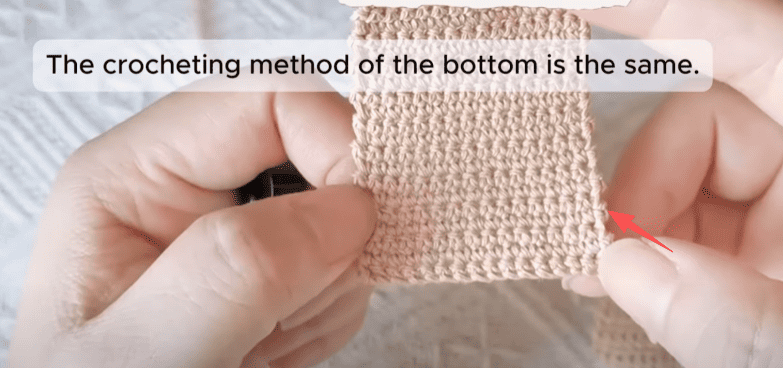
Crochet bottom
1.Start by crocheting a thick bottom piece using 3 strands of yarn held together
| Row | Instruction | Stitch Count | Notes |
|---|---|---|---|
| Foundation | 50 ch | 50 | Using 3 strands of yarn together |
| R1 | 49 sc, purl stitch | 49 | Work single crochet across, then crochet each purl stitch to finish |
| R2–R29 | ch 1, flip over, 49 sc in each chain stitch | 49 | Continue working single crochet rows for a total of 29 rows |
2.Then, crochet another thinner base piece using a single strand of yarn:2.00 mm hook
| Row | Instruction | Stitch Count | Notes |
|---|---|---|---|
| Foundation | 71 ch | 71 | Create the base chain |
| R1 | 70 sc, work into each purl stitch | 70 | Single crochet across the row |
| R2–R45 | ch 1, flip over, 70 sc in each chain stitch | 70 | Continue crocheting 45 rows in single crochet |
Sew bottom
| Step | Instruction | Details / Notes |
|---|---|---|
| 1 | Place thick piece | Put the thick crochet piece at the bottom |
| 2 | Add mesh piece | Place the cut-to-size mesh on top; mesh should be smaller so it doesn’t peek out |
| 3 | Insert rivets | Count 4 squares left & right, 7 squares up from bottom; insert 4 rivets; secure backs with tool |
| 4 | Place thin piece | Put the thin crochet piece on top of the mesh and thick piece |
| 5 | Sew layers together | Stitch thin to thick piece stitch by stitch, keeping mesh hidden |
Crochet two small pieces for magnetic buckle
Crochet two small pieces
| Row | Instruction | Stitch Count | Notes |
|---|---|---|---|
| Foundation | 16 ch | 16 | Create the base chain |
| R1 | 15 sc in purl stitch | 15 | Work single crochet across the row |
| R2–R20 | ch 1, flip over, 15 sc in each chain stitch | 15 | Continue single crochet for a total of 20 rows |
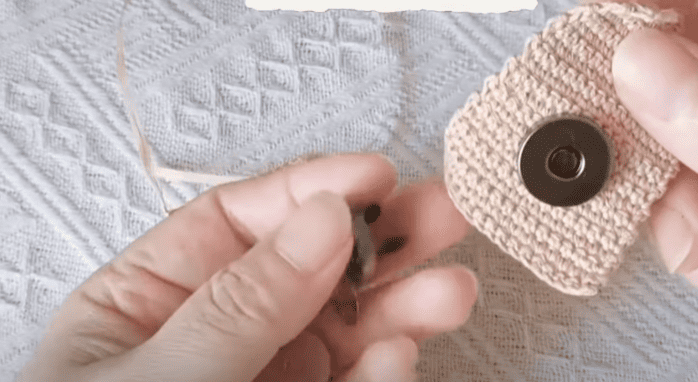
Install the magnetic buckle on the center of pieces
| Step | Instruction | Details |
|---|---|---|
| 1 | Attach magnetic buckle | Place the male and female magnetic buckle in the center of each of the two crochet pieces |
| 2 | Fix from the back | Use the tool on the back side to press and secure the buckle firmly |
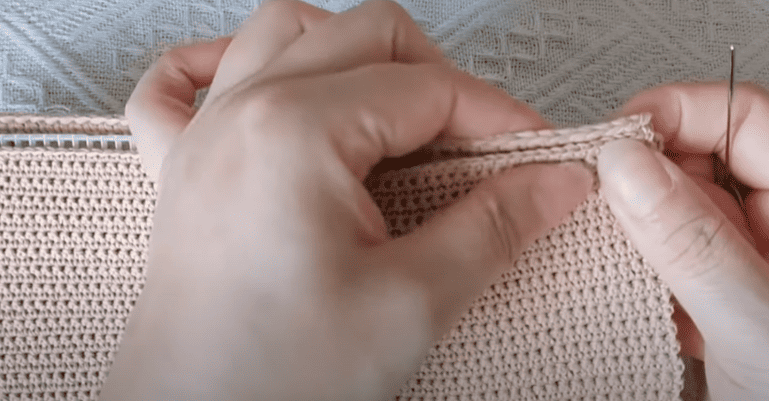
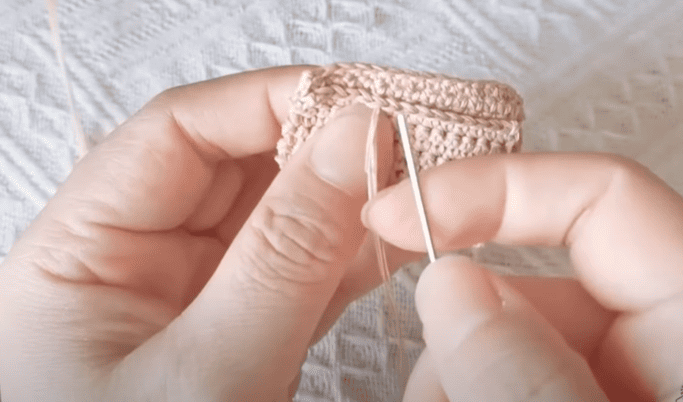
Sew pieces
| Step | Instruction | Details |
|---|---|---|
| 1 | Fold piece | Fold the small crochet piece in half |
| 2 | Sew top edge | Sew the top edge closed neatly |
| 3 | Sew side edges | Sew the two side edges, aligning stitch by stitch |
Sew together
| Step | Instruction | Details / Notes |
|---|---|---|
| 1 | Assemble bag body | Sew front, back, and side pieces together stitch by stitch to form the main body |
| 2 | Attach bottom | Sew the bag body to the bottom piece, aligning stitches carefully |
Sew the magnetic buckle piece on the opening
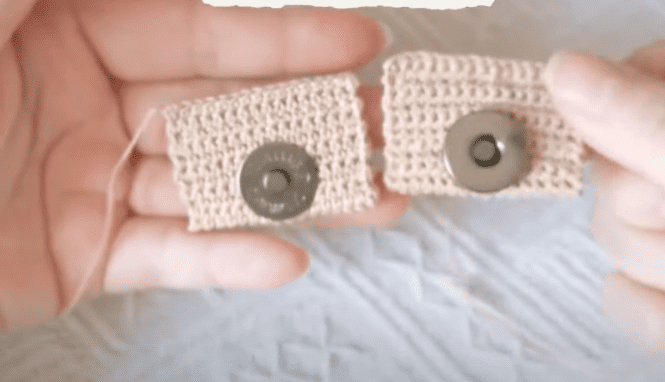
On the inner side of the bag’s opening, attach the crochet pieces – one male, one female – in the prescribed manner.
The pieces should be stitched multiple times in order to allow for the greatest degree of security.
Install strap
| Step | Instruction | Details / Notes |
|---|---|---|
| 1 | Prepare straps | Take two bag straps of appropriate length |
| 2 | Position straps | Find the desired position on the bag opening and adjust according to your height |
| 3 | Attach & secure | Connect the straps to the bag opening and tie a slip knot on each end |
Reference sources
1.Learn the most comprehensive guide for single crochet(sc)
Author:Sarah Stearns
Publication date: on June 15, 2021, updated:December 14, 2024
Title: How to single crochet (sc)for beginners
Summary as blow:
- Step-by-Step Single Crochet for Beginners
- Single Crochet into a Foundation Chain
- Single Crochet into another Row
- Single Crochet in the Round
- Increases and Decreases
- Working Single Crochet in Different Loops


