


Crochet Multifunctional bag | Shoulder Bag + Crossbody Bag Pattern
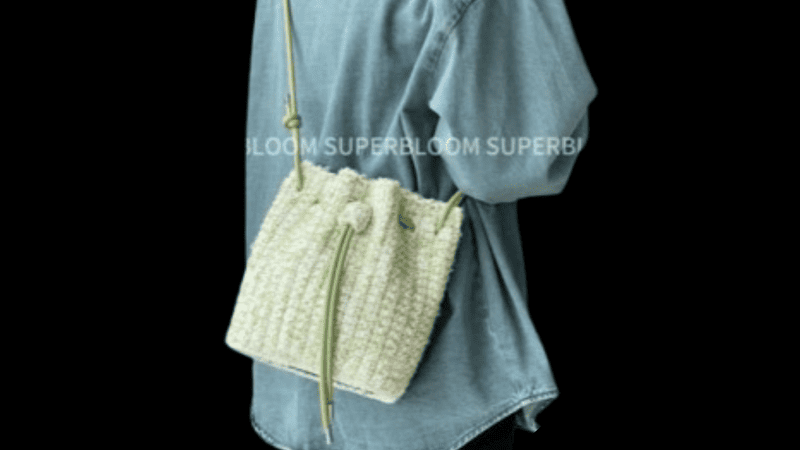
Table of Contents
Crochet Multifunctional bag: crochet bags combine utility with aesthetic appeal, rendering them indispensable accessories across sartorial contexts.
The current discussion presents a detailed methodology for the creation of a multifunctional bag capable of converting, at the user’s discretion, from shoulder to crossbody orientation.
Such a design, characterised by adaptability, is equally suited for quotidian errands, provisional travel storage, or designated gifting.
The forthcoming sequential outline addresses the entire construction process: selection of appropriate substrates, fabrication of the bag’s foundational expanse, development of the continuous body, engineering of an adjustable suspension element, execution of completed refinements, and strategies for personalised variation while maintaining the integrity of the foundational pattern.
Why we love multifunctional crochet bags
Multifunctional bags continue to capture our attention because they effortlessly merge elegance, usability, and inventive design. In contrast to traditional bags, these pieces shift along with our daily routines. They drape comfortably as shoulder bags during laid-back weekend strolls yet transform to crossbody styles, ensuring complete mobility the moment we need it.
Advantages of crafting a multifunctional crochet bag:
1.Versatility in transitioning between setting, mood, and task
2.Feather-weight yet resilient enough for daily wear
3.Ideal for those new to crochet, allowing immediate results and joyful practice
Material kit for crochet Multifunctional bag
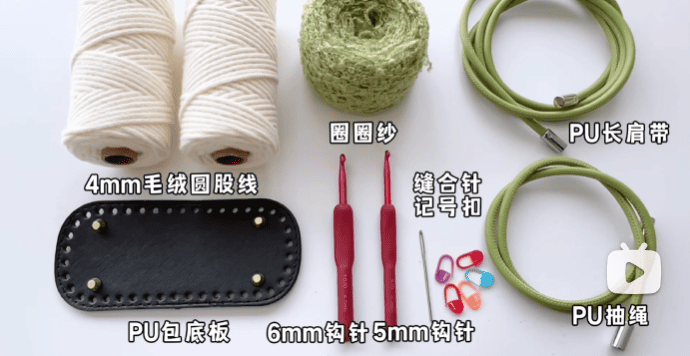
💙 6.00mm & 5mm hook & yarn needle & marker buckle : https://amzn.to/3TXavWn
💙 PU leather bottom: https://amzn.to/42qZkK3
💙 PU long strap : https://amzn.to/4phKwr7
💙 4.00 Round yarn : https://amzn.to/4nspunR
💙 Fluffy yarn :https://amzn.to/4n6xICk
Abbreviation for crochet Multifunctional bag
- ch = Chain stitch
- sc = Single crochet
- sl =Slip stitch
- st(s) =Stitch(es)
- R=Round
- sk=Skip
Video
In this tutorial we demonstrate how to crochet a chic, multifunctional accessory that effortlessly transitions between a shoulder bag and a crossbody bag.
Move with us as we take you through each phase methodically, starting with the bag’s sturdy base, proceeding through the creation of the body, and concluding with the crafting of an adjustable strap.
This project is ideally suited for novice crafters but offers ample opportunities for personalization, making it rewarding for stitchers at any skill level.
Crochet body
Crochet body
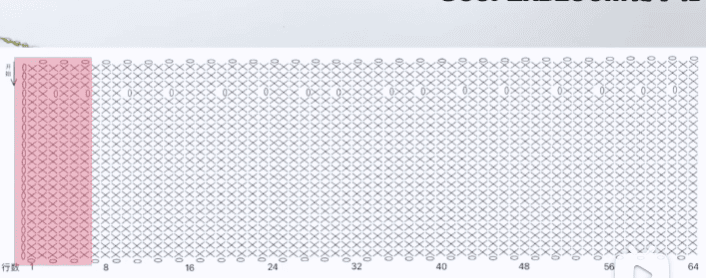
Each row is written with 64 round positions labeled:
- X = Single Crochet (sc)
- O = Chain (ch)
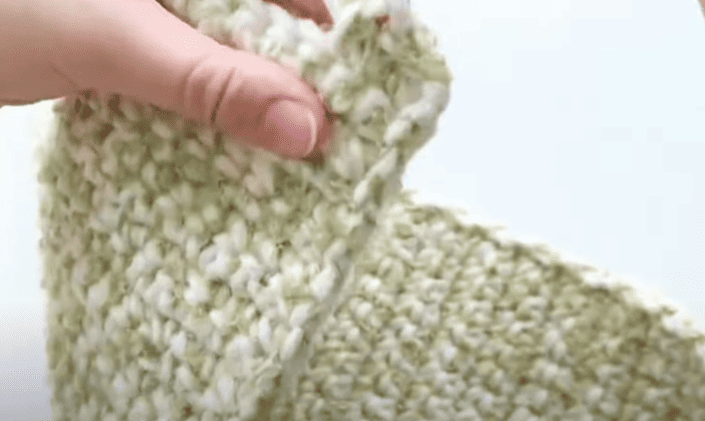
Sew body
| Step | Instruction |
|---|---|
| 1 | Place the beginning of the crochet piece on the left. Fold down the upper piece. |
| 2 | Align the edges of both ends so they are even. |
| 3 | Sew the front chain stitch of the outer piece to the chain stitch of the inner piece, stitching one-to-one. |
| 4 | After completing the last stitch, crochet a chain stitch to secure it and conceal the yarn end. |
| 5 | Flip over the sewn piece. |
Crochet bottom
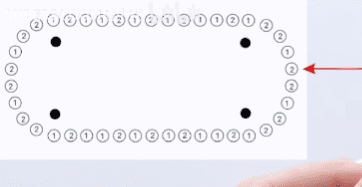
I’ve made a table for the oval bottom (Round 1) from your diagram.
Each stitch is listed in order around the base:
- sc (1) = single crochet
- inc (2sc) = increase (2 single crochets in same stitch)
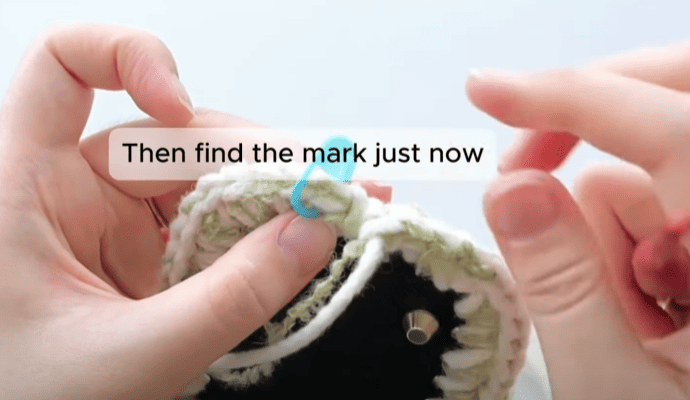
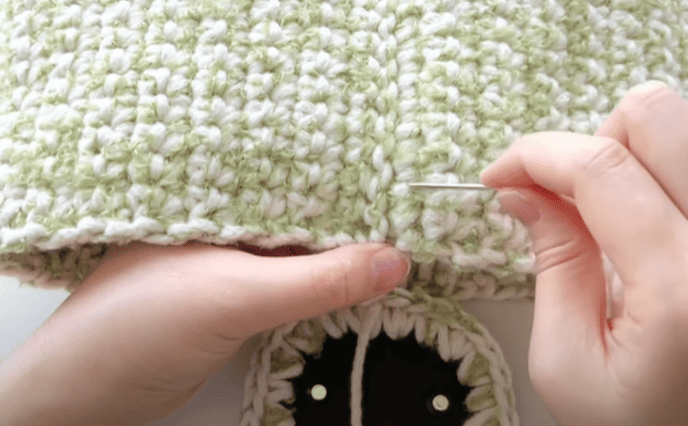
Sew body with bottom
| Step | Instruction |
|---|---|
| 1 | We align the row of the bag body that is slightly indented with the stitches of the bag bottom and sew them one by one. |
| 2 | Using a sewing needle, we first pass the bag bottom through the bag body, then from the bag body into the bag bottom. Each stitch should be threaded twice. This makes it more secure. |
| 3 | After finishing, we cut the yarn and hide the extra yarn ends inside the bag. |
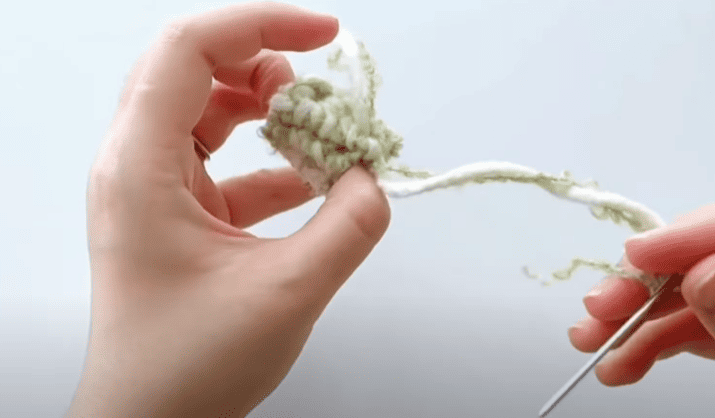
Crochet small piece for buckle
| Row | Instruction |
|---|---|
| Base | 3 ch + 1 ch |
| R1 | 3 sc in the back of the chain stitch |
| R2-R6 | Ch, flip over, 3 sc, then ch to fix it |
Then ,we fold it ,use yarn needle to sew it together . crochet chain stitch to fix it . tie knot , conceal yarn end. at last flip it over, we get the small piece buckle.
Put PU leather for drawstring
Step 1: Retrieve the short strip of PU leather for subsequent procedure.
Step 2: Commence by threading the segment through the initial aperture from the exterior, proceeding to retract it from the adjacent aperture.
Step 3: Skip the next two holes each body of bag , maintaining the same directional continuity to the opposite side.
Step 4: Eensuring symmetrical drape once the segment is intermedially captive.
Step 5: Conclusively, affix the attached crocheted small buckle to the distal extremity of each draw cord to secure the assembly.
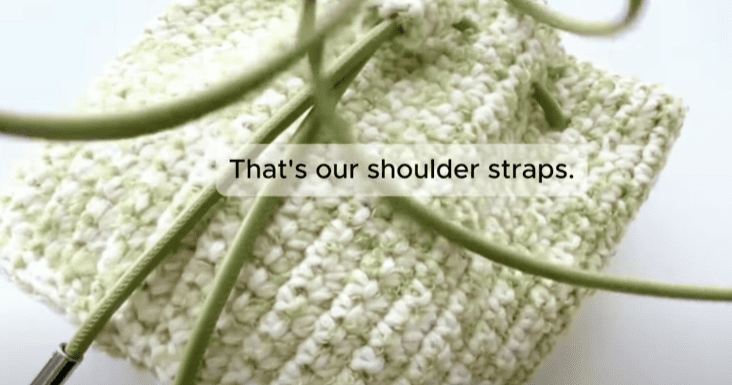
Install PU leather for strap
- long PU leather pass through the rear aperture, subsequently extracting it through the frontal aperture for a secure, flush fit.
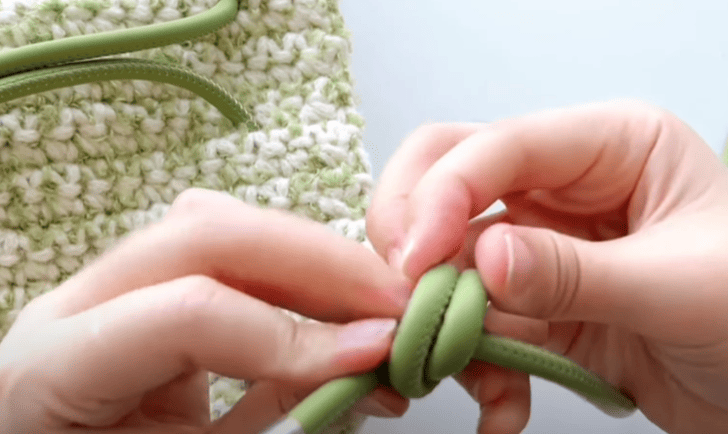
- Encircle the leather end of the strap around the proximal phalanx of the forefinger precisely two times, thereafter forming a taut, sliding knot; thereafter withdraw the digit without disturbing the knot.
- Insert the Pu leather into the frontal aperture first and withdraw via the rear aperture, completing the process by rendering another slip knot in the previously described manner.
This technique imparts remarkable adaptability to the strap, permitting effortless and continual modification of its effective length.
Base stitch for beginners
We’ve all been there! Here are some basic stitch we’ve learned along the way:
How To Crochet Magic Ring ? l Step-By-Step l Video & Text &Photo
Chain Stitch |Step By Step Guide| Text & Photo &Video
Single Crochet-You Want To Know The Most Detailed Information
Half Double Crochet In The Round-The Complete Guide
Double Crochet Stitches For Beginners
Reference sources
1.Learn the most comprehensive guide for single crochet(sc)
Author:Sarah Stearns
Publication date: on June 15, 2021, updated:December 14, 2024
Title: How to single crochet (sc)for beginners
Summary as blow:
- Step-by-Step Single Crochet for Beginners
- Single Crochet into a Foundation Chain
- Single Crochet into another Row
- Single Crochet in the Round
- Increases and Decreases
- Working Single Crochet in Different Loops


