


Crochet Small Lattice Bag | Step-by-Step Multi functional Bag
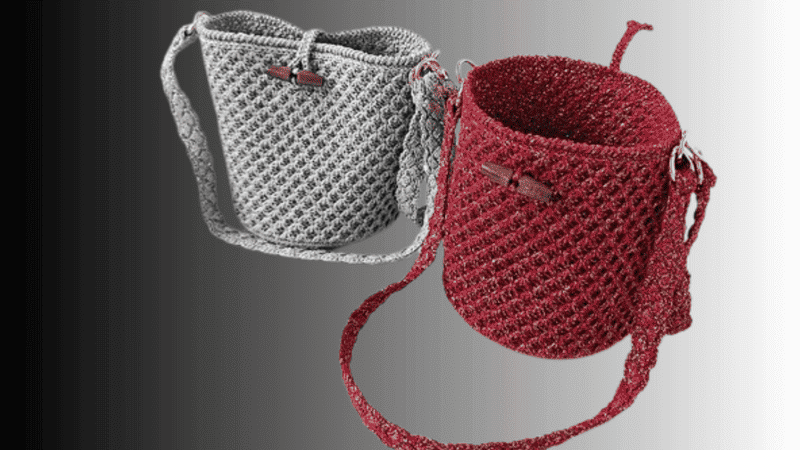
Table of Contents
Crochet small lattice bag: If you’re in search of a creation that marries functionality with design finesse, allow the crochet small lattice bag to appeal. Its lattice ribs are soft and breezy, yet a sturdy foundation keeps the whole piece refined and ready for the daily commute, the seaside, or the scent of a secret sweater drawer.
A compact silhouette, in turn, makes it the very definition of stash diversion.
This guide lays the path from the first skein to the final weave; tools are assembled, stitches mapped, and the lattice scheme decoded. Beginners will encounter openwork for the first time without the word “overwhelming” in the syllabus, and veterans will snag a breezy finish that feels like dessert after a formal dinner.
The piece itself declares its character in a lattice agreeable to light yet firm when grasped; daily chapstick, bus fare, and a duo of keys nest without risk of slipping through.
Meanwhile, the openwork frame circulates the air, sparing the reader from dropout-boosted humidity that even the best yarns sometimes must apologize for.
Personal palettes are welcome—shifting, glowing, dawdling, or strongspeaking, the main color begs for your choice; the length of strap and the overall dimension reply: “We’ll follow your cue.”
Material kit
💙hook & yarn needle & marker buckle : https://amzn.to/3TXavWn
💙45 holes of PU leather bottom: https://amzn.to/4n7vi6C
💙d buckle: https://amzn.to/4gsyPde
💙spring clip :https://amzn.to/45I5cAH
💙oval wooden buttons :https://amzn.to/4pjnT5u
💙metallic glitter yarn: https://amzn.to/47ChWdy
Abbreviation for crochet small lattice bag
- ch = Chain stitch
- sc = Single crochet
- sl =Slip stitch
- st(s) =Stitch(es)
- R=Round
- sk=Skip
- unfin. dc=unfinished double crochet
Video for crochet small lattice bag
This tutorial walks you through crocheting an elegant yet compact lattice bag, from a firm yet flexible foundation through to polished finishing touches.
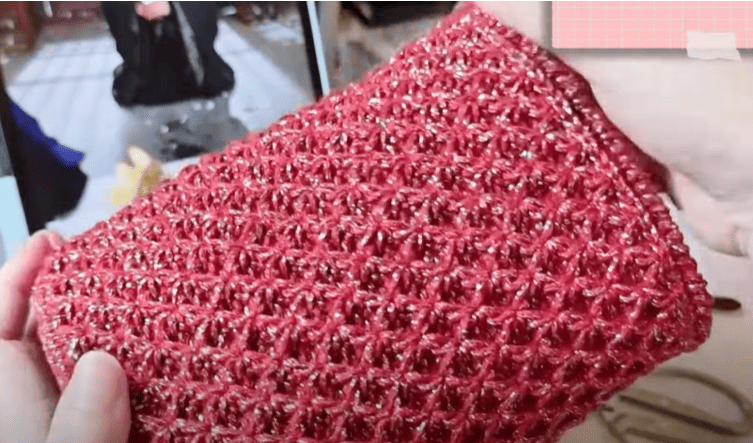
You will learn to establish a durable base, then progress to constructing the lattice fabric that lends the bag its airy visual character.
Instructions for attaching comfortable straps. The pace stays comfortable and each stitch is clearly explained, inviting you to stitch along with assurance.
Base stitch for beginners
We’ve all been there! Here are some basic stitch we’ve learned along the way:
How To Crochet Magic Ring ? l Step-By-Step l Video & Text &Photo
Chain Stitch |Step By Step Guide| Text & Photo &Video
Single Crochet-You Want To Know The Most Detailed Information
Half Double Crochet In The Round-The Complete Guide
Double Crochet Stitches For Beginners
Crochet bottom
We execute the sequence [2 single crochet, 2 single crochet, 3 single crochet] as one group for a total of 15 repetitions to yield 105 single crochet stitches in the round.
Crochet body & opening
| Row | Instructions (we-style) | Stitches |
|---|---|---|
| R2 | We chain 1, then work 105 sc across, placing sc in the back loop of the chain stitch. | 105 sc |
| R3–R20 | We chain 2 at the start of each row, then work the pattern stitch 35 times across. | Pattern stitch × 35( please see video) |
| R21 | We chain 1, then work 105 sc across. | 105 sc |
| R22 | We chain 1, then work 105 reverse single crochet (crab stitch) across. | 105 rev sc |
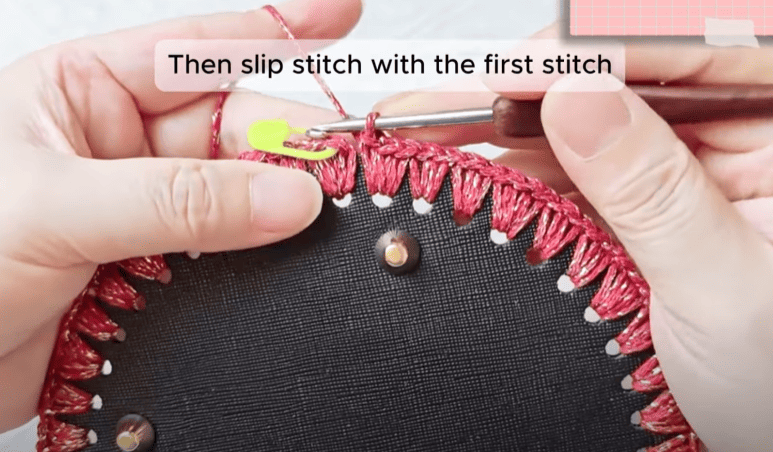
| R23 | We work slip stitches along the R21 round. After the last stitch, we pull the yarn end , then use a yarn needle to weave in ends invisibly, concealing the yarn end. | 105 slip stitch |
Crochet tether& sew wooden buckle
Crochet tether
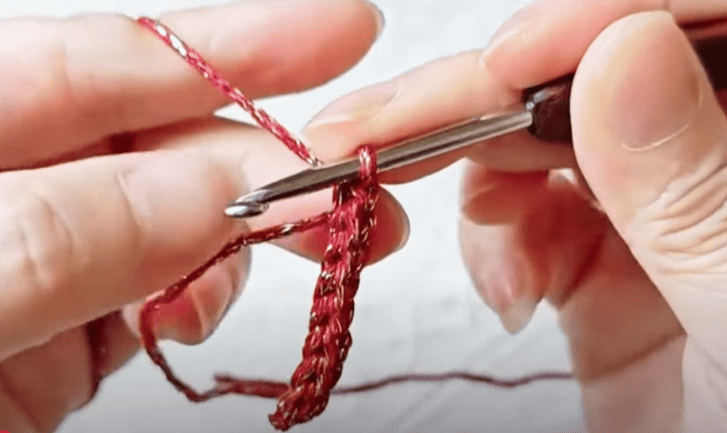
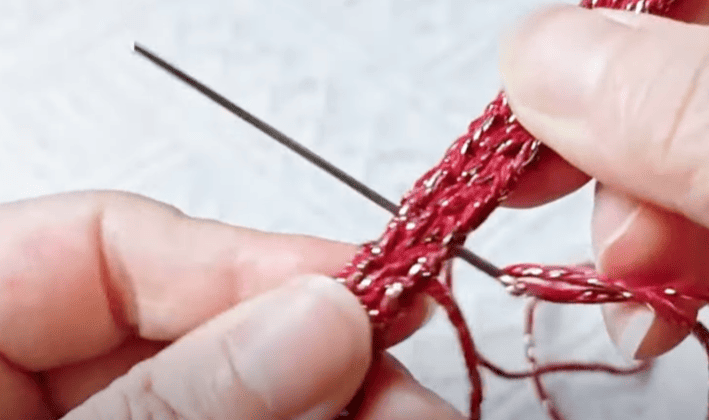
Step 1: We begin by leaving a 2-centimeter yarn tail before commencing the first row of crochet. As the work progresses, the tail is retained along the length of the hook, functioning initially as both anchor and tension guide.
Step 2: We carry on, ensuring the fabric maintains a uniform density, until the overall length measures between 18 and 20 centimeters.
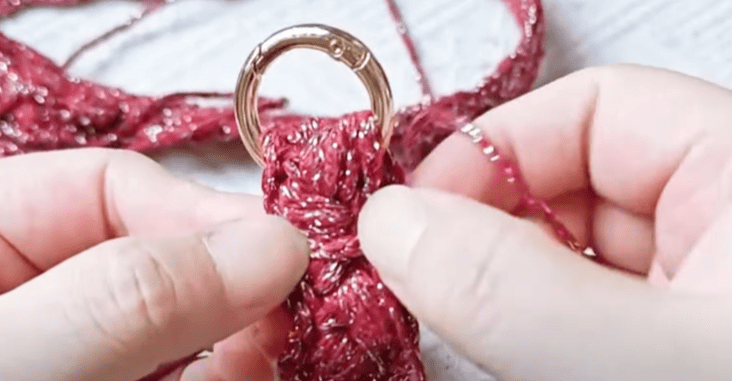
Step 3: Upon achieving the desired gauge, a further yarn tail of 40 to 50 centimeters is permitted.
Step 4: The yarn is then severed, the remaining end drawn completely through the final loop, securing the edge for a tidy and durable finish.
Sew tether
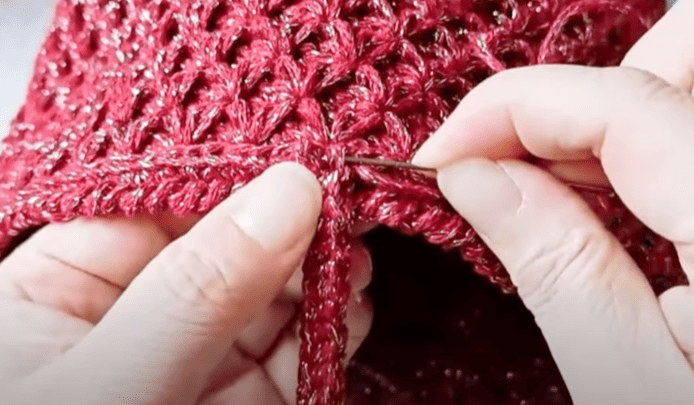
Step 1: With the tether folded at its midpoint and the length now doubled but still free of twists, we align the single-strip edge and begin our securing seam. Entering at the second-to-last loop, the needle pierces one mesh, exits the adjacent mesh, and proceeds thus, shepherding the lead doubled yarn around the opening’s curve until the needle nears the opposing end.
Step 2:Fifteen adjacent stitches remain untouched, their gaps deliberately retained to create a closed girth. In the compensatory reversal, we retrace the first stitch .
Step 3: Finally, we sew tether at the midpoint of the bag’s back of bag .
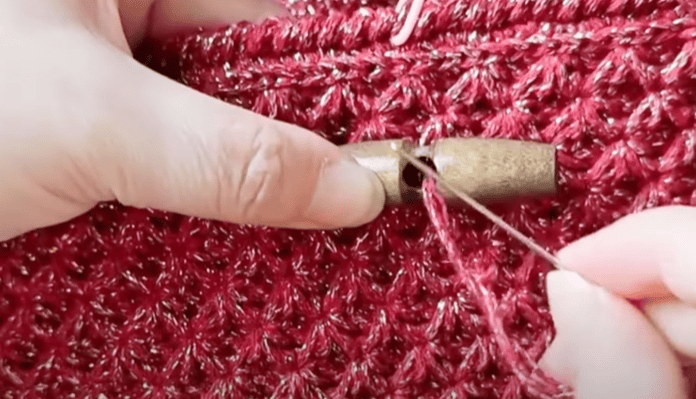
Sew wooden buckle
Step 1: The vertical dimension of the bag body is recorded as 25 cm using a calibrated ruler.
Step 2: For aesthetic and structural balance, 13 cm of margin is retained along each lateral edge of the front surface prior to layout.
Step 3: The wooden buckle is center upon the pattern, situated 2 cm beneath the top bag opening, aligning with the vertical axis of the bag.
Step 4: A double-stitch is executed to ensure the buckle is mechanically secure and resistant to longitudinal and shear forces.
Step 5: The previously assembled tether, which terminates in a circular ring, is then affixed to the buckle, thereby cinching and stabilizing the upper perimeter of the bag opening.
Crochet handle & strap
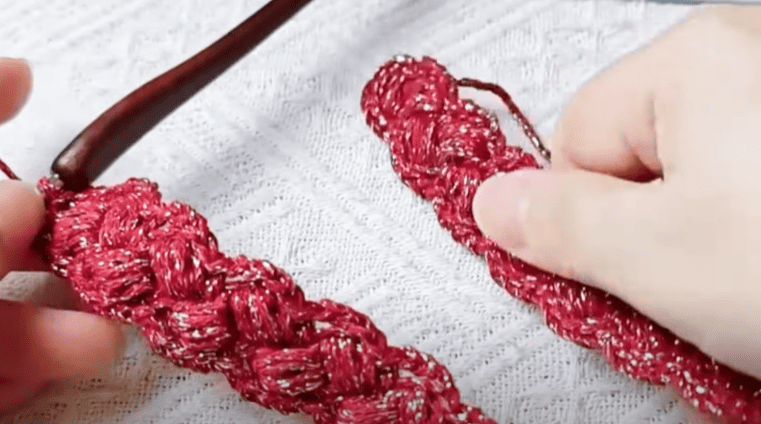
Step 1: Form the straps using your selected crochet pattern stitch to create one handle 40 cm long and one shoulder strap measuring between 75 and 80 cm.
Step 2: Secure a spring clip to the terminus of each of the four strap ends by means of a straightforward yarn needle .
Step 3: For modularity, insert an additional spring clip at the midpoint of each strap; this will permit the rapid interchange of the handle and shoulder strap as needed.
Step 4: Installing D-buckle, execute a simple whip stitch at Round 20 of the bag, placing one D-buckle on each lateral side and utilizing a hand sewing needle to achieve a secure affixation.
Step 5: Finally, engage the spring clips attached to the straps by inserting them into the respective D-buckle , thereby completing the attachment and allowing for fluid adjustment of the bag’s carrying configuration.
Reference sources
1.Learn the most comprehensive guide for single crochet(sc)
Author:Sarah Stearns
Publication date: on June 15, 2021, updated:December 14, 2024
Title: How to single crochet (sc)for beginners
Summary as blow:
- Step-by-Step Single Crochet for Beginners
- Single Crochet into a Foundation Chain
- Single Crochet into another Row
- Single Crochet in the Round
- Increases and Decreases
- Working Single Crochet in Different Loops


