


Pineapple Crochet Pattern The Most Comprehensive Step-By-Step Explanation
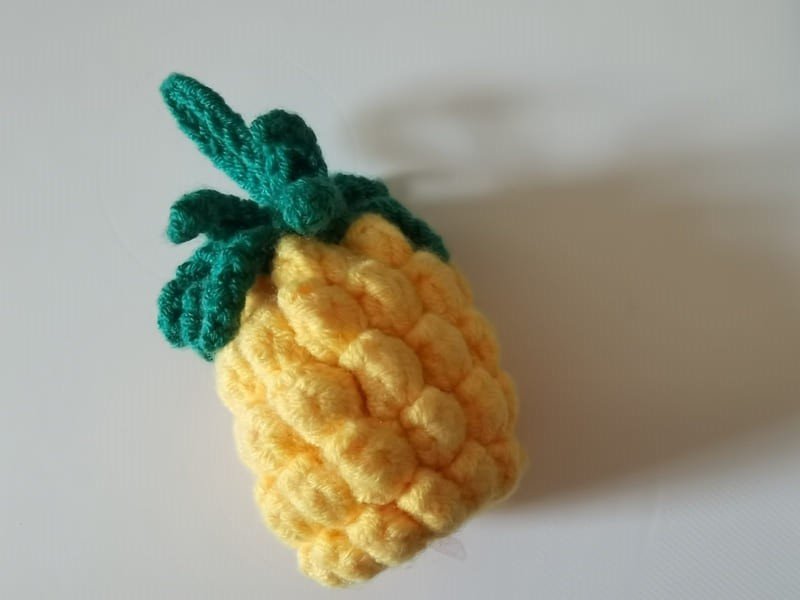
Table of Contents for pineapple crochet pattern
Material kit of pineapple crochet pattern
- Hook: 3.0mm
- Stuffing: (polyester fiberfill)
- Yarn(yellow & green )
- Yarn needle
- Marker
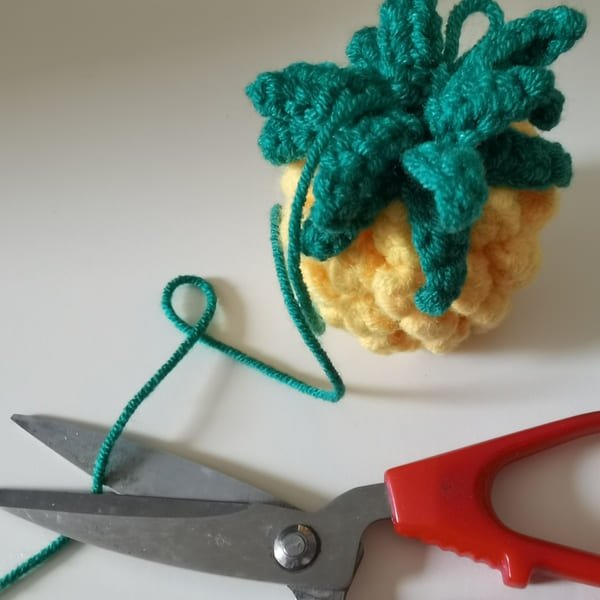
List of necessary tools
- Scissors
- Hot melt glue or glue
Abbreviation for pineapple crochet pattern
These are the required abbreviations for pineapple crochet pattern
- ch = Chain stitch
- hdc=half double crochet
- dc=double crochet
- st(s) =Stitch(es)
- mc =Magic circle (or magic ring)
- sl=slip stitch
- sc=single crocht
- pc=popcorn
- inc=increase
Best selling products
-

Raffia Cross Pattern Basket Handbag Kit
$19.99 -

Hexagonal Bucket Bag Kit
$29.99 -

Raffia Handbag Kit
$29.99 -

Hammock Bag Kit
$29.99 -

Wheat Bucket Bag Kit
$19.99
Buy pineapple crochet pattern kit
At everything Amigurumi, we believe every project should spark joy and our pineapple crochet pattern does just that. Let’s create smile-bringing fruit decorations, cheerful gifts, and even add to our amigurumi collection. This patterned project is easy to follow for every skill level and delivers satisfaction to all who undertake it.
Every detail is specifically constructed so that we can feel accomplished at the end of this project. the pattern features a meticulous finishing touch with the leafy top as well as a textured body which will allow for a sense of pride upon completion.
Let’s brighten up our crochet bundle a little more with a delicious hint of sunshine. buy our pineapple crochet pattern today so we can start stitching something sweet together.
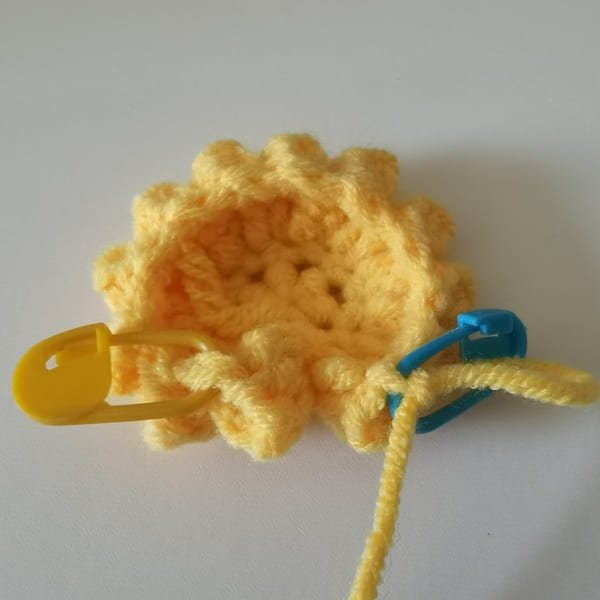
Despite crocheting quite often, I still overlook stitches more often than not.
That’s why I suggest that all newcomers to crochet secure the marking button (yellow in this article) once we complete the initial stitch.
Do remember to fix the marking button (blue one in the article) once we complete the last stitch too.
Crochet the body (use yellow yarn )for pineapple crochet pattern
- R1: 6 sc into mc(6)
- R2: (inc)*6(12)
- R3-R6:3ch,p*12(12)
- R7:3ch,(2dc,3dc)*6(6)
- R8:ch,6sc(6)-green yarn
- R9:7ch-starting from the second to second stitch-(sl,sc,sc,hdc,hdc,dc,sl)*6(6)
- R10:7ch-starting from the second to second stitch-(sl,sc,sc,hdc,hdc,dc,sl)*6(6)
R1
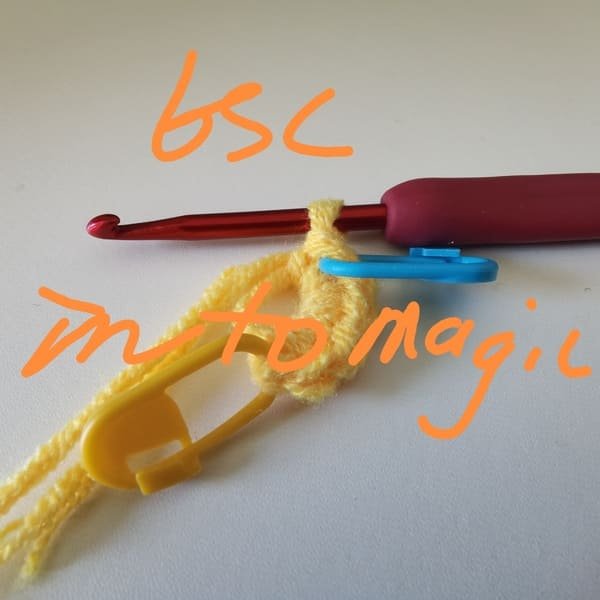
6sc in to the magic ring .
Magic ring: Employs an index finger and thumb of the left hand to pull the yarn end to the left and pinch the fabric with the right hand. This helps in crafting a circle’s center, also known as a portion of the circle, to very small, up to an O gap.
Slip stitch: Take the hook and go through the first yellow V-shaped stitch, yarn over, and pull through the two outer loops sitting on the hook.
Want to learn magic ring , please click:How To Crochet Magic Ring ? l Step-By-Step l Video & Text &Photo
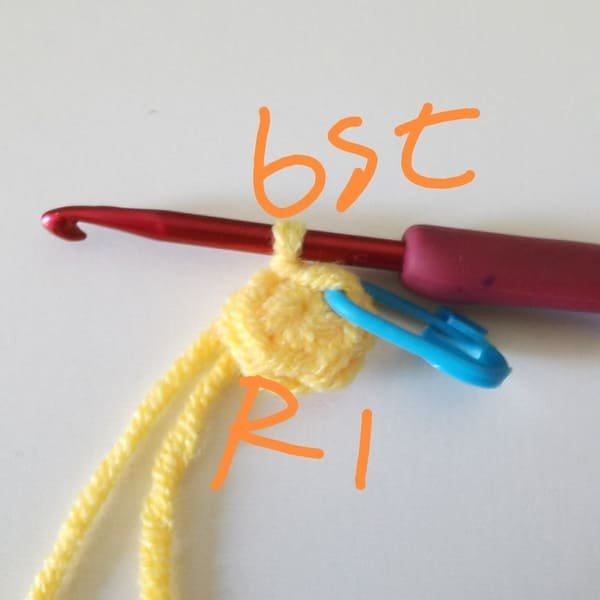
After the slip stitch (sl), we have 6 stitches for round 1.
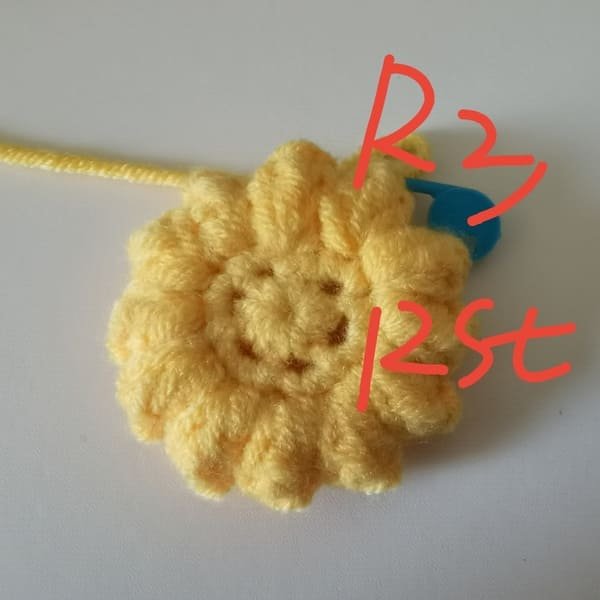
R2
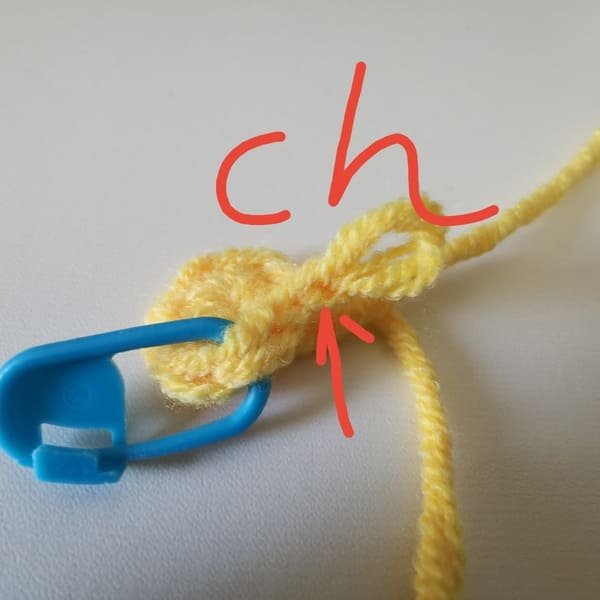
Beginning with a chain stitch (ch) improves the straightness of the piece and controls the height of round 2 in crocheting.
Crochet Order: increase in each stitch; do this six times.
Kindly be informed that the final stitch for this round is an increase.
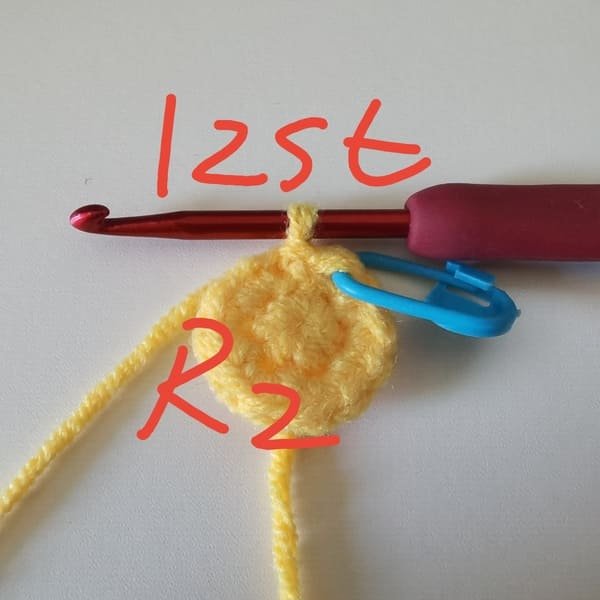
After the slip stitch (sl), we have 12 stitches for round 2.
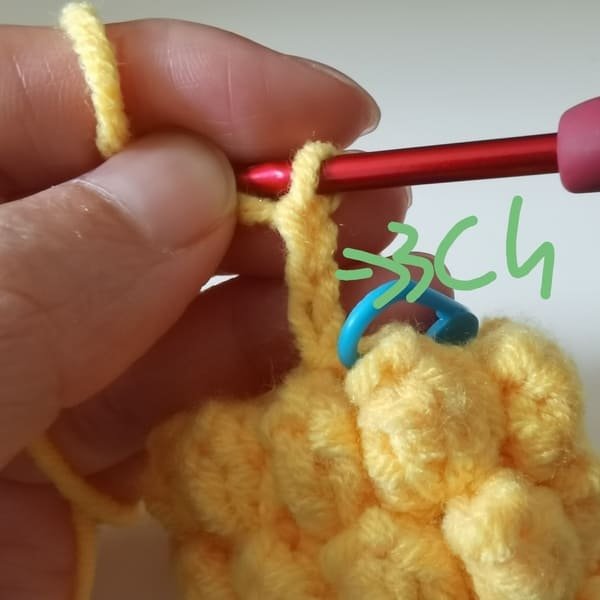
R3
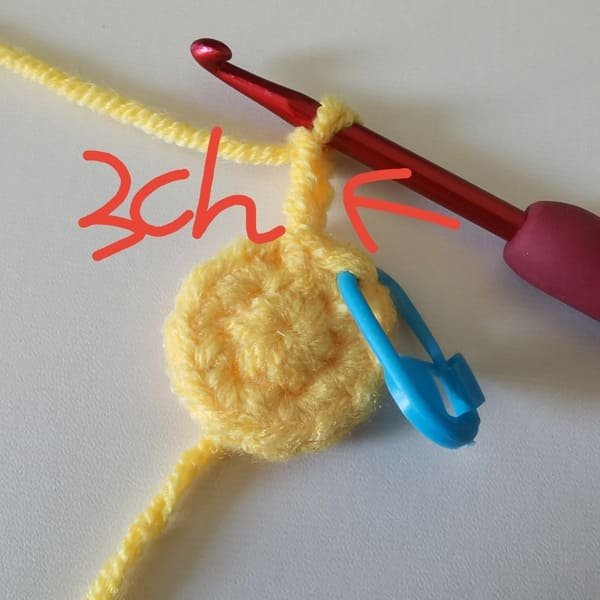
Firstly , we crochet 3 chain stitches (ch) for round 3.
Crochet 5 double stitches in the same stitch (the first stitch).
Insert the hook into the first double stitch for popcorn.

Insert the hook into the last double stitch for popcorn.
Pull the loop through the first dc – pop! we’ve made a popcorn stitch.
Popcorn :Similar to a small cluster, the popcorn stitch creates a lifted, puffy stitch formation.
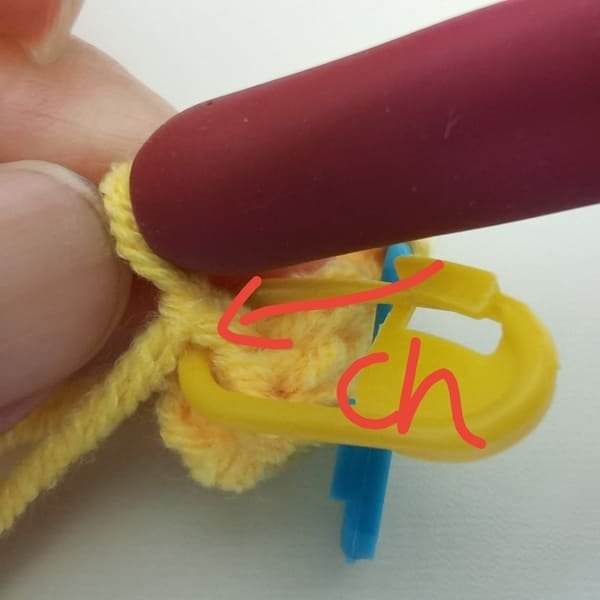
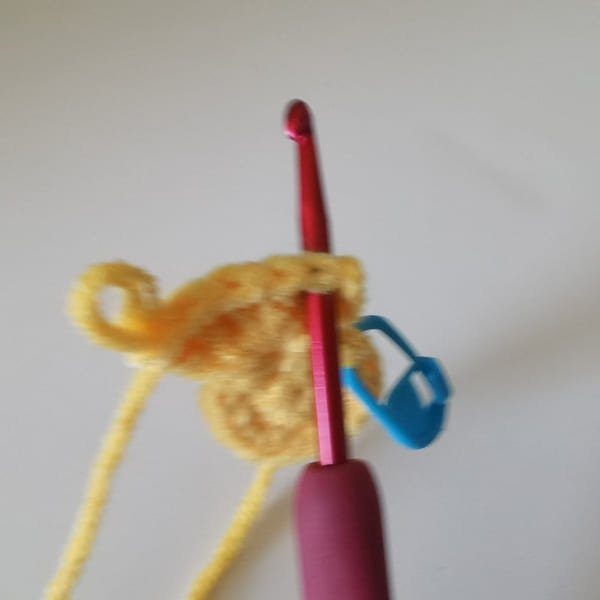
Do not forget, we need crochet chain stitch (ch )again.
Then put a marking button on the V-shaped stitch of the first lock stitch, which is the position that needs to be slip stitch next.
The first double stitch is completed for round 3.
Because popcorn is smilar to a small cluster,we will not be able to find the next stitch to crochet.
We need to use our hands to push away the previous popcorn stitch, find the next stitch, and then crochet popcorn again.
The 13 double stitches is completed for round 3.
Then we need crochet the last double stitch again.
The blue mark button position is the double stitch of the last stitch of this round we need to crochet.
The 14 double stitches is completed for round 3.
Insert the hook into the yellow mark, yarn over around the two outer loops on the hook to complete the slip stitch.
After the slip stitch (sl), we have 12 stitches for round 3.
Another view of round 3.
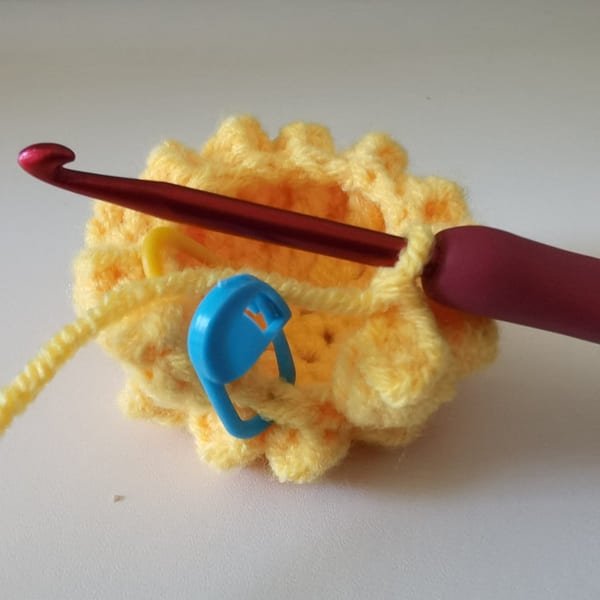
R4
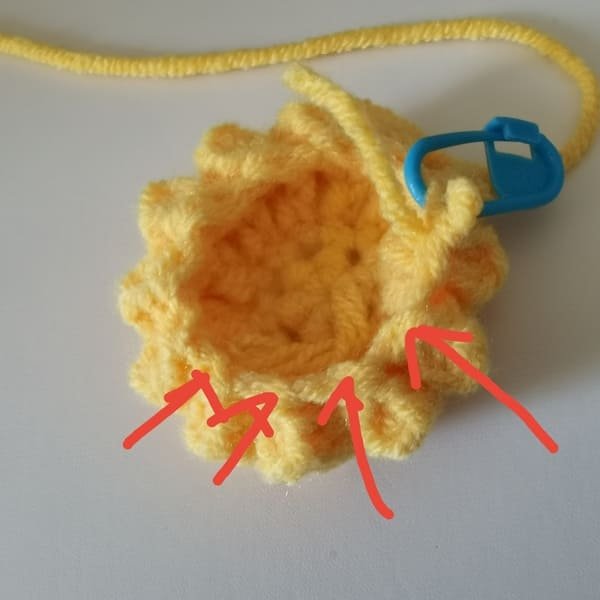
We need to find the position of the stitches for this round of crochet (that is, the stitches for the previous row of chain stitches)
Complete this round by counting the total stitches, which should be 12 st.
After that, do a slip stitch to finish off round 4.
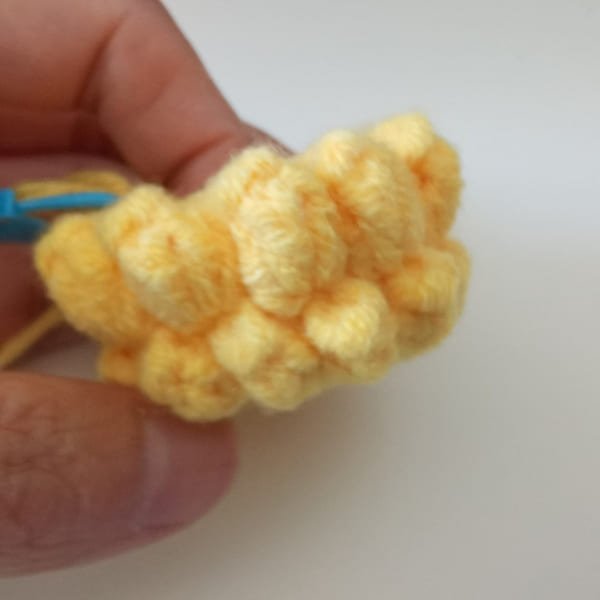
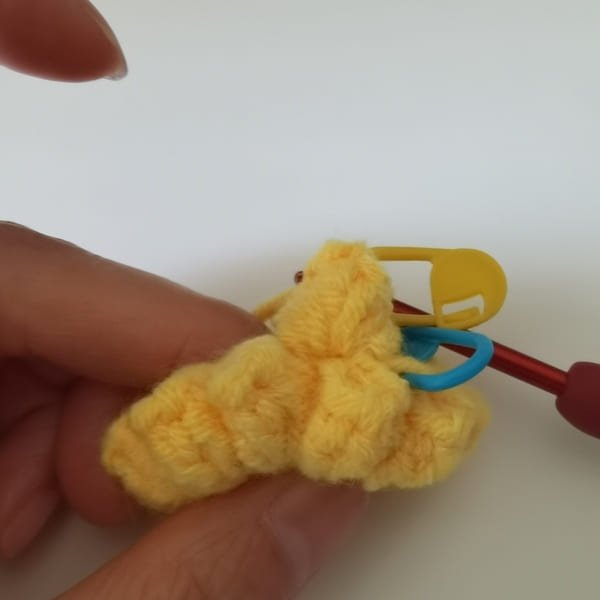
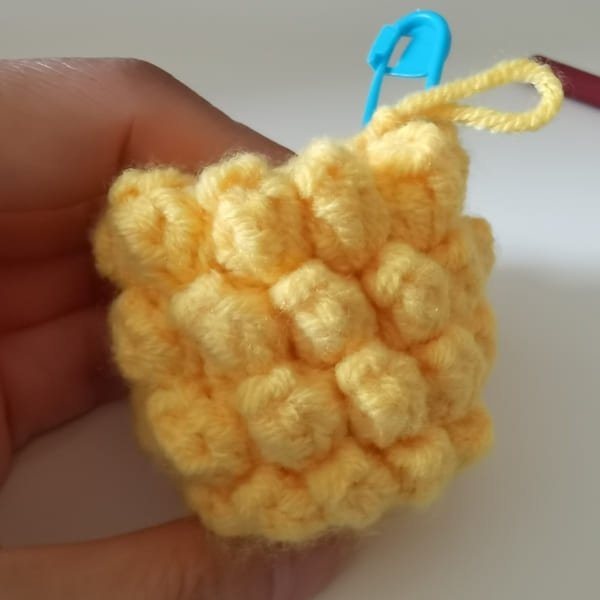
View of on the hand.
At this point, the popcorn needles are two rounds.
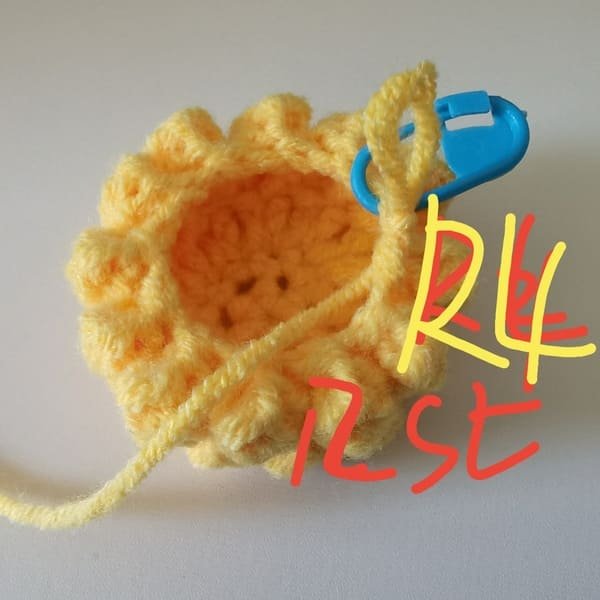
R5
Use the round 4 method to crochet this round.
Complete this round by counting the total stitches, which should be 12 st.
After that, do a slip stitch to finish off round 5.
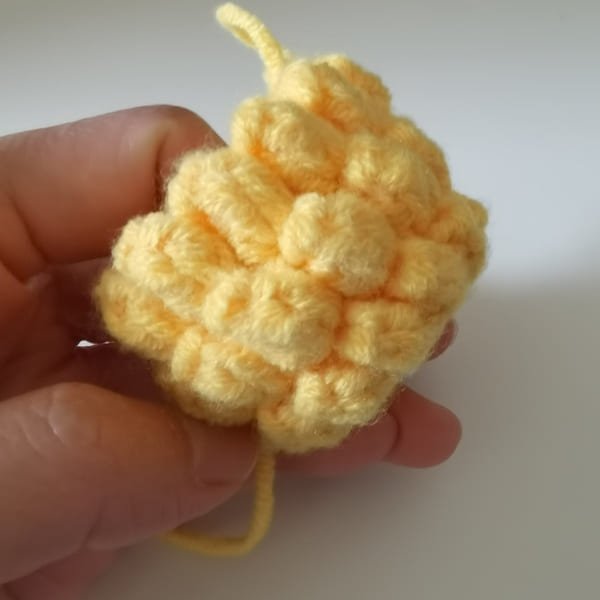
View of on the hand.
At this point, the popcorn needles are three rounds.
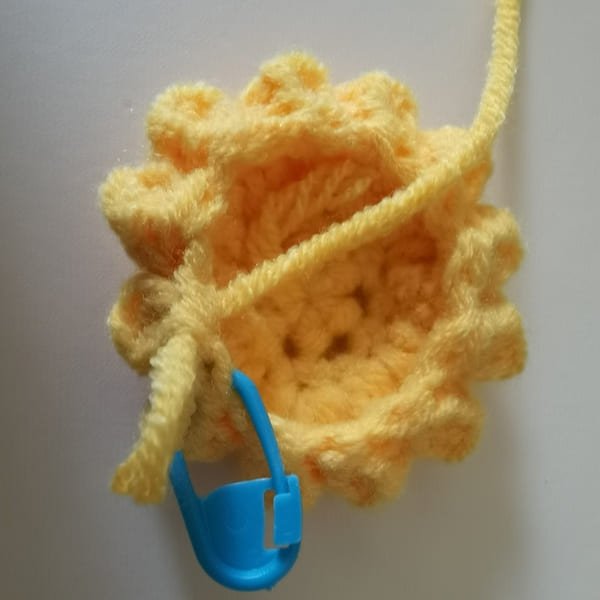
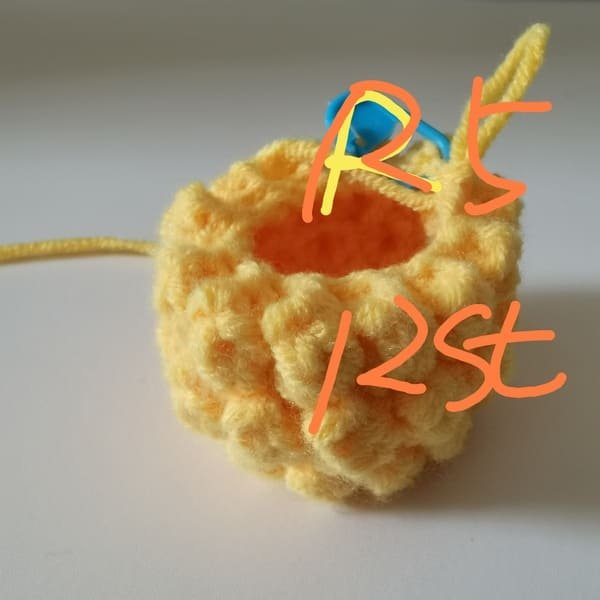
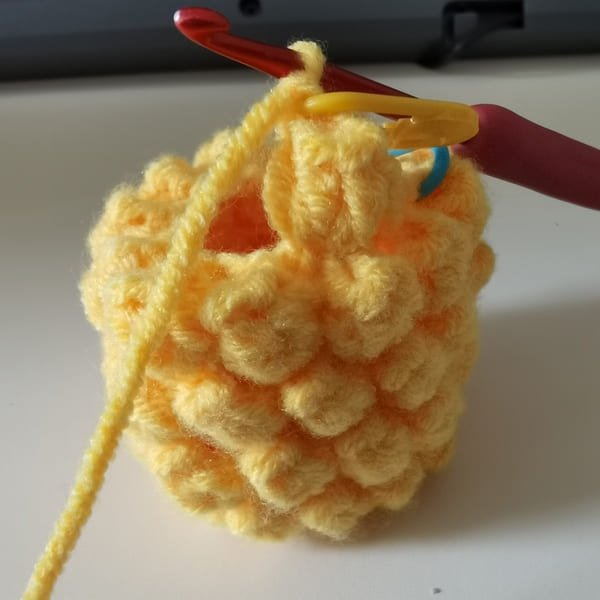
R6
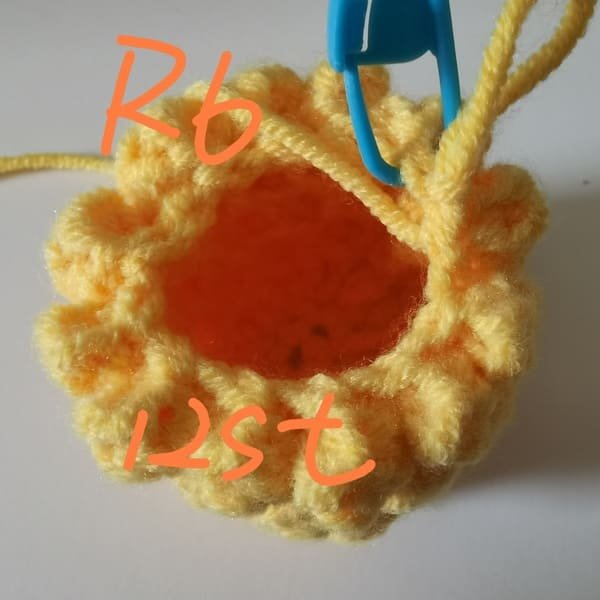
Same as round 5.
Complete this round by counting the total stitches, which should be 12 st.
After that, do a slip stitch to finish off round 6.
View of on the hand.
At this point, the popcorn needles are four rounds.
R7
Firstly , we crochet 3 chain stitches (ch) for round 7.
From now on, we need to reduce the 12 popcorn stitches to only 6.
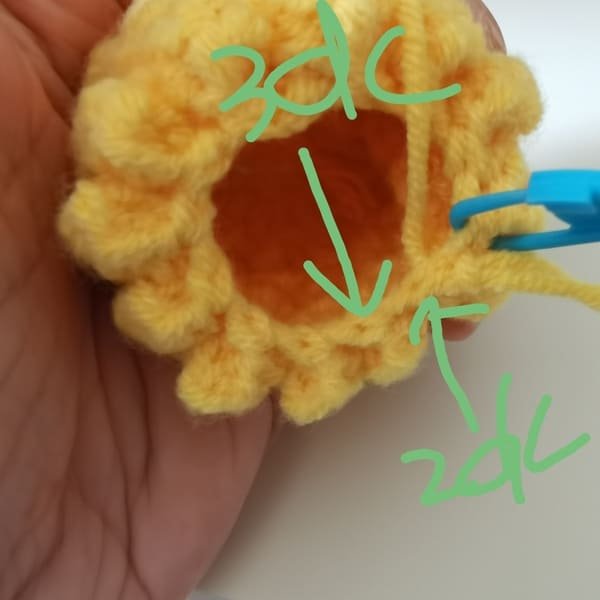
Crochet order:need crochet 6 pop=(2dc,3dc ) repeat 6 times.
2 dc in the first stitch,
3 dc in the next stitch.
Then form the popcorn stitch. we need repeat 6 times.
The first the pop is completed.
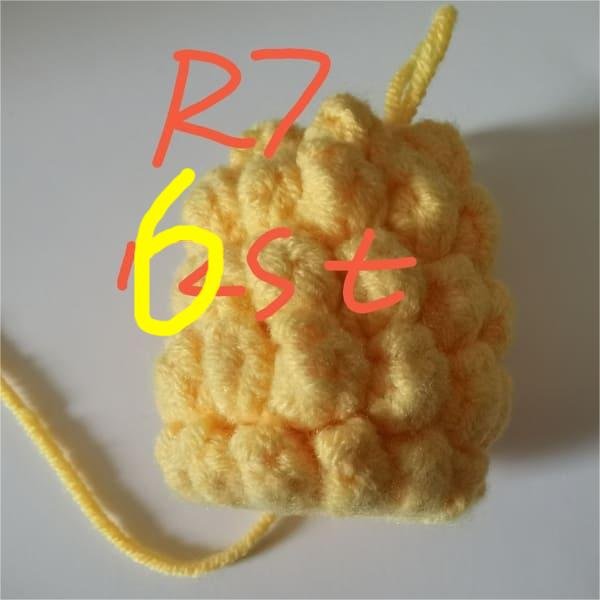
Complete this round by counting the total stitches, which should be 6 st.
After that, do a slip stitch to finish off round 7.
R8
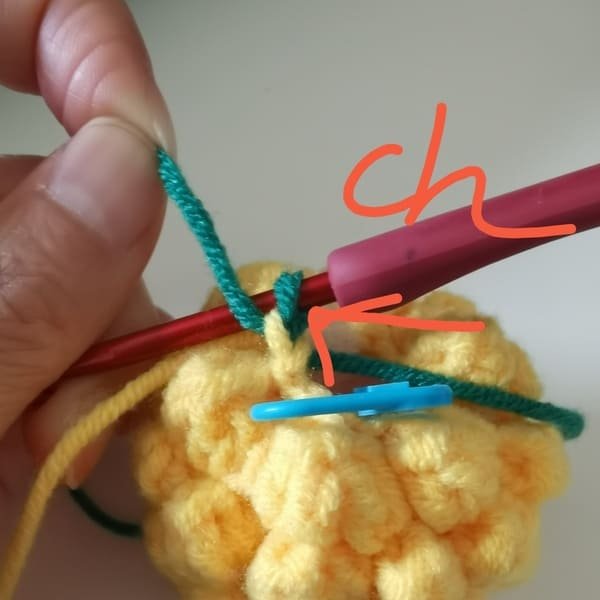
Crochet order : single crochet in the each stitch.
It should be noted that at the beginning of this round should be changed to green yarn.
Firstly we put green yarn behind the yellow loop, then use hook to crochet chain stitch,which the green yarn is completed.
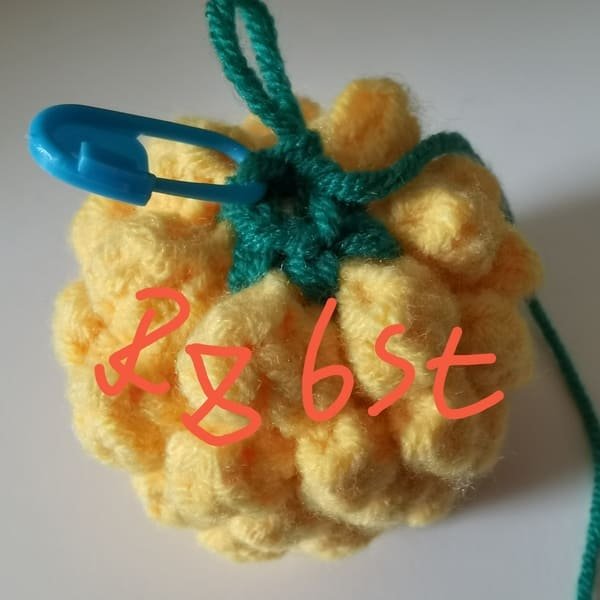
Complete this round by counting the total stitches, which should be 6 st.
After that, do a slip stitch to finish off round 8.
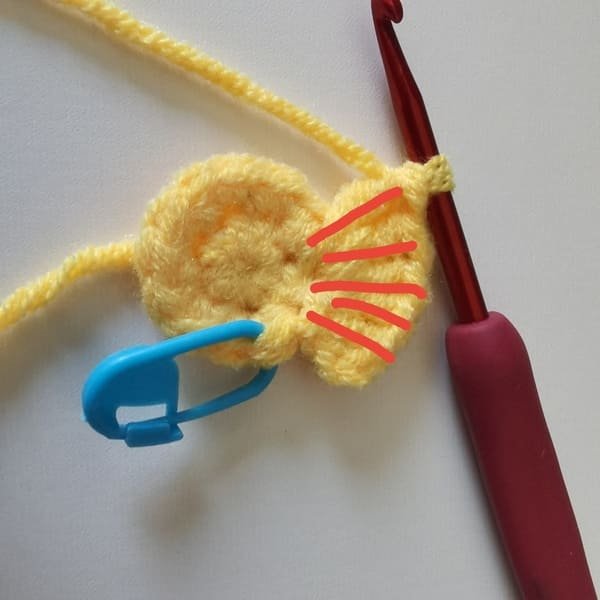
R9

Crochet order:(7 ch. Starting in the 2nd chain from the hook, crochet:
sl , sc in next ch, sc in next ch, hdc in next ch, hdc in next ch, dc in next ch, sl into base outer half stitch.)
Repeat this small leaf sequence 6 times.

The first small leaf is completed.

Complete this round by counting the total stitches, which should be 6 st.
After that, do a slip stitch to finish off round 9.
We can find the six small leaf is form through this round.
R10
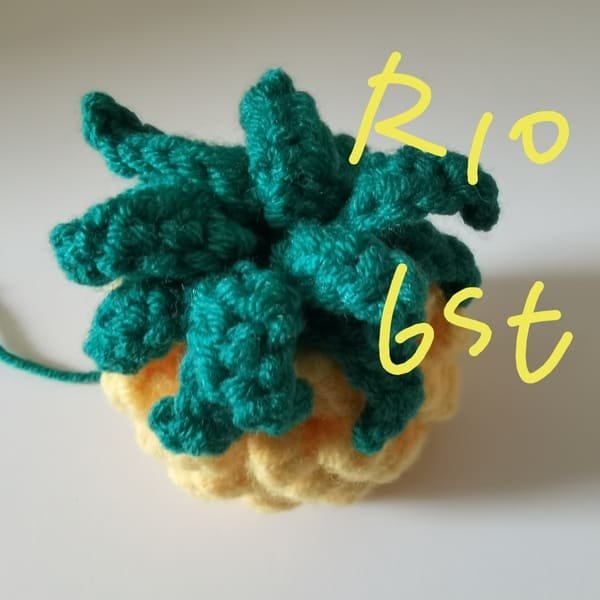
Crochet order:(7 ch. Starting in the 2nd chain from the hook, crochet:
sl , sc in next ch, sc in next ch, hdc in next ch, hdc in next ch, dc in next ch, sl into base inner half stitch.)
Repeat this small leaf sequence 6 times.
This will make the leaves look more layered.
Cut the yarn end and use hook to bring out the yarn end.
Crochet the hand carrying (use green yarn )for pineapple crochet pattern
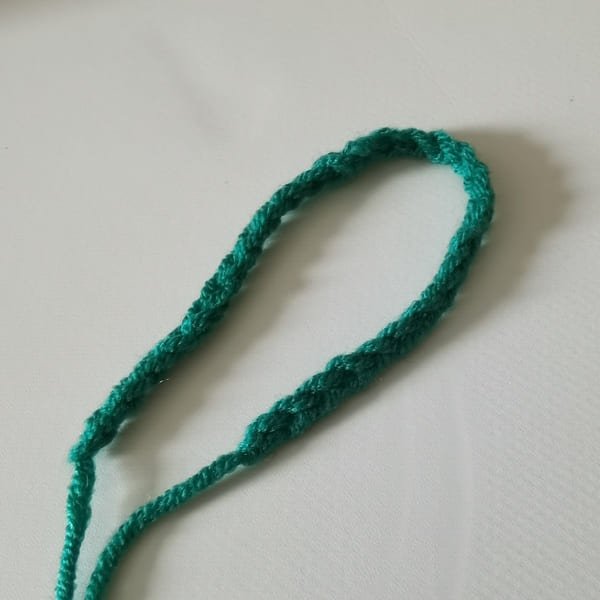
We crochet 30 chain stitches(ch)for hand carrying.
In the case of hand carrying, we crochet 30 chains which serves to create a strap or loop for easy handling.
This method is useful for handles on bags, baskets or for decorative items which are intended to hang.
Glue or sew on the pineapple fabric
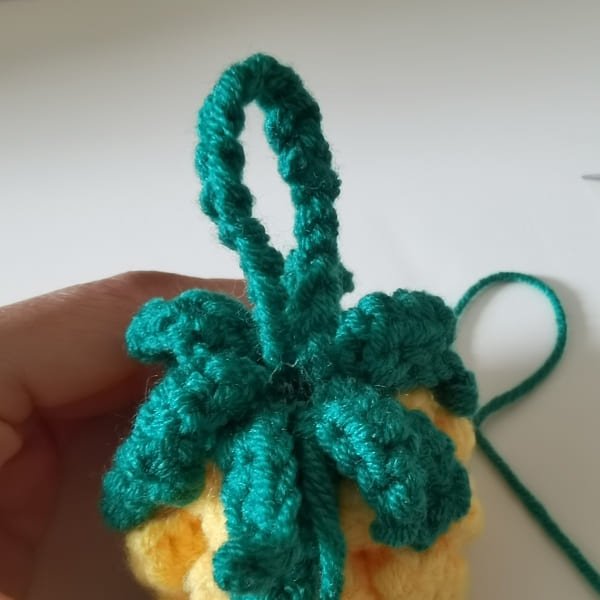
We put the hand carrying into the hole in the middle of the leaf. I used glue to stick it to the filling at the top of the fabric.
Then I picked up the yarn needle with green yarn and used the method of leaving one stitch and then picking up another stitch.
After tightening the top loop, we will find that there will be no gap in the middle.
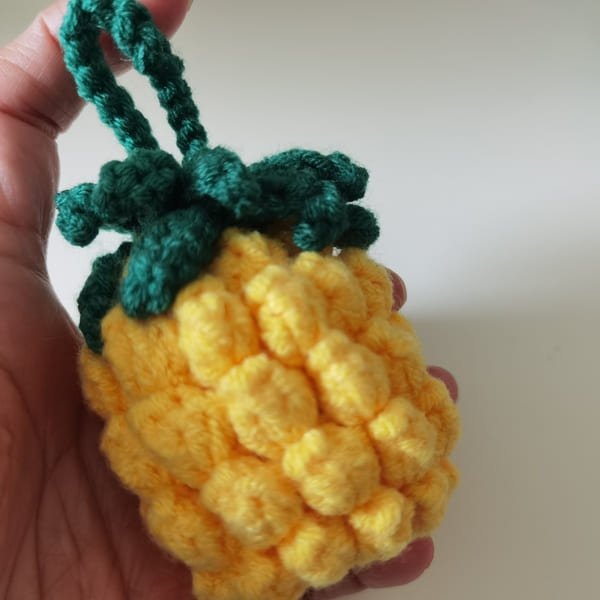
The pineapple crochet pattern is completed.
The reasons why we love this adorable pineapple crochet is that its bright and fun appearance elevates our projects while adding a dash of tropical cheer.
Be it as a key chain, applique or simply a decoration, it evokes smiles and sheer unadulterated creativity.
Each pineapple can be texture and color customized to make them one of a kind and absolutely delightful!
Reference sources
1.Learn the most comprehensive guide for single crochet(sc)
Author:Sarah Stearns
Publication date: on June 15, 2021, updated:December 14, 2024
Title: How to single crochet (sc)for beginners
Summary as blow:
- Step-by-Step Single Crochet for Beginners
- Single Crochet into a Foundation Chain
- Single Crochet into another Row
- Single Crochet in the Round
- Increases and Decreases
- Working Single Crochet in Different Loops


