


Crochet Pumpkin Pattern The Most Comprehensive Step-By-Step Explanation
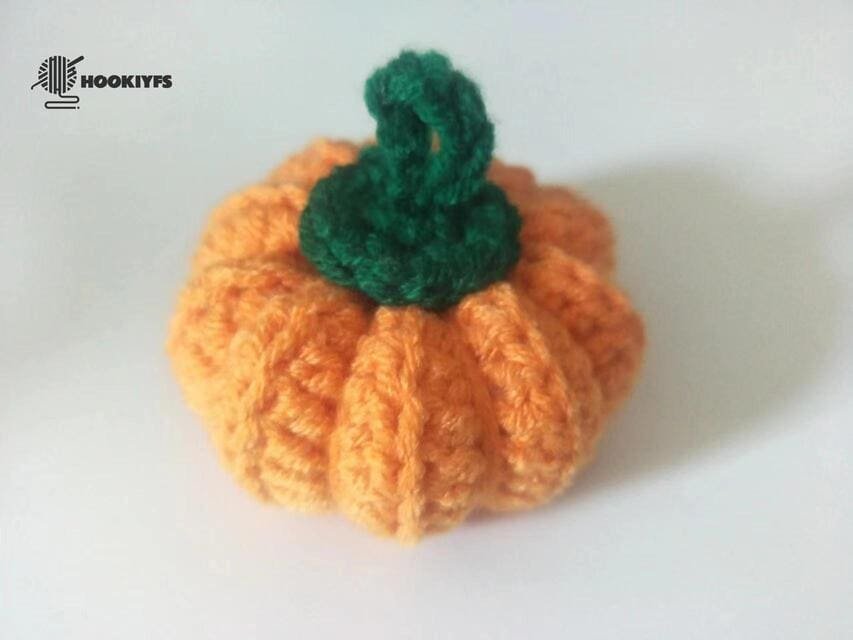
Table of Contents for crochet pumpkin pattern
Material kit of crochet pumpkin pattern
- Hook: 3.0mm
- Stuffing: (polyester fiberfill)
- Yarn(orange & dark green )
- Yarn needle
- Marker
List of necessary tools
- Scissors
- Hot melt glue or glue
Abbreviation for crochet pumpkin pattern
These are the required abbreviations for crochet pumpkin pattern
- ch = Chain stitch
- hdc=half double crochet
- st(s) =Stitch(es)
- mc =Magic circle (or magic ring)
Best selling products
-

Raffia Cross Pattern Basket Handbag Kit
$19.99 -

Hexagonal Bucket Bag Kit
$29.99 -

Raffia Handbag Kit
$29.99 -

Hammock Bag Kit
$29.99 -

Wheat Bucket Bag Kit
$19.99
Buy crochet pumpkin pattern kit
We designed our orange crochet pumpkin kit to capture the enchanting magic of fall with its soft and cozy and colorful details. the pumpkin’s shape, coupled with its bright fiery orange yarn, elicits warmth to any space. this product is ideal for all people regardless of their level of crochet skills since the kit was designed to be fun and easy to use.
As for the necessities, we prepared a crochet hook along with stuffing, a stitch yarn needle, the guide and of course the yarn itself to ensure complete creative freedom. with every step you take, we guide you through it making sure imagination flows endlessly devoid of pressure.
This crochet pumpkin works very gracefully for adornment in comparison alongside gifting and fulfilling a person’s heartfelt request. for the autumn season decorating, creating, and gifting is simple with this addition.
Tips

In=BLO( through back loops only)
out=FLO( through front loops only)
In this articles ,we use the blo method for crocheting .
We need crochet chain stitch (ch) for every round at the beginning.
Do not forget.
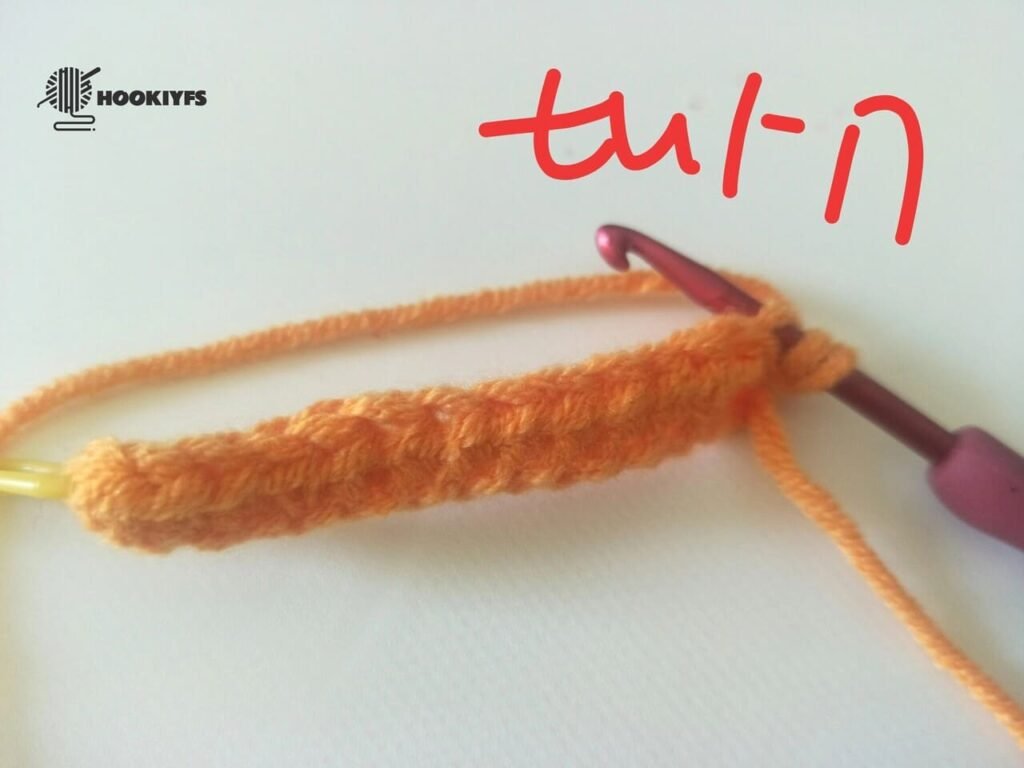
After crocheting each row for chain stitch(ch), we need to turn the fabric over.
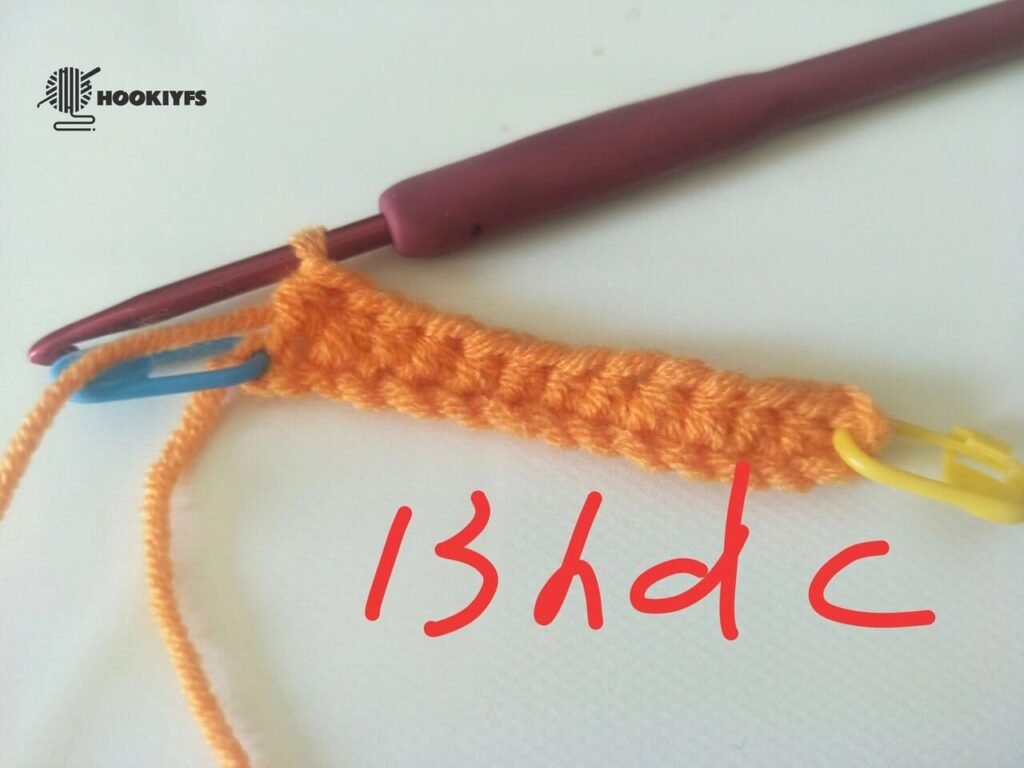
Crochet the body (use orange yarn )for crochet pumpkin pattern
- R1:15ch-starting from the fourth to second stitch-14hdc
- R2:ch,–starting from the fourth to second stitch-14hdc
- R3-R19: repeat R2
- Sew
- Fiberfill
- Sew
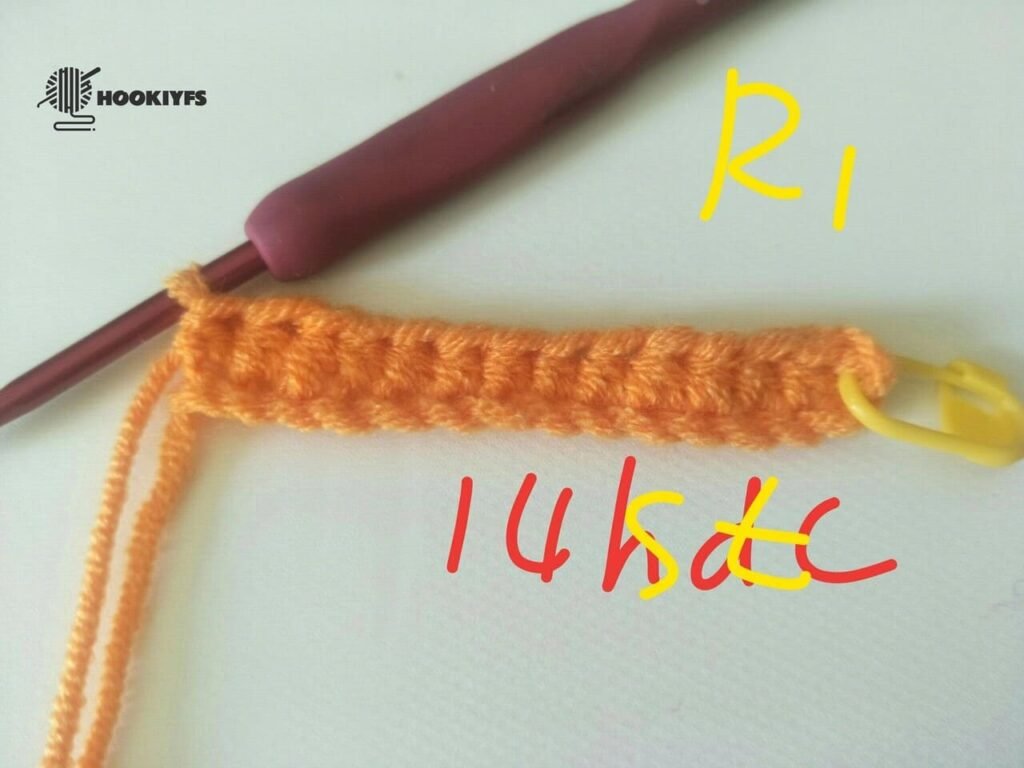
R1
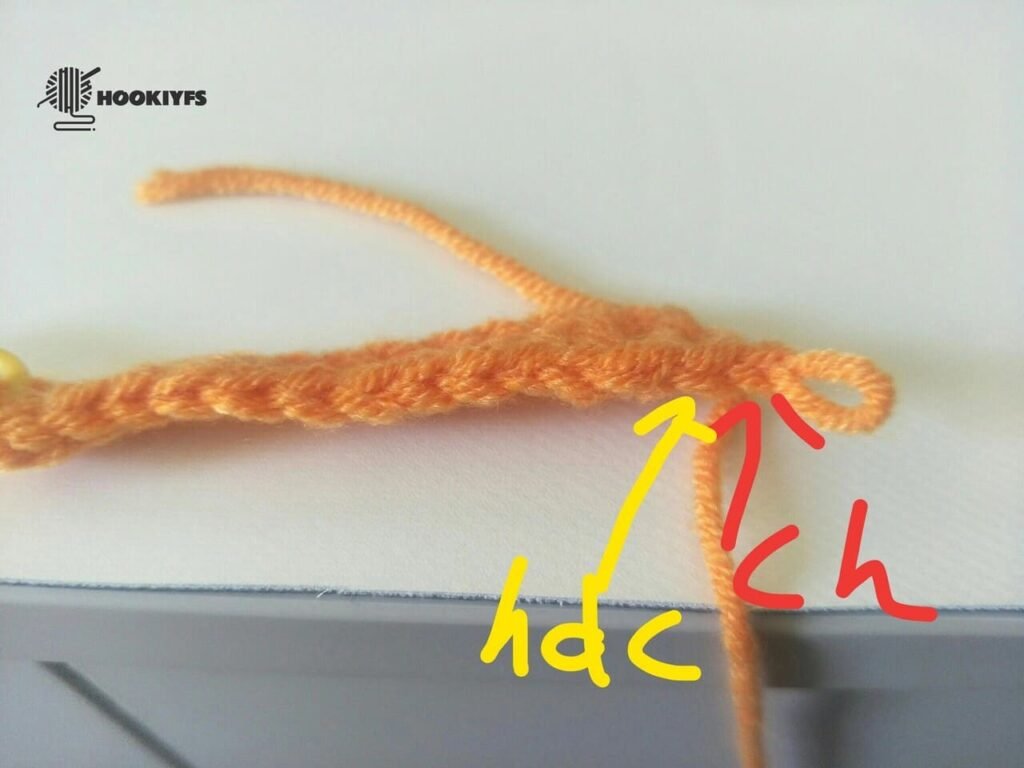
Crochet 15 chain stitch (ch) firstly.
Want to learn it, please click:Chain Stitch |Step By Step Guide| Text & Photo &Video
Crochet order:
Ch 15: Make 15 chain stitches.
Starting in the 2rd chain from the hook(yellow arrow ): This is standard when beginning a row of half double crochet (hdc),
14 hdc: we’ll make 1 hdc in each of the next 14 chains.
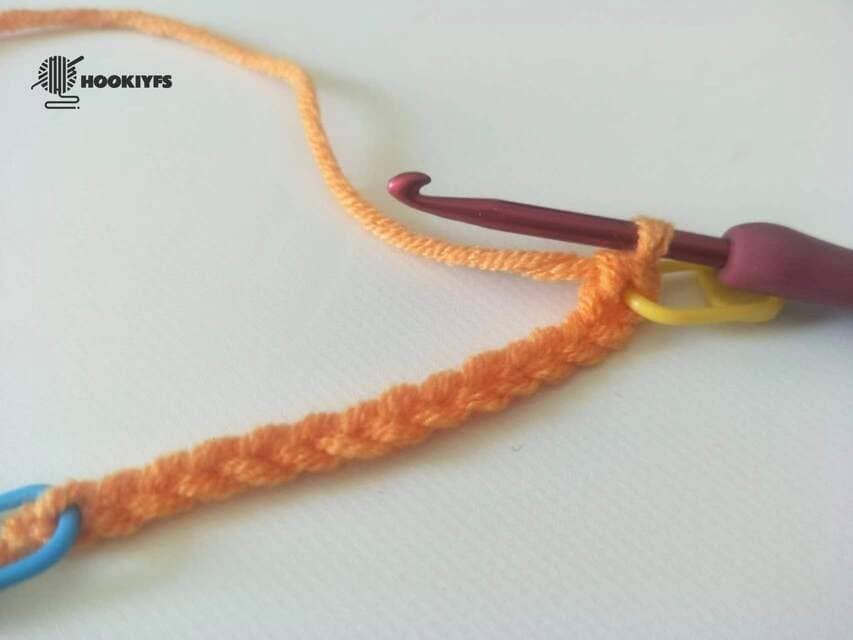
The first half double crochet (hdc) is completed.
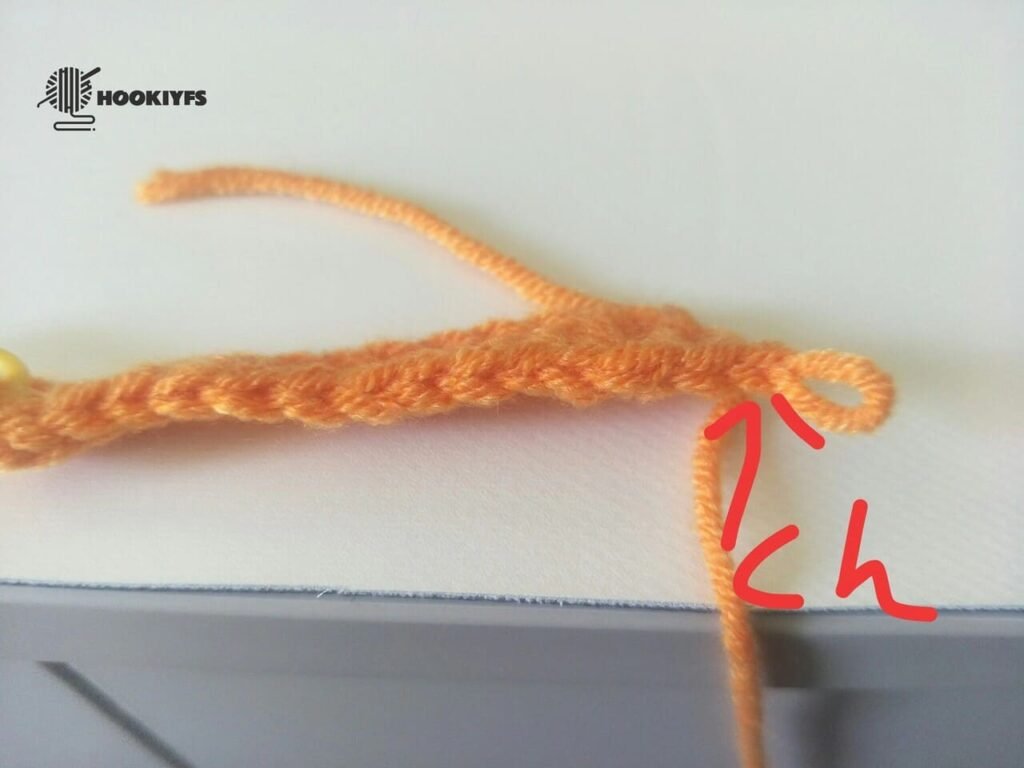
Please note that we put a marking button on the first stitch we finish, which is very useful for beginners.
Because every time we finish a row of crochet, we need to count the corresponding stitches.
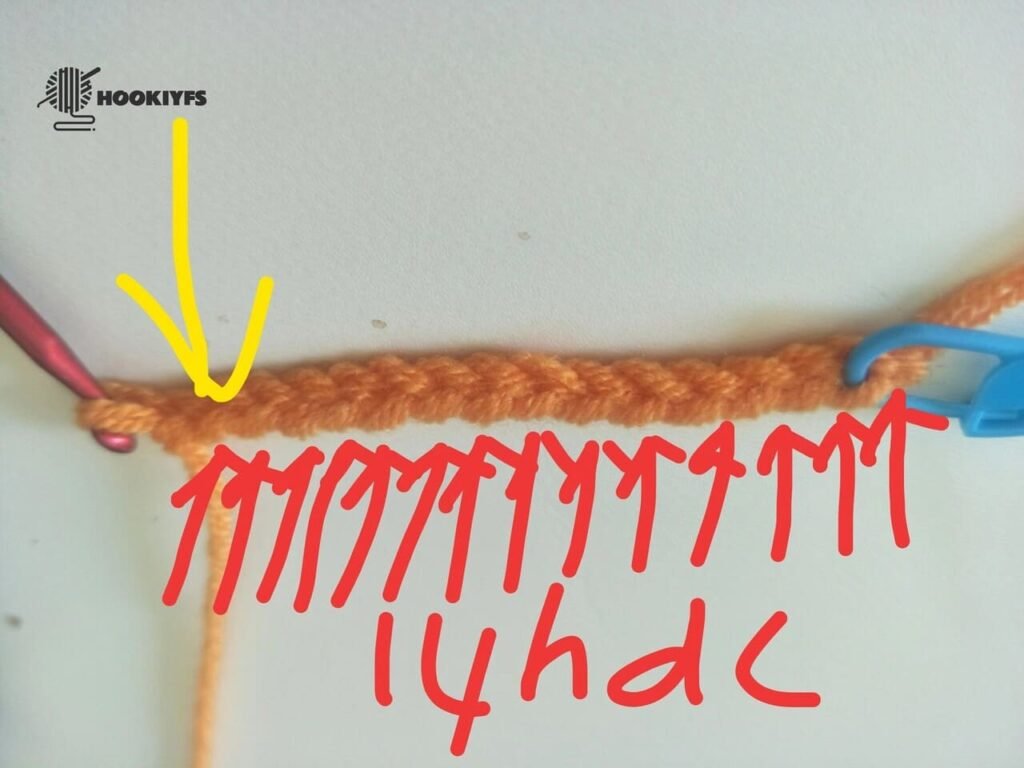
13 hdc are completed for round 1. (see the picture)
As shown in the picture above, we need to crochet a hdc on the stitch of the blue mark button.
14 stitch for round 1 is completed.
R2
We require a crochet chain stitch (ch) for each round at the commencement.
Following crochet rows of chain stitch (ch), we must flip the fabric over.
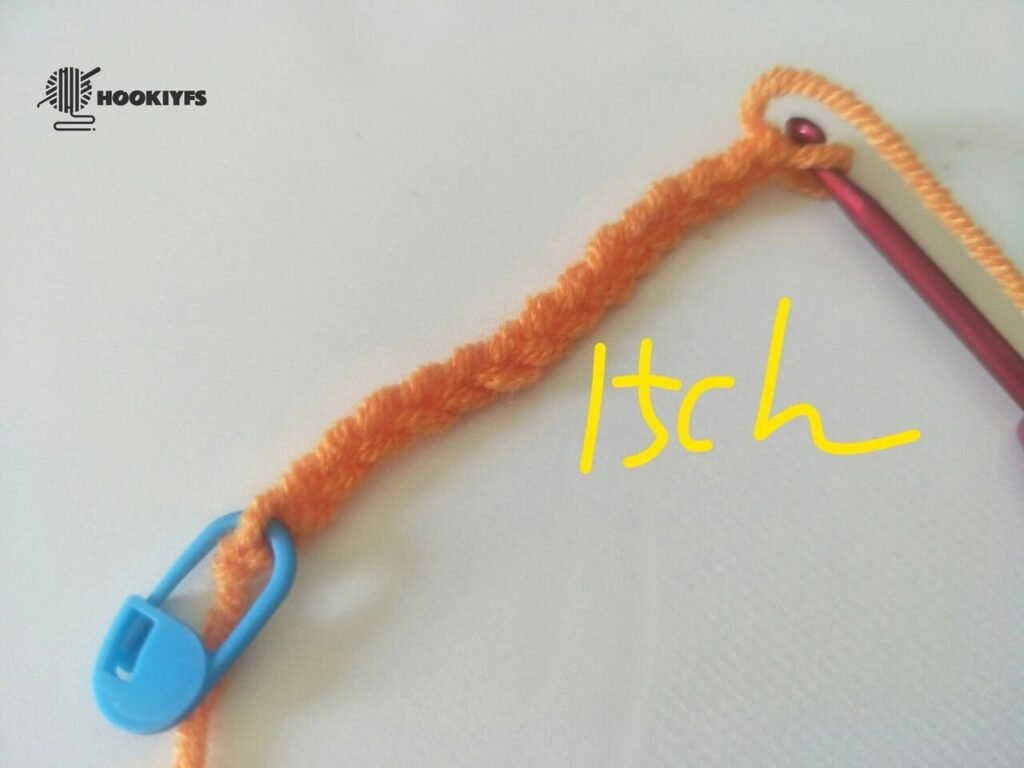
Starting in the 2rd chain from the hook.
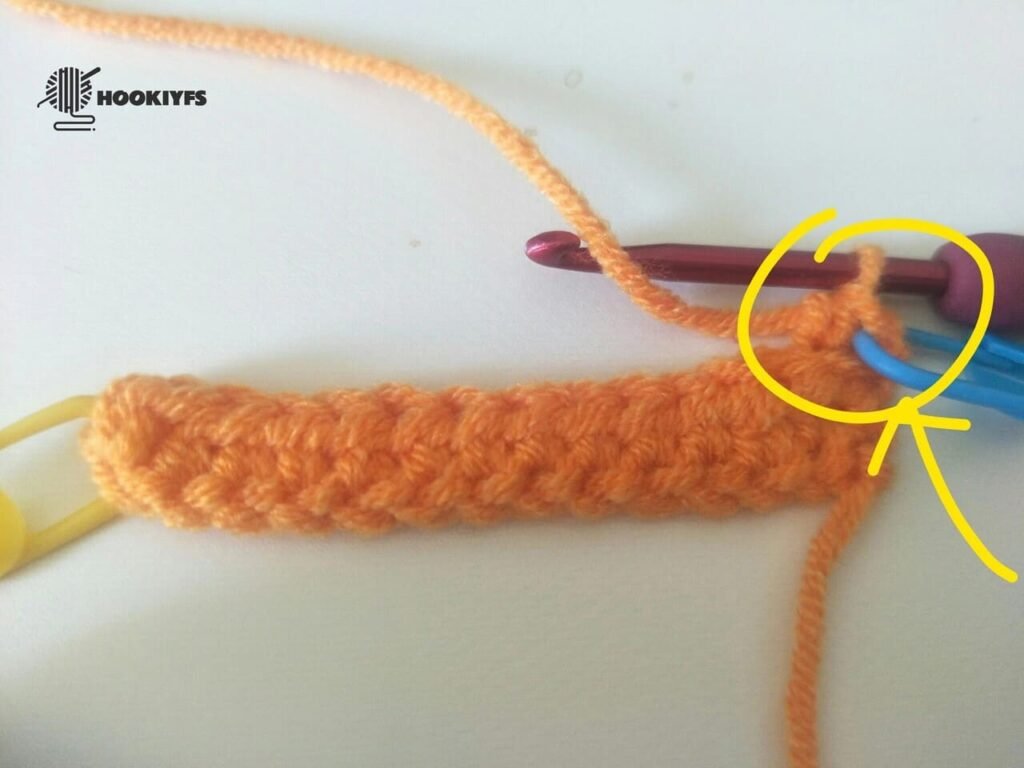
Remember that we place a marker on the first stitch we complete.
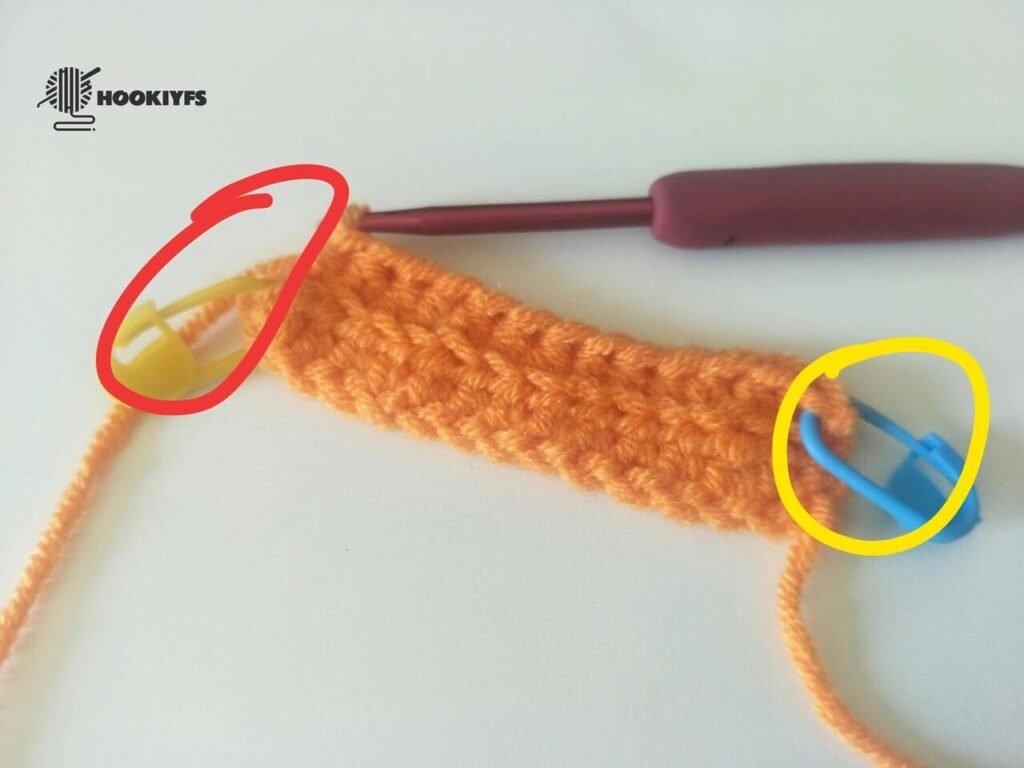
13 hdc are completed for round 2. (see the picture)
There is still one hdc left to be crocheted, as shown in the picture, it is the stitch with the yellow marked button, and then crochet the last hdc again.
14 stitch for round 2 is completed.
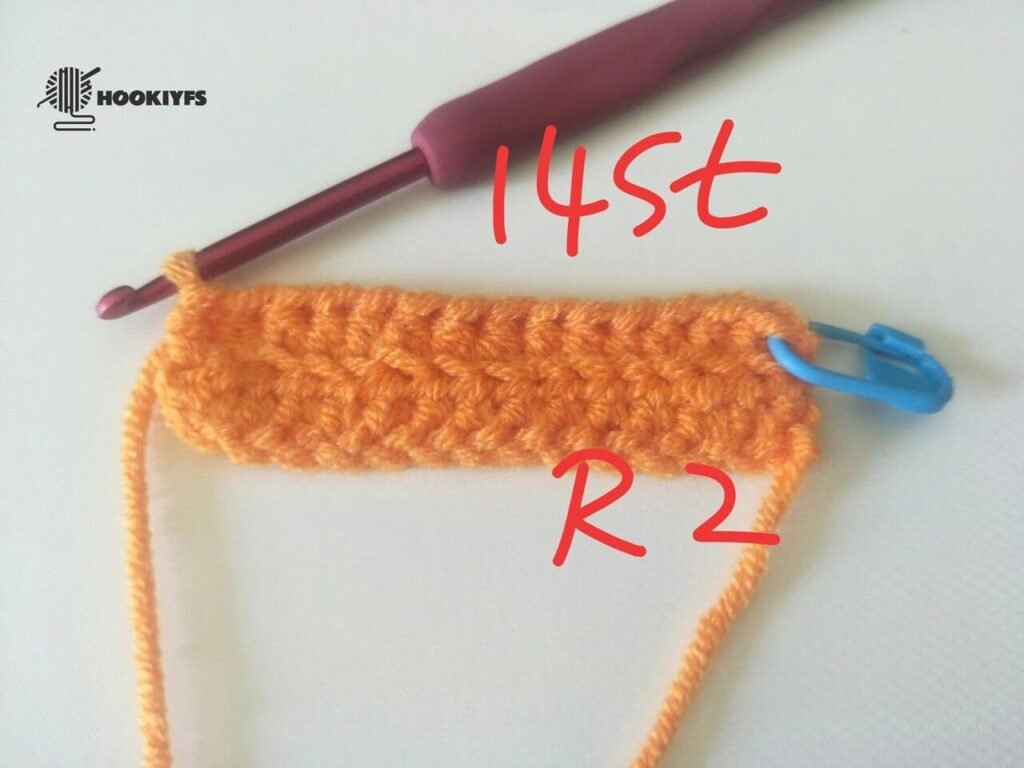
R3
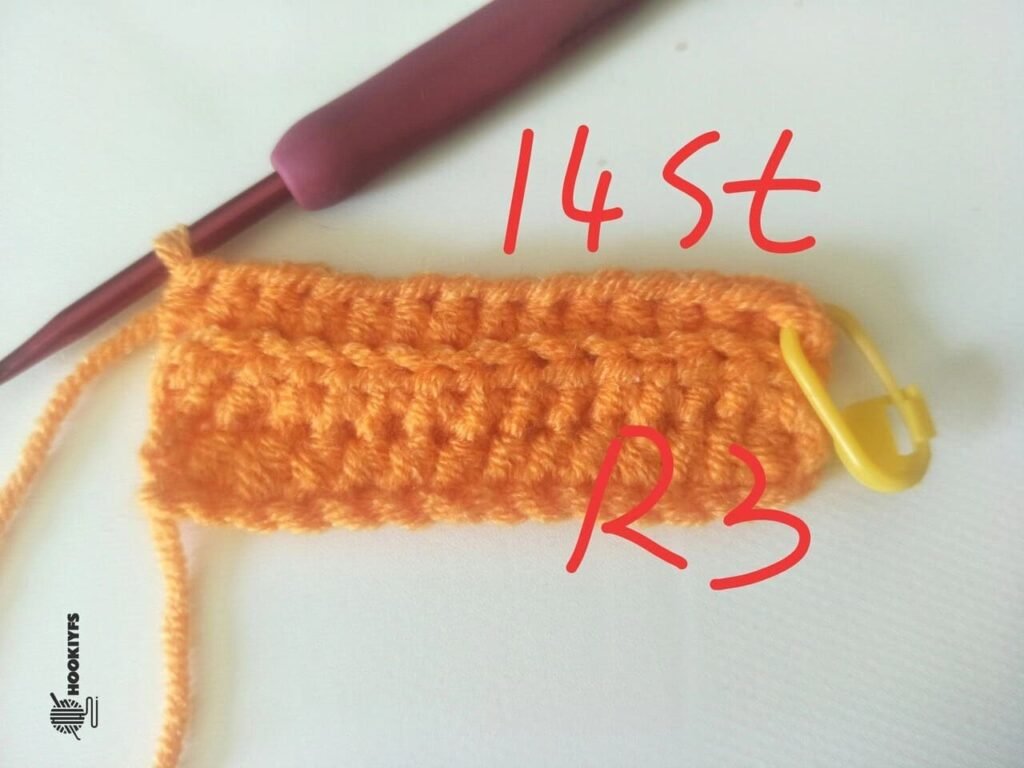
Repeat the crochet method for the second round, and button the marking button after completing the first and last stitch.
14 stitch for round 3 is completed.
R4
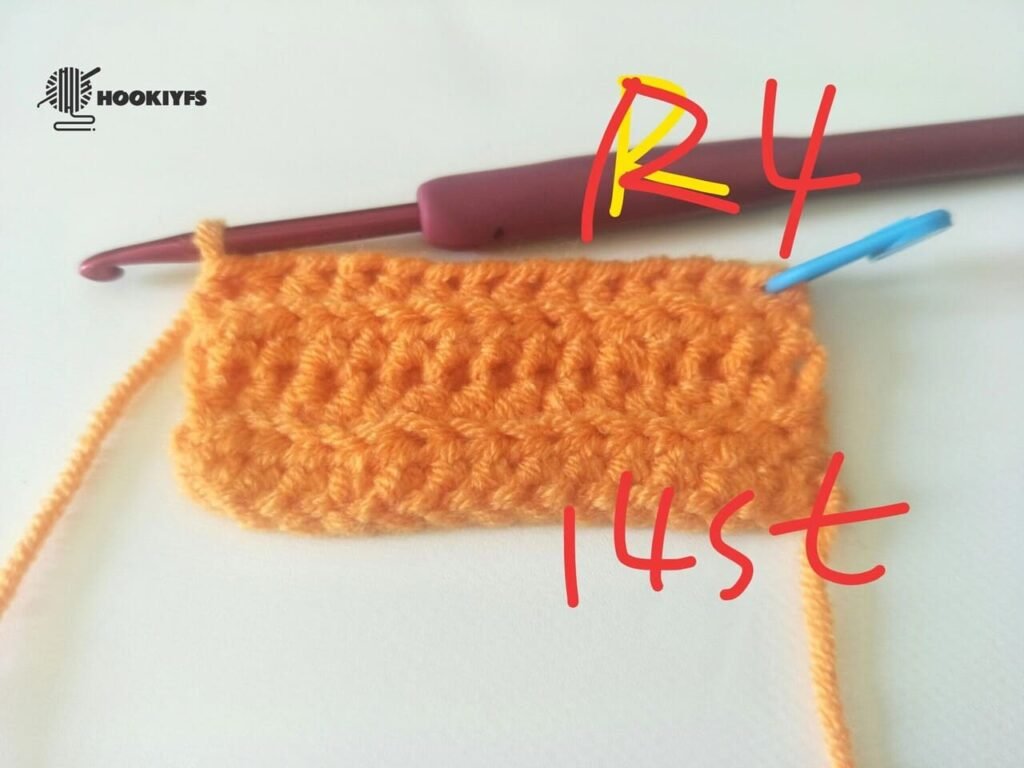
14 stitch for round 4 is completed.
R5
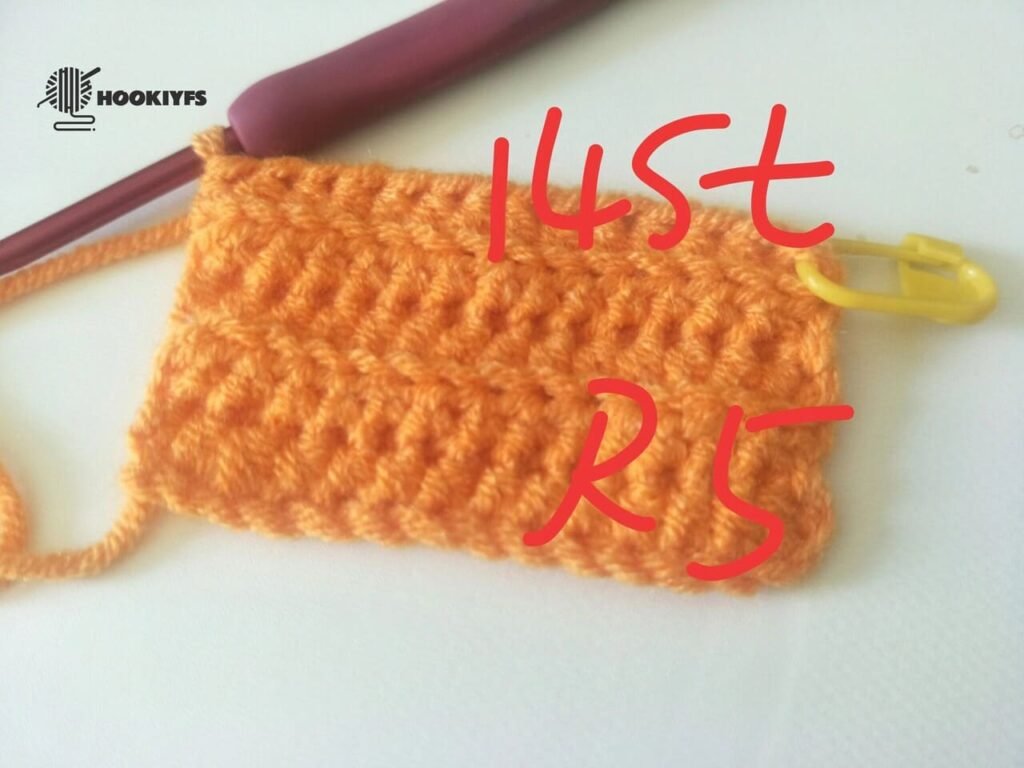
14 stitch for round 5 is completed.
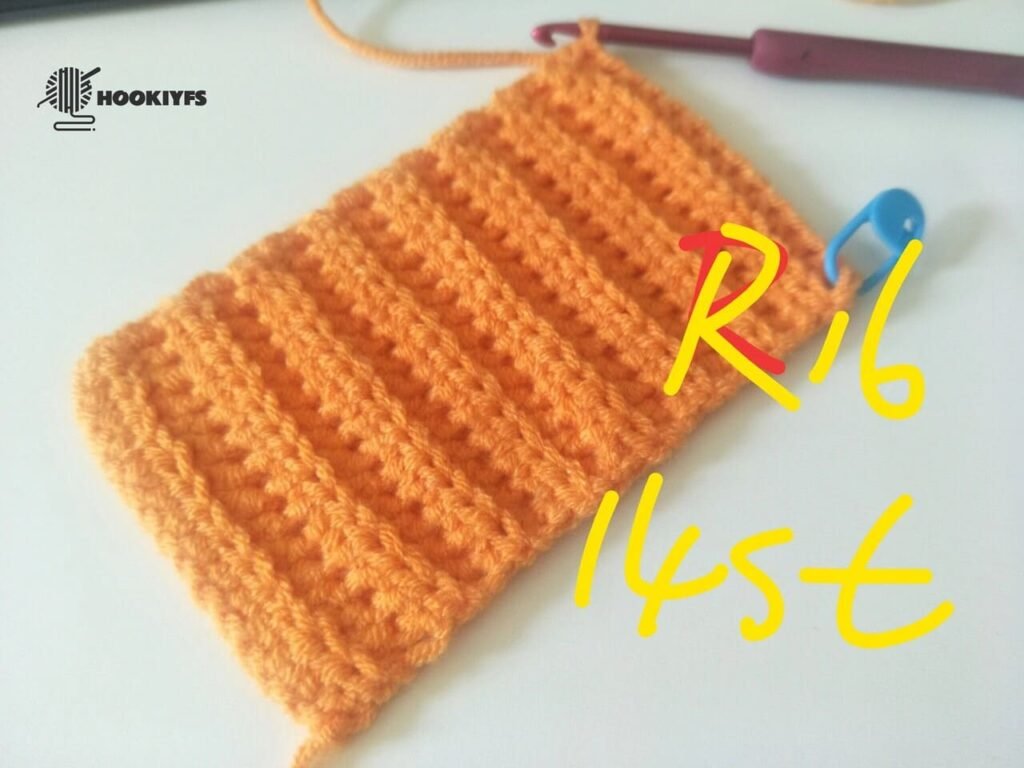
R6
14 stitch for round 6 is completed.
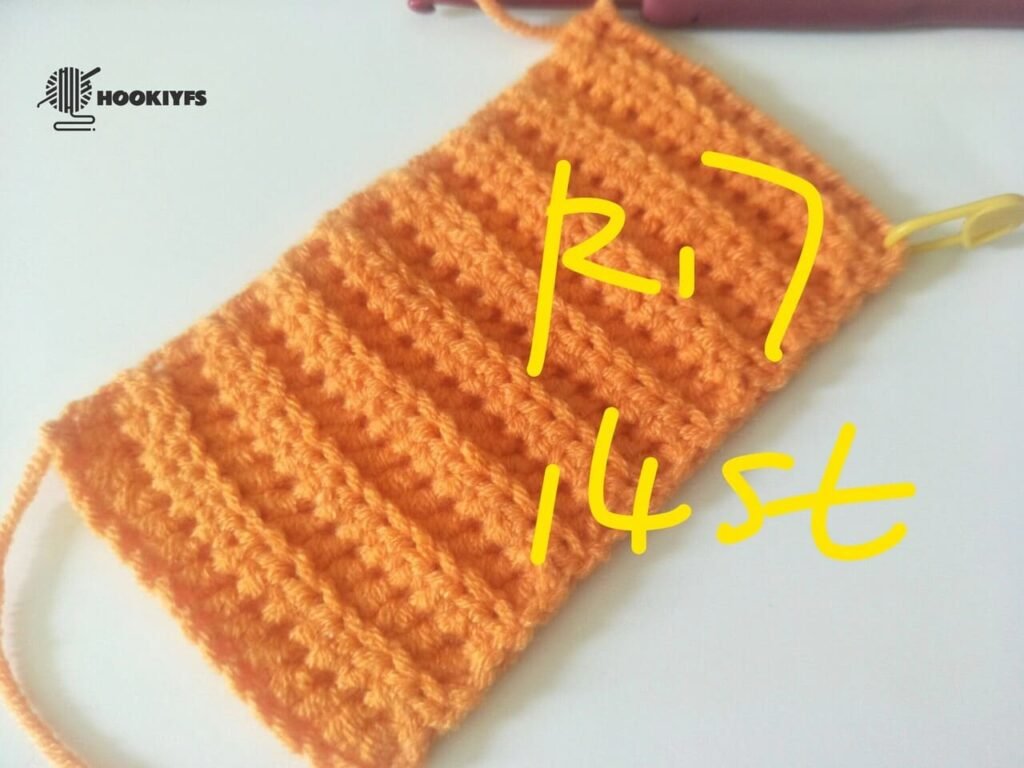
R7
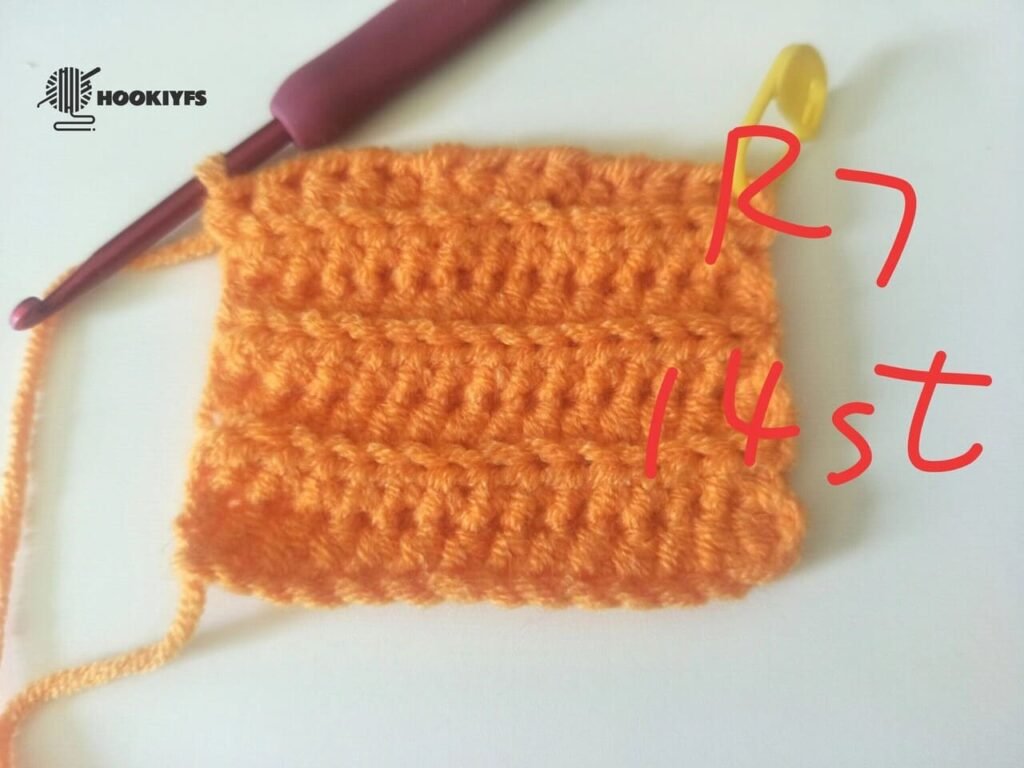
14 stitch for round 7 is completed.
R8
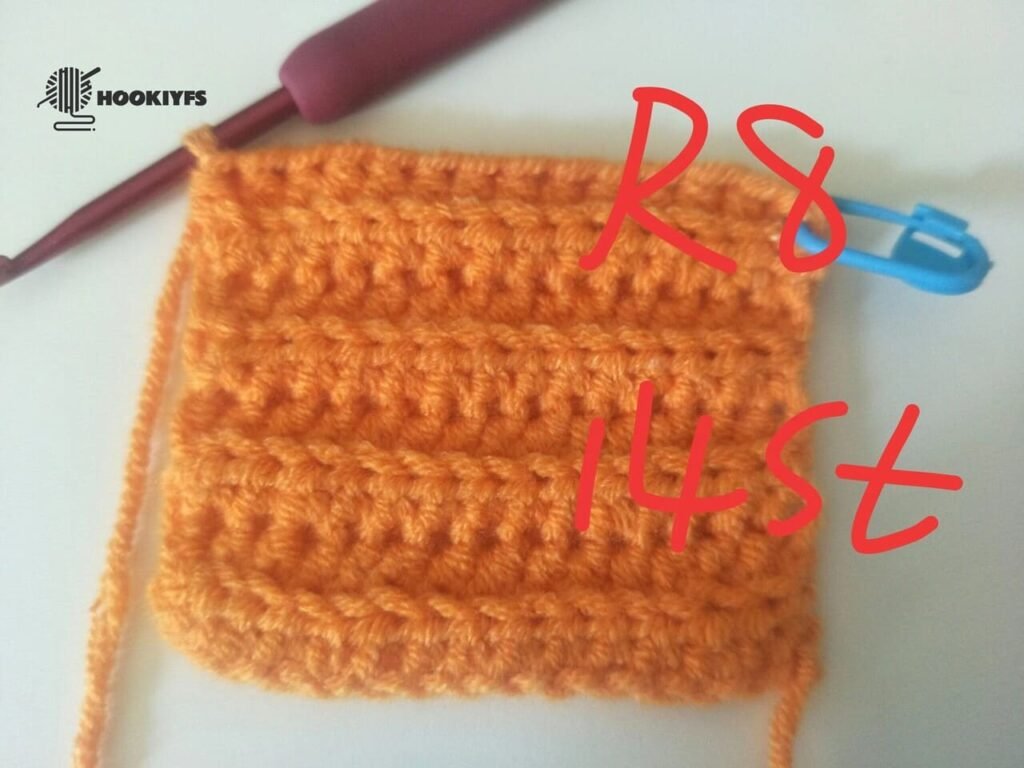
14 stitch for round 8 is completed.
R9
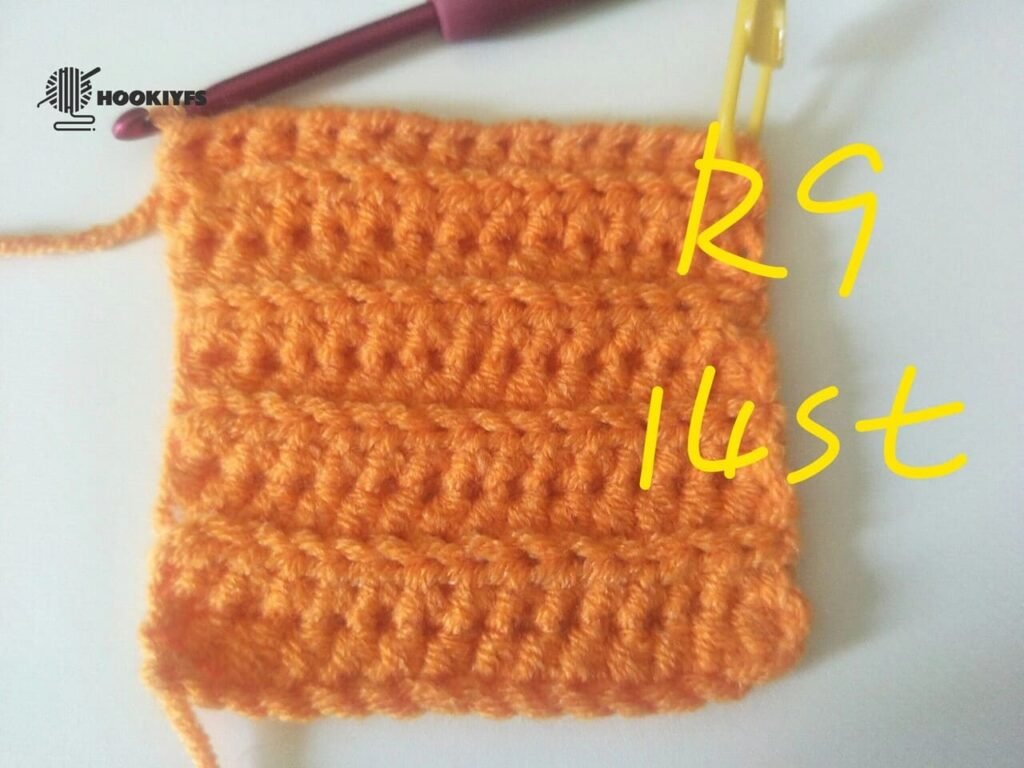
14 stitch for round 9 is completed.
R10

14 stitch for round 10 is completed.
R11
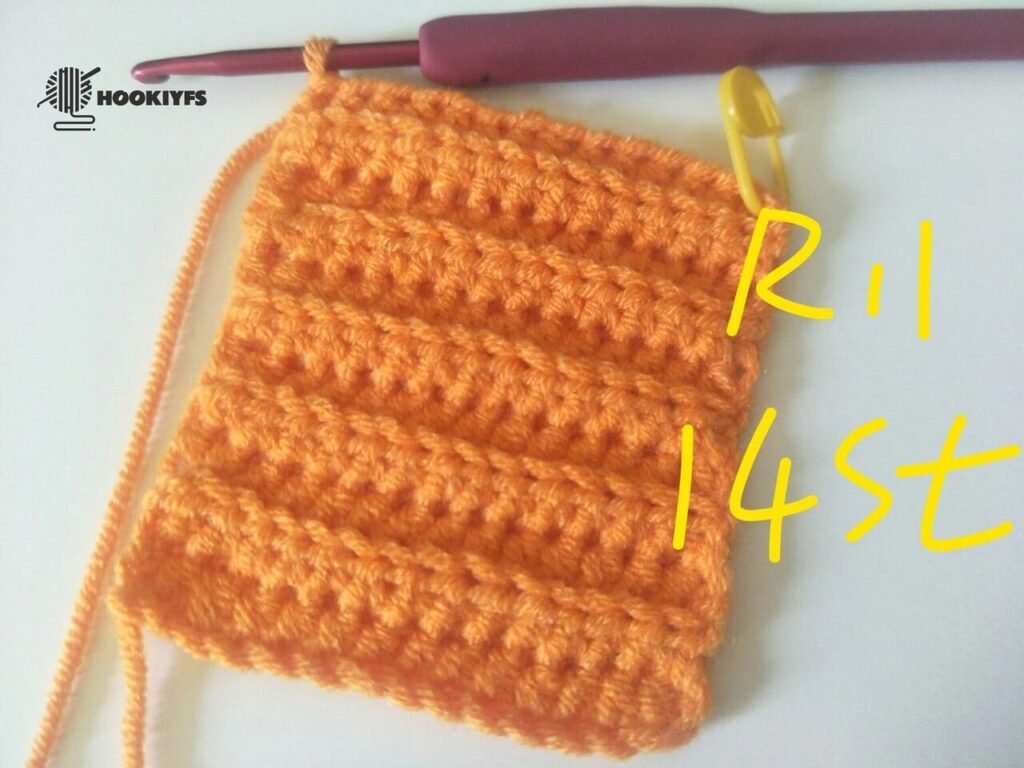
14 stitch for round 11 is completed.
R12
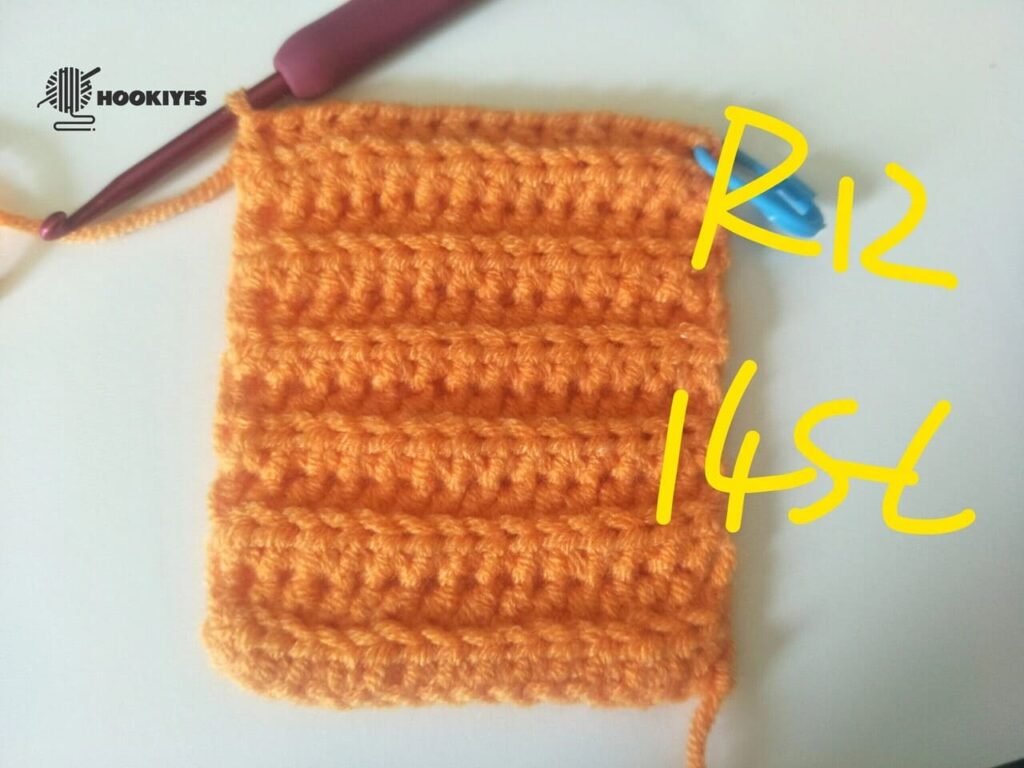
14 stitch for round 12 is completed.
R13
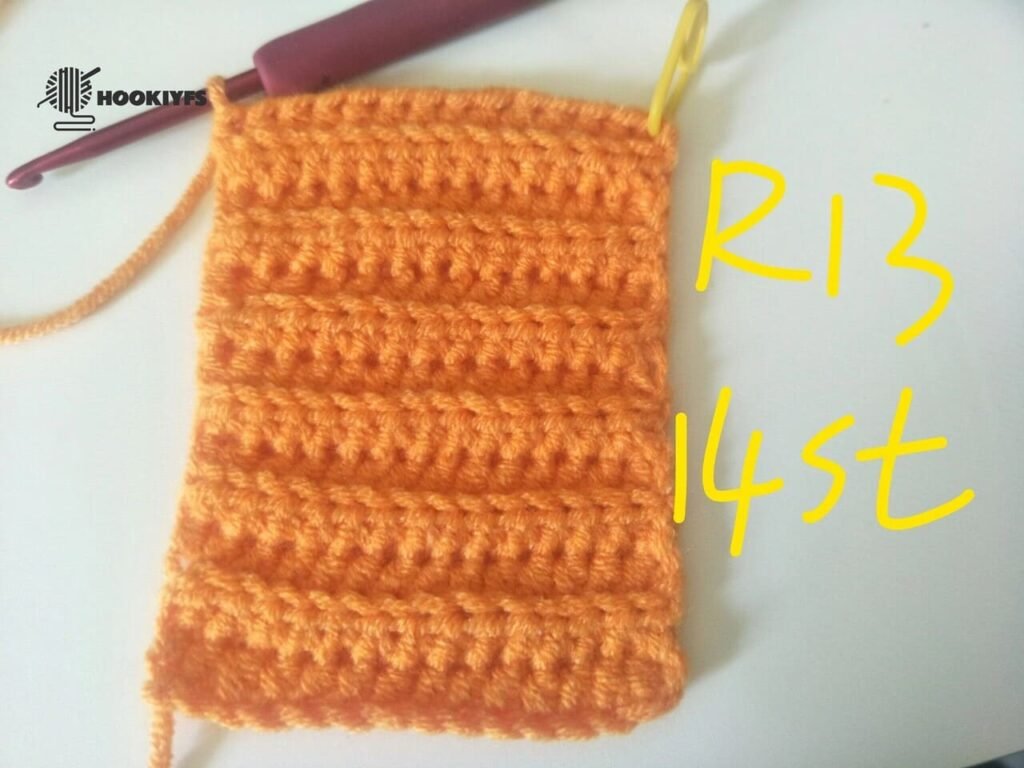
14 stitch for round 13 is completed.
R14
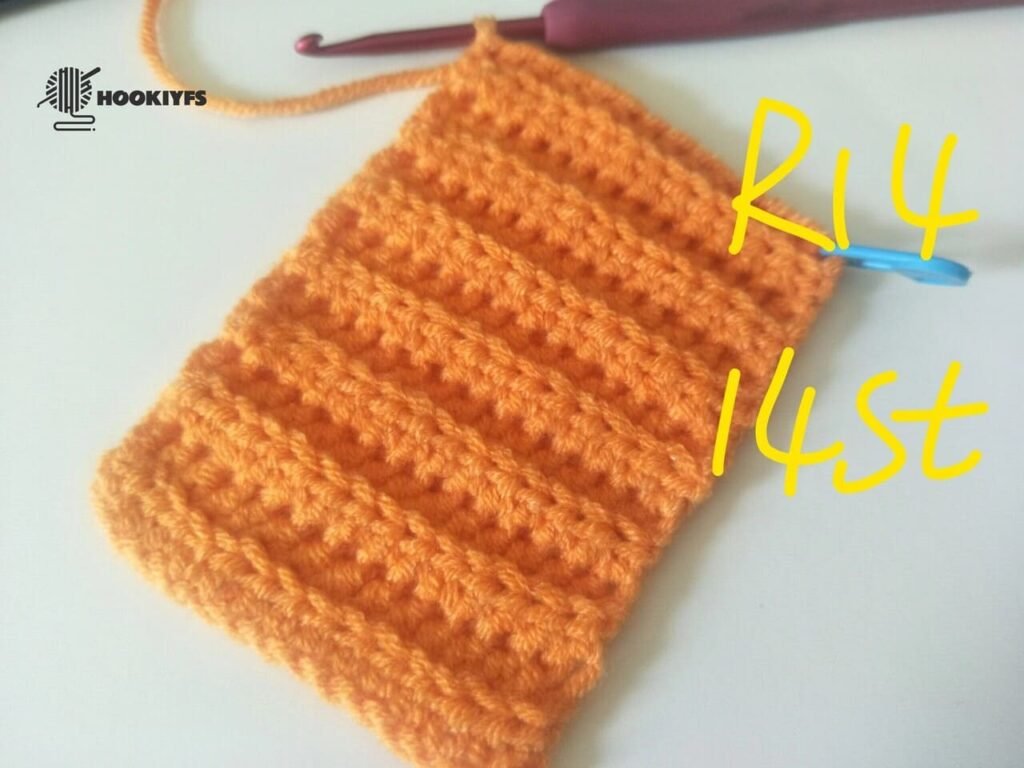
14 stitch for round 14 is completed.
R15
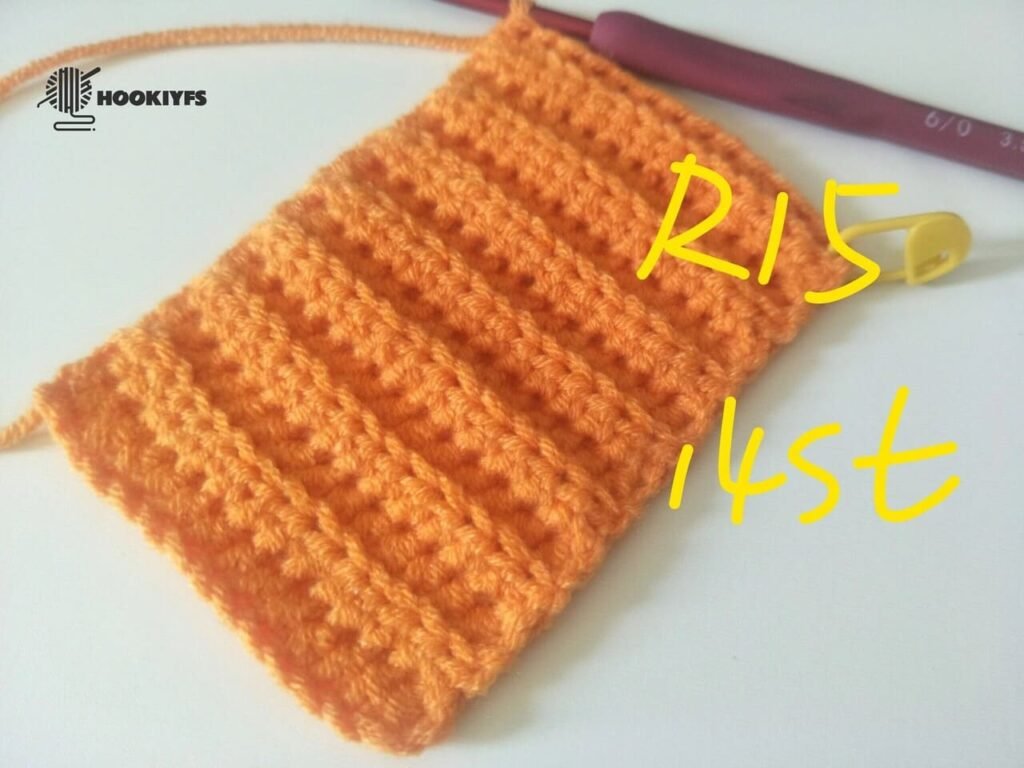
14 stitch for round 15 is completed.
R16
14 stitch for round 16 is completed.
R17
14 stitch for round 17 is completed.
R18
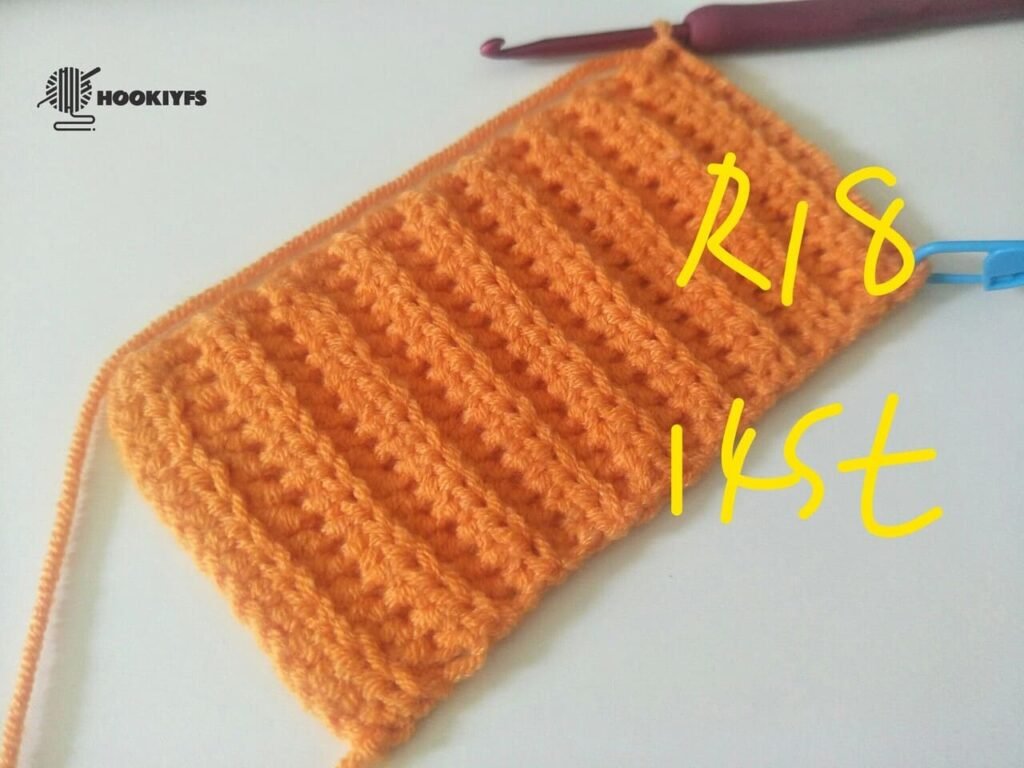
14 stitch for round 18 is completed.
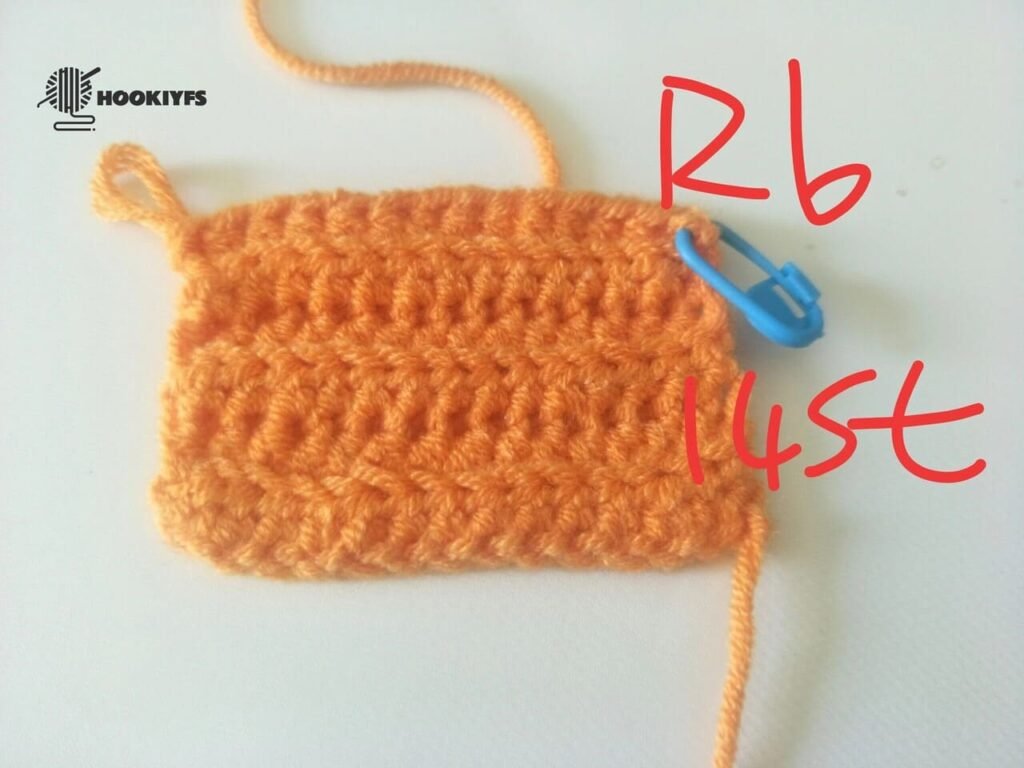
R19
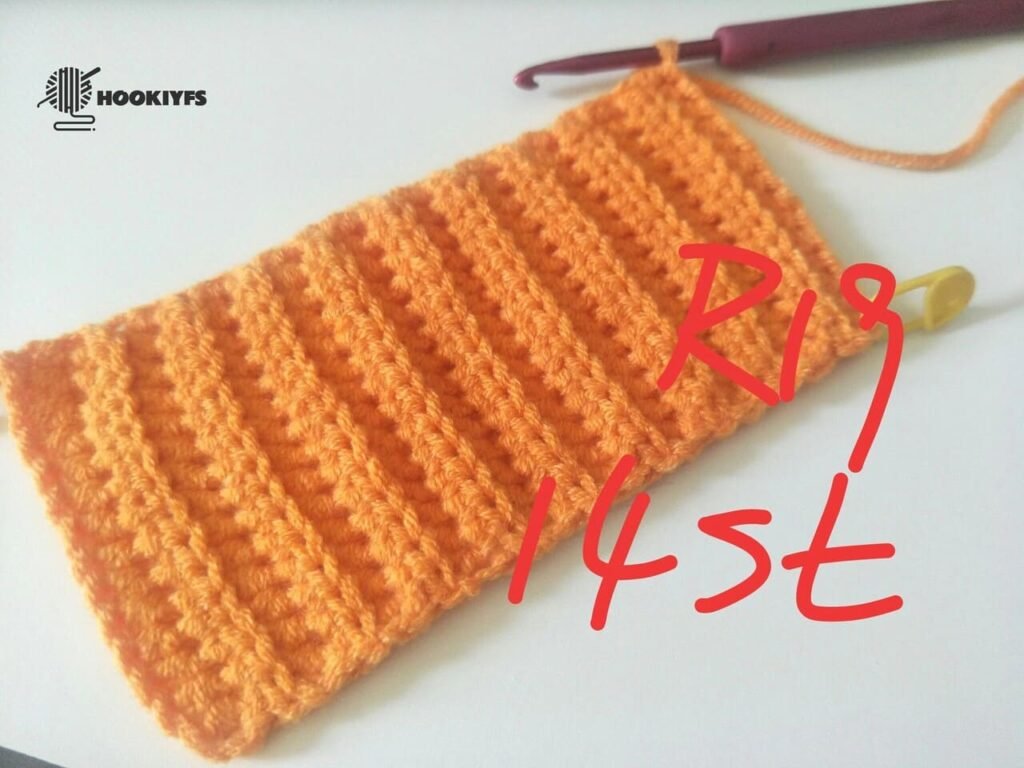
14 stitch for round 19 is completed.
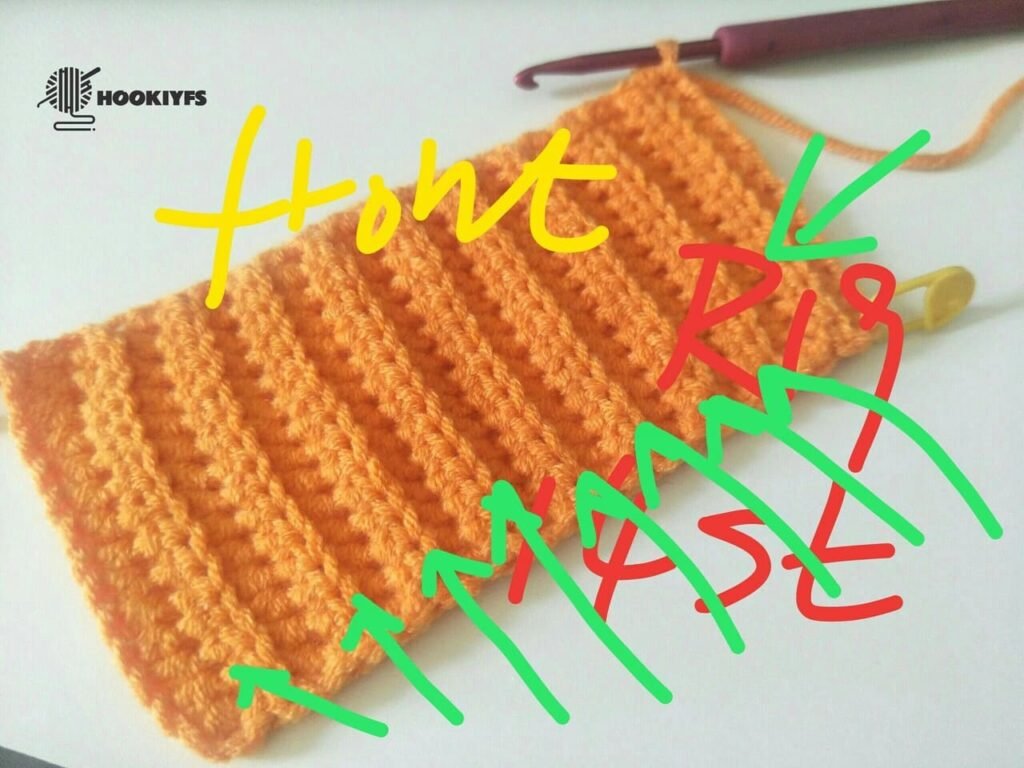
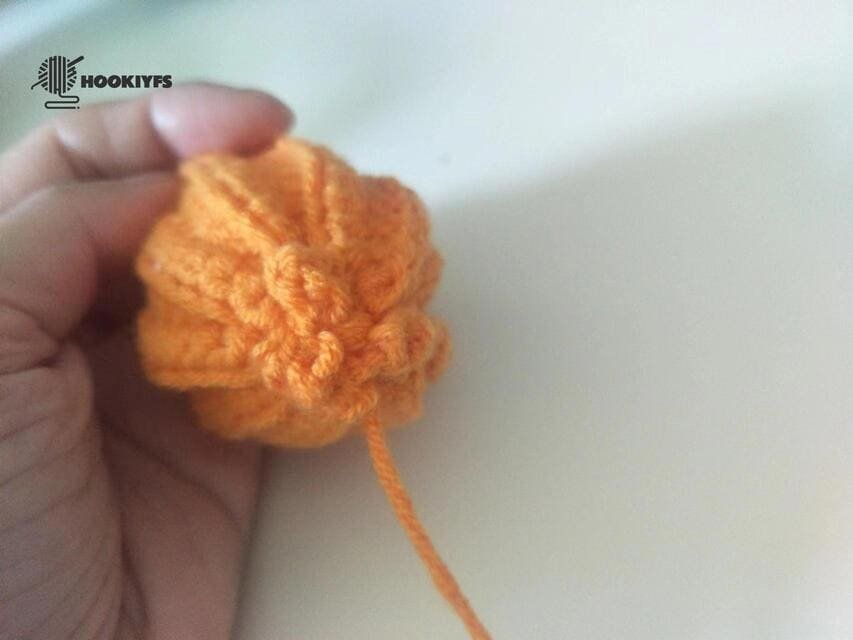
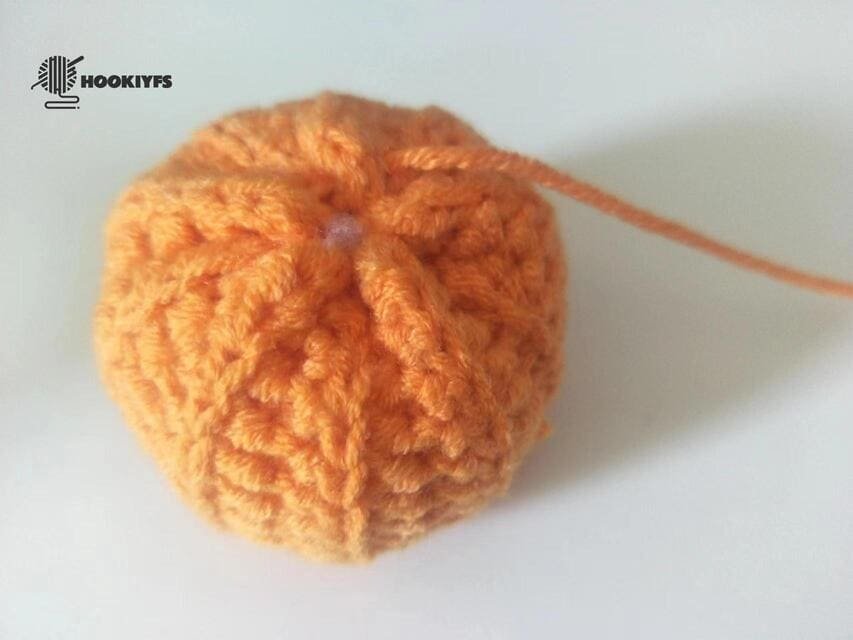
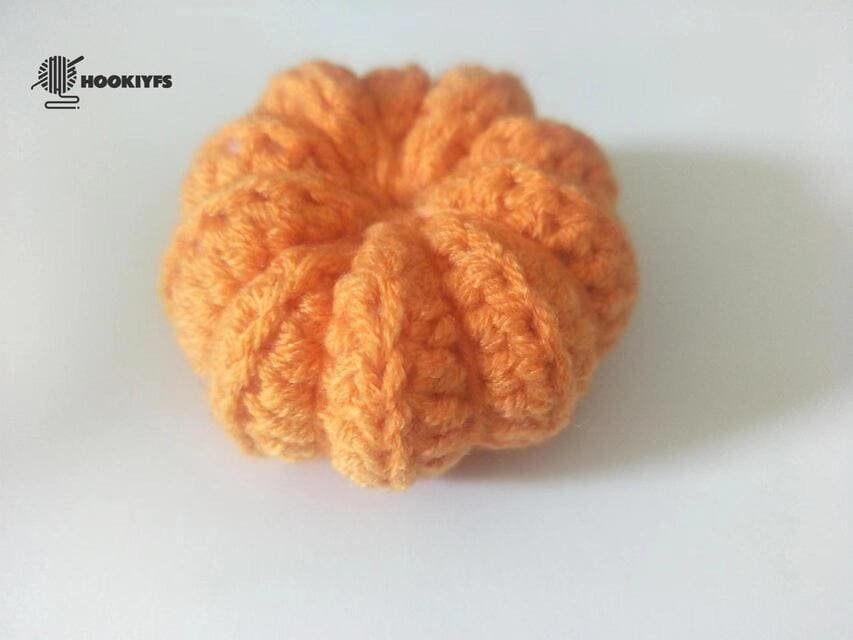
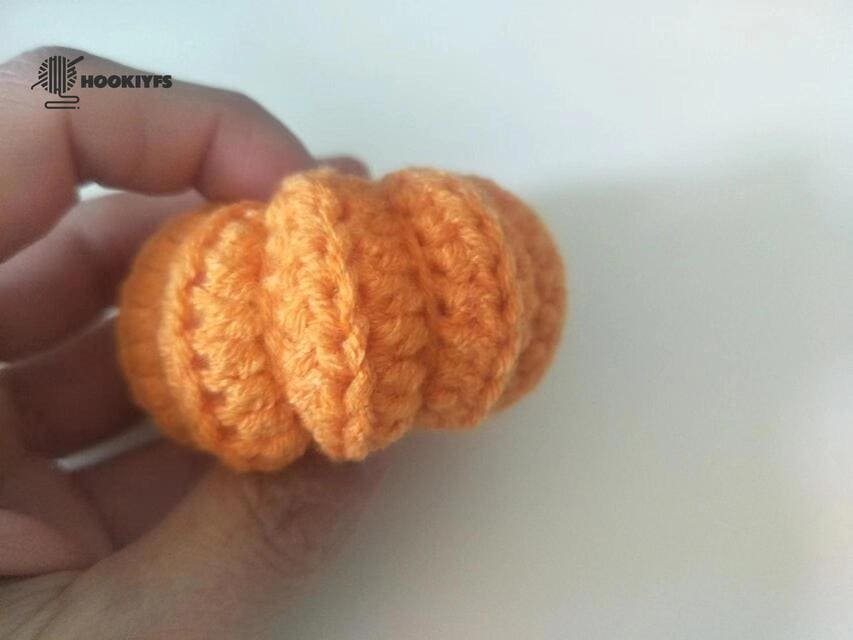
After 19 rounds, we can see 9 raised stripes from the front of the fabric.
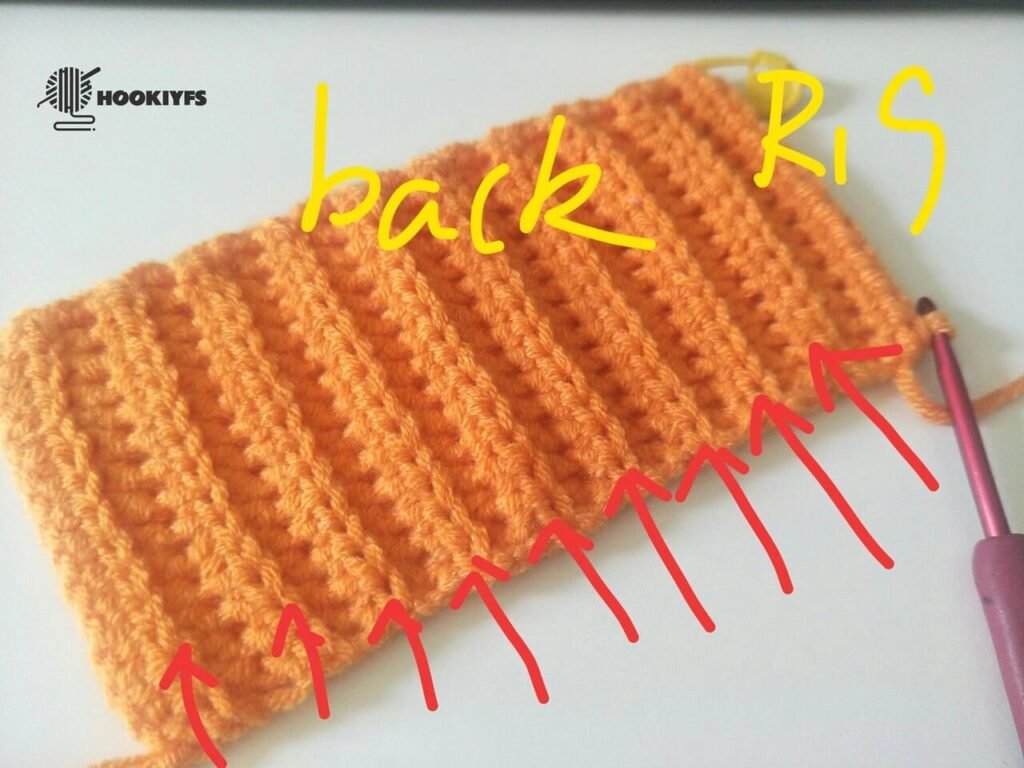
After 19 rounds, we can see 9 raised stripes from the back of the fabric.
Fold and sew
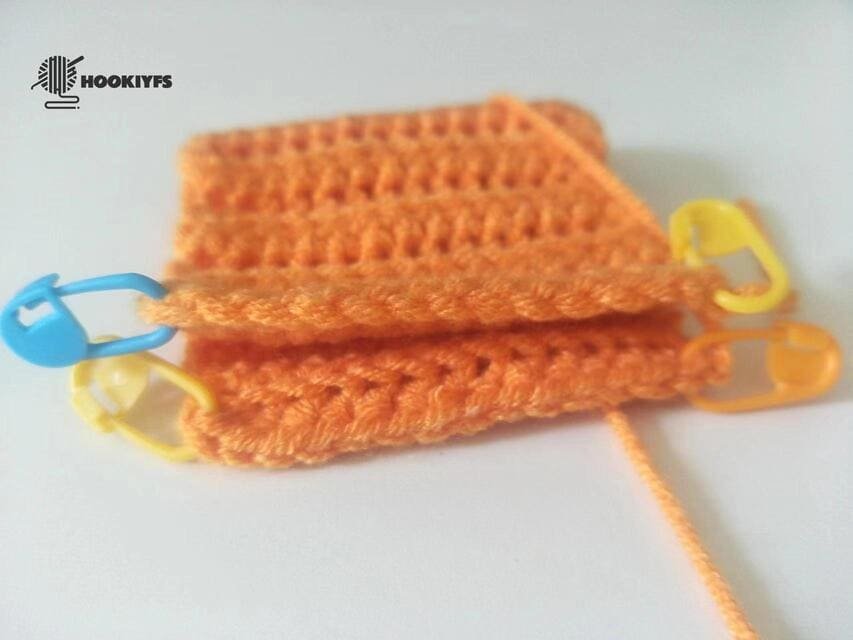
The last and first stitches of each row are marked with buttons to make it easier to sew and find the stitches to sew.
Use a yarn needle to pick up the inner half stitch of one row and then pick up the outer half stitch of another row to sew.
This way the sewn fabric will be particularly beautiful.
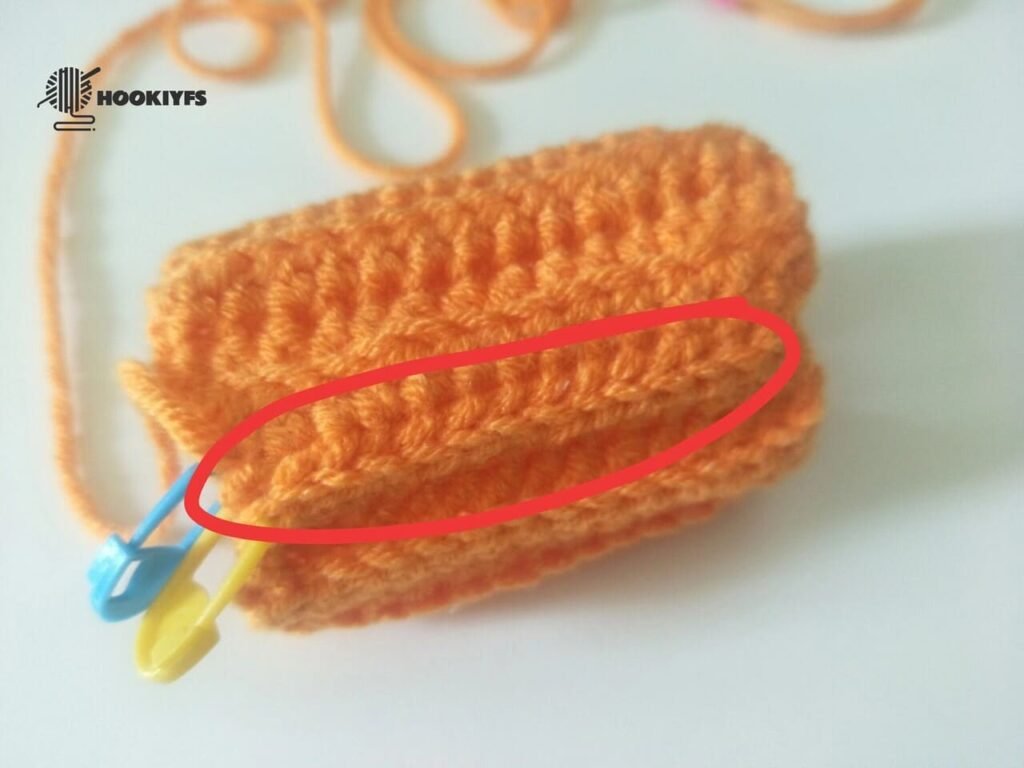
The red frame shows the effect after sewing.
The fabric as a whole will feel very neat.
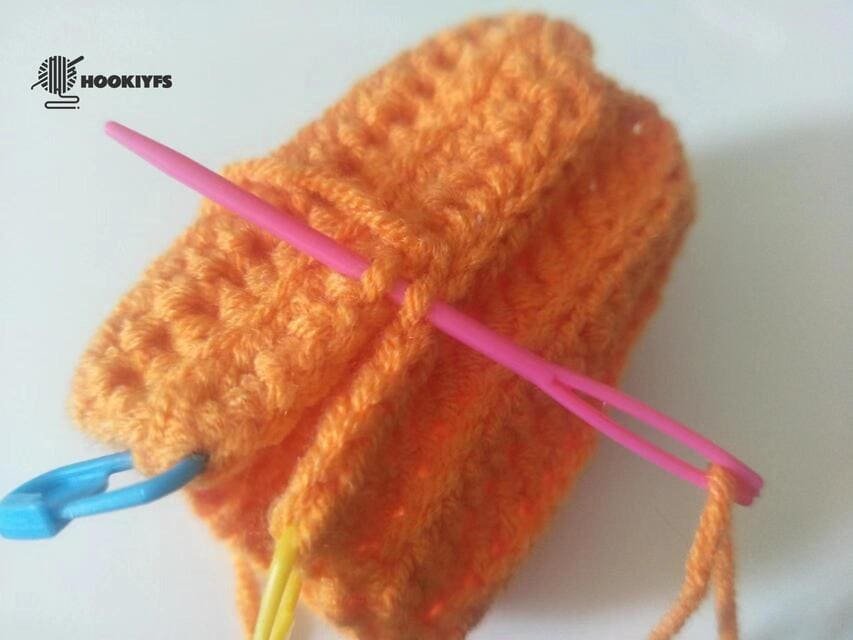
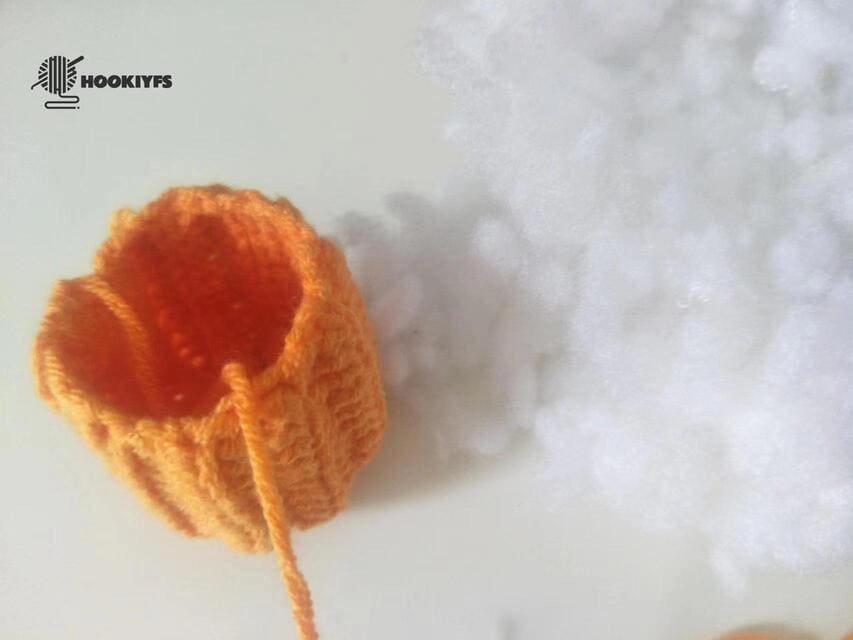
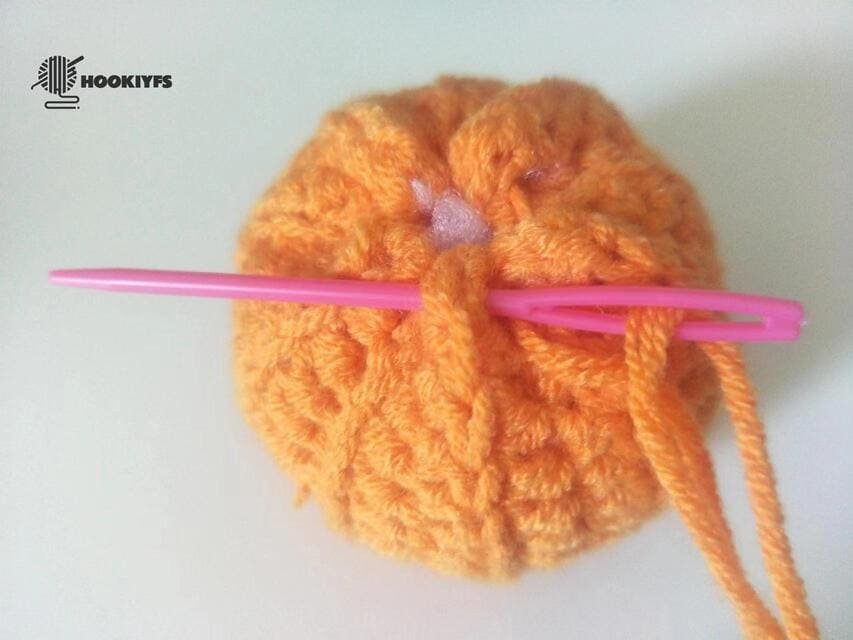
Start sewing the one side
Now let’s close the pumpkin.
Use a yarn needle, pick a stripe several times(show as picture), then tighten the yarn end , and the edge will slowly close up.
View of the edge will slowly close up.
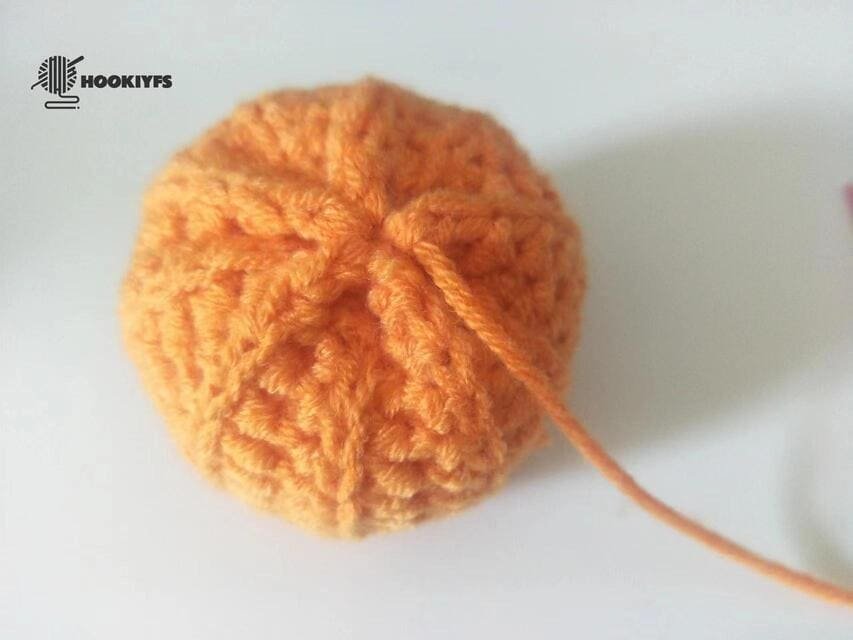
Next, use the same method again, pick the top of the fabric, pick a stripe to insert the stitch, and close the hem again, which means we need to do it twice.
This will make the fabric hem tighter.
The second close up is completed.

In order to make the pumpkin look beautiful, we need to turn it over again and close the closing that has just been sewn.
The picture shows the effect after flipping.
Fiberfill
Put the fiberfill to the hole of pumpkin.
While stuffing, we shape and press the pumpkin with our hands so it remains round and full. we want the pumpkin to feel firm to the touch, but not too tight– If it is too tight, the filler will seep through the stitches.
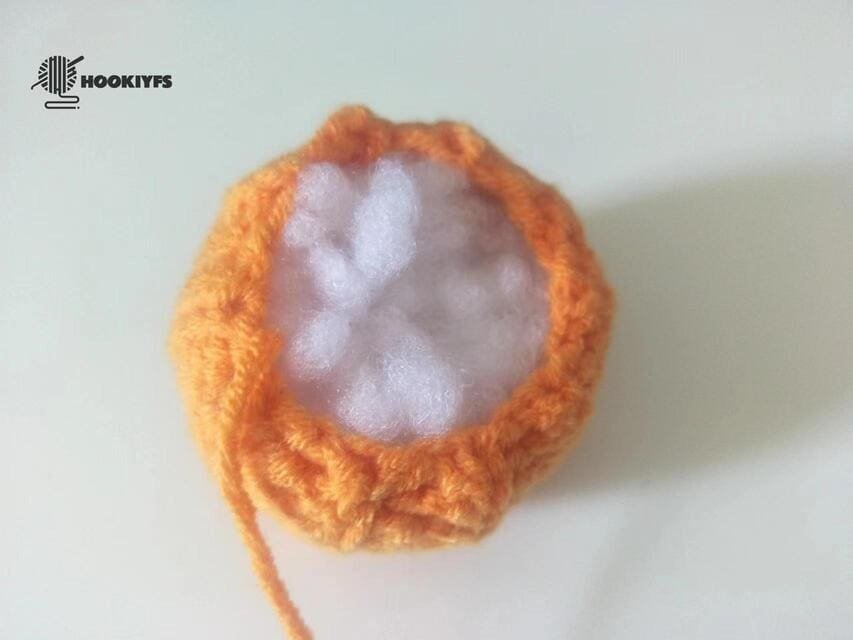
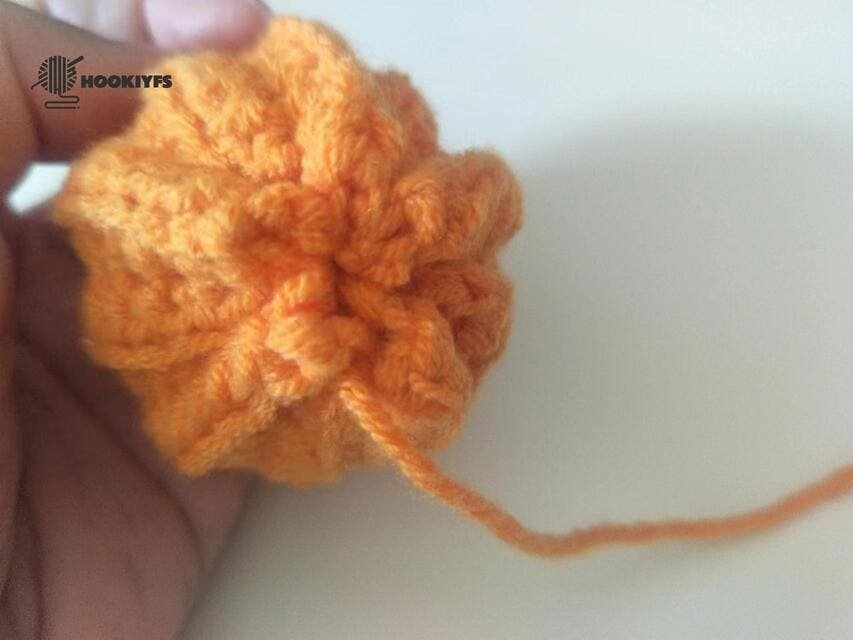
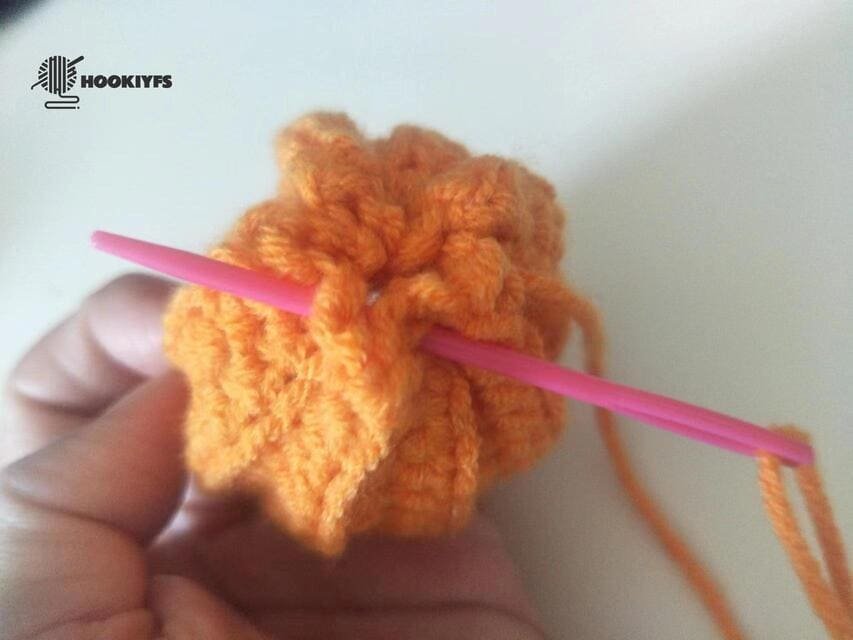
After fiberfill is completed.
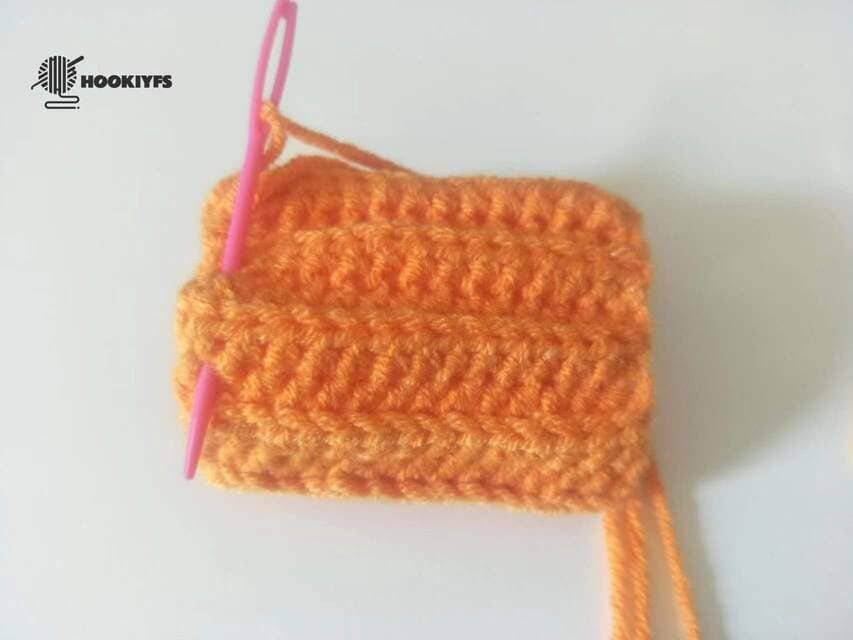
Start sewing another side
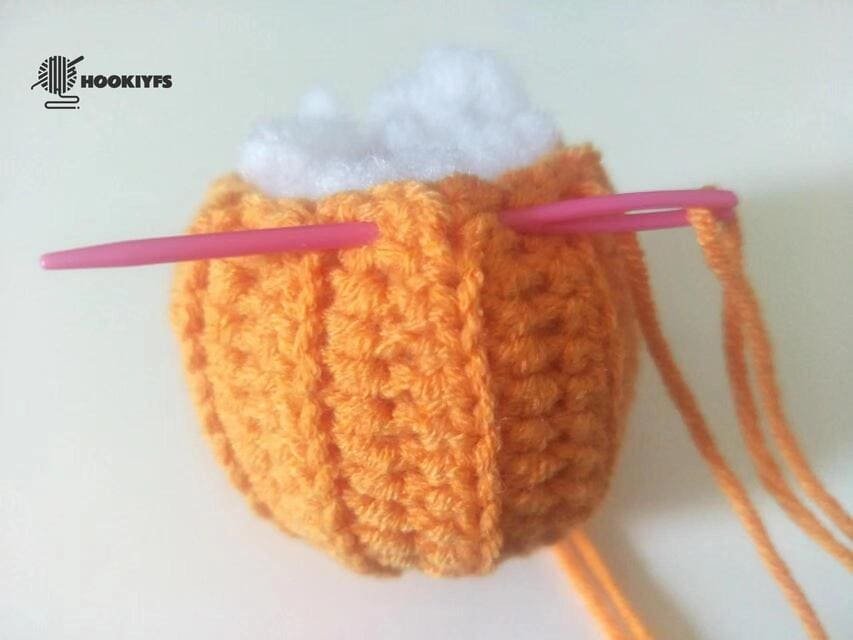
With a yarn needle, pick a stripe several times (as shown in the picture), then tighten the yarn end, and the edge will gradually close up.
The edge after first operating will slowly close up.
Next, use the same method again, pick the top of the fabric, pick a stripe to insert the stitch, and close the hem again, which means we need to do it twice.
This will make the fabric hem tighter.
The second close up is completed.
Leave 50 cm yarn end .
In the middle of the two stripes, we use a yarn needle to pull out the shape of a pumpkin.
It should be noted that the yarn needle with yarn is inserted from the top and then pulled out from the bottom, and it can be completed by repeating it many times.
The picture shows the effect of holding the pumpkin in our hands.
Crochet the hand carrying (use dark green yarn )for crochet pumpkin pattern
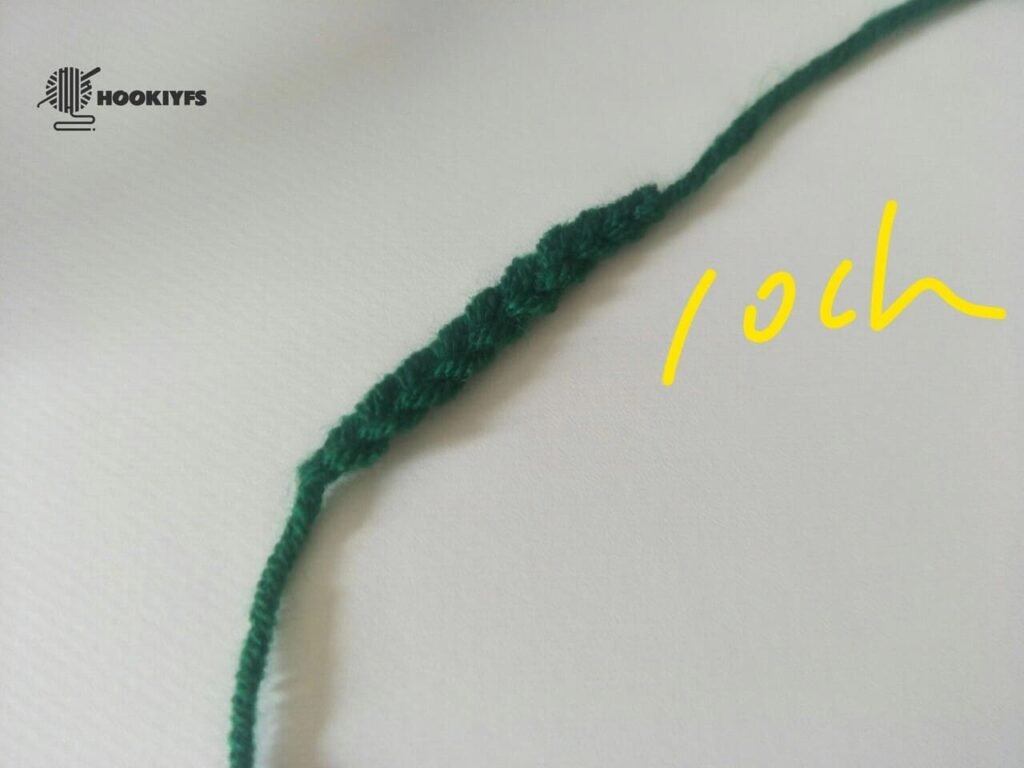
We crochet 10 chains for the hand-carrying loop which serves as a simple but strong handle.
This strap is just the right length for slipping over fingers or hanging the pumpkin. 10 chains seems to provide the best balance; they are long enough for comfortable holding while still short enough to keep the pumpkin secure.
Crochet the leaf (use dark green yarn )for crochet pumpkin pattern
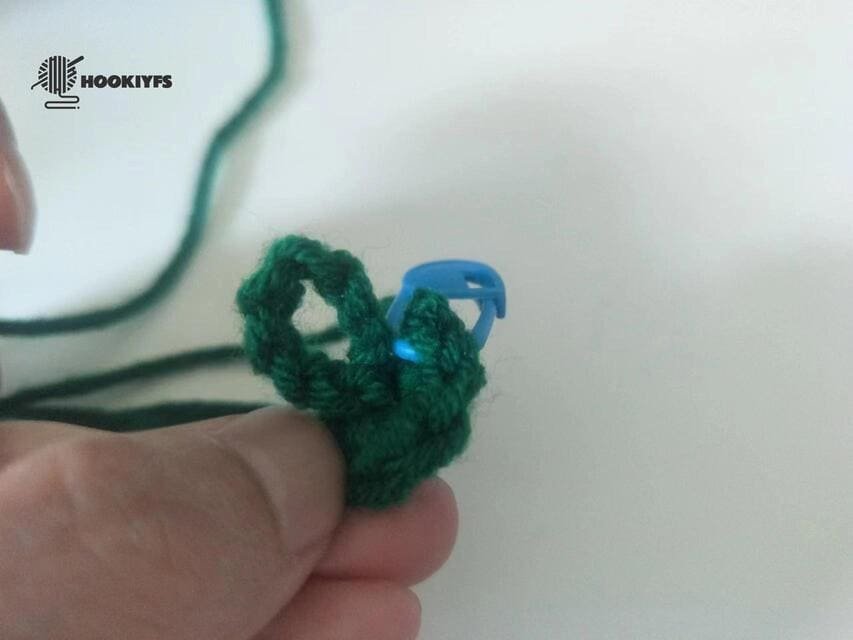
6 single crochet into the magic ring for round 1.
Magic ring– Use the thumb and the index finger on the left hand to pull the yarn’s end while pinching the fabric with the right hand. This helps form the center of the circle or the circular portion very small and shaped like an ‘O’.
Slip Stitch (sl)– First, put the hook into the first yellow V-shaped stitch. Do a yarn over and pull through the two outer loops resting on the hook.
As shown in the picture, before tightening the magic ring, we put the hand carrying in the middle of the magic ring, which will make it more secure.

Crochet chain stitch(ch)for round 2.
Crochet Order: inc in each stitch; repeat six times.
After slip stitch , we get 12 stitches for round 2.
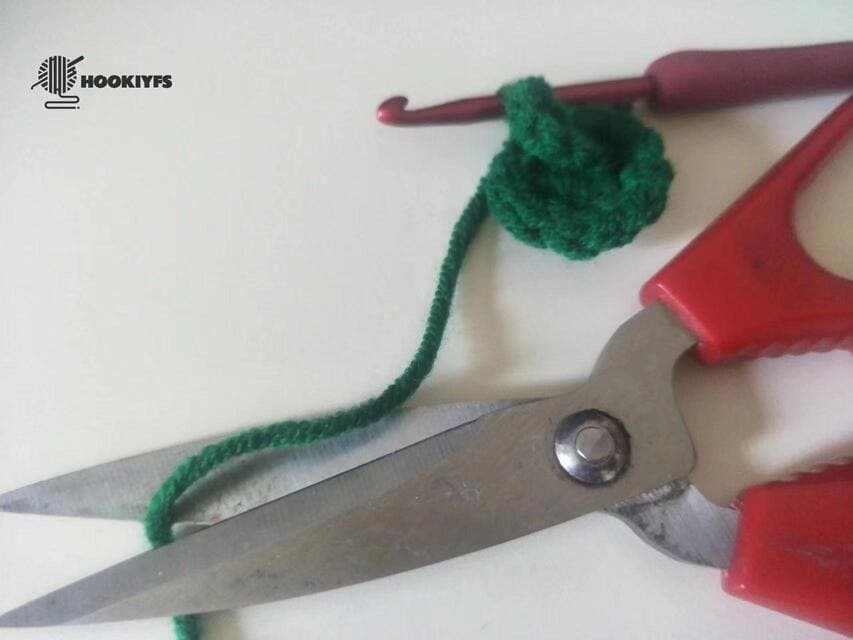
Then cut yarn end ,then use hook to bring out the yarn end .
Conceal the yarn end.
Glue the leaf on the top of crochet pumpkin pattern
Glue the leaf with hand carrying on the top of pumpkin.
Just like we mentioned previously, it’s undeniable that we too enjoy the look of the pumpkin as well. the texture alone makes us smile as the pumping is very soft to touch, roundish feature which gives it a chubby look and the small leaf on top adds some character as well. completing the cute little pumpkin involves decorating every ounce of detail which in return, guarantees you as a customer absolutely love showcasing the pumpkin to your friends!
Reference sources
1.Learn the most comprehensive guide for single crochet(sc)
Author:Sarah Stearns
Publication date: on June 15, 2021, updated:December 14, 2024
Title: How to single crochet (sc)for beginners
Summary as blow:
- Step-by-Step Single Crochet for Beginners
- Single Crochet into a Foundation Chain
- Single Crochet into another Row
- Single Crochet in the Round
- Increases and Decreases
- Working Single Crochet in Different Loops


