


Crochet Chicken Pattern -Most Details Description
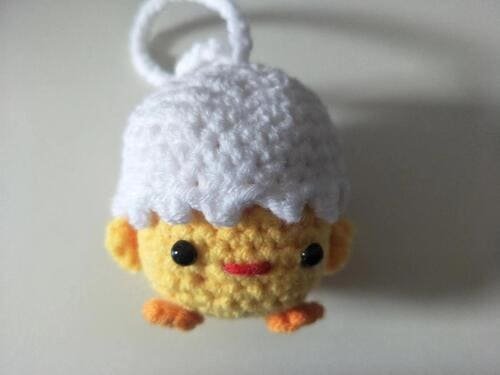
Table of Contents
Material kit of crochet chicken pattern
- Hook: 3.0mm
- Stuffing: (polyester fiberfill)
- Yarn(white &yellow & orange& red)
- Yarn needle
- Marker
List of necessary tools
- Scissors
- Hot melt glue or glue
Abbreviation for crochet chicken pattern
These are the required abbreviations for crochet chicken pattern
- ch = Chain stitch
- sc = Single crochet
- sl =Slip stitch
- inc = Increase (usually 2 stitches in the same stitch)
- dec =Decrease (typically done by crocheting two stitches together)
- st(s) =Stitch(es)
- mc =Magic circle (or magic ring)
- dc=double crochet
- sp=space
Best selling products
-

Raffia Cross Pattern Basket Handbag Kit
$19.99 -

Hexagonal Bucket Bag Kit
$29.99 -

Raffia Handbag Kit
$29.99 -

Hammock Bag Kit
$29.99 -

Wheat Bucket Bag Kit
$19.99
Buy crochet chicken pattern kit
Purchasing a complete crochet chicken pattern kit is perhaps the easiest and most enjoyable way to get started working on creating an adorable crochet chicken.
From beginners to seasoned crocheters, there’s a kit available for everyone. Let’s review some of the best options available:Crochet Chicken Pattern Kit
Tips
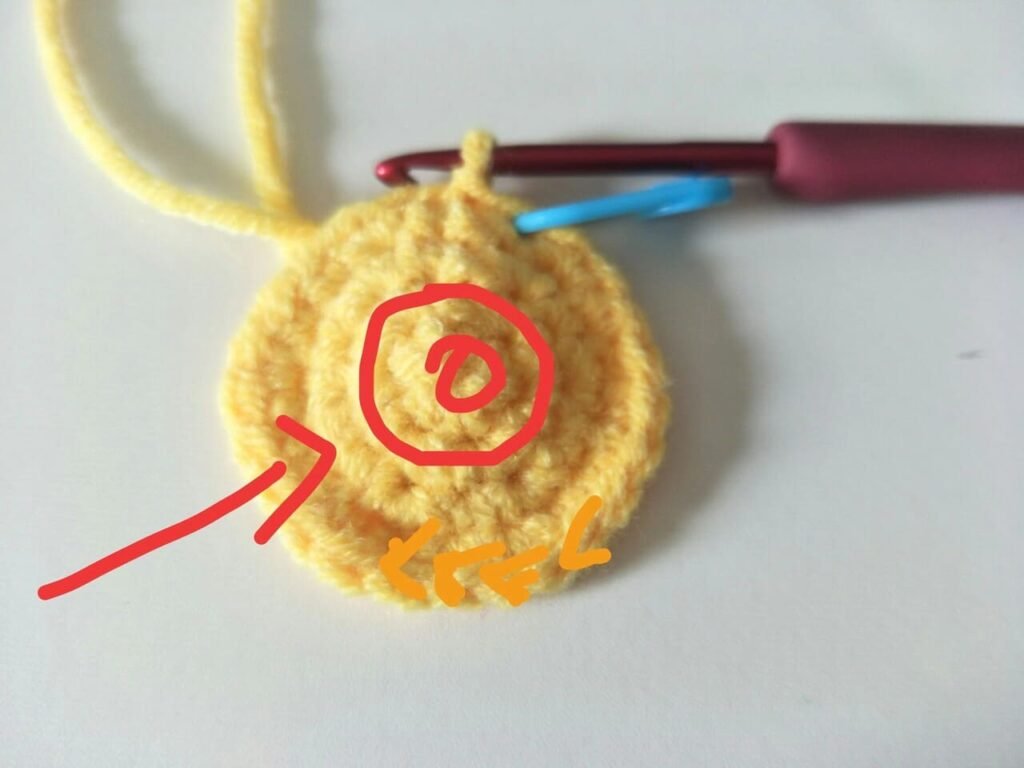
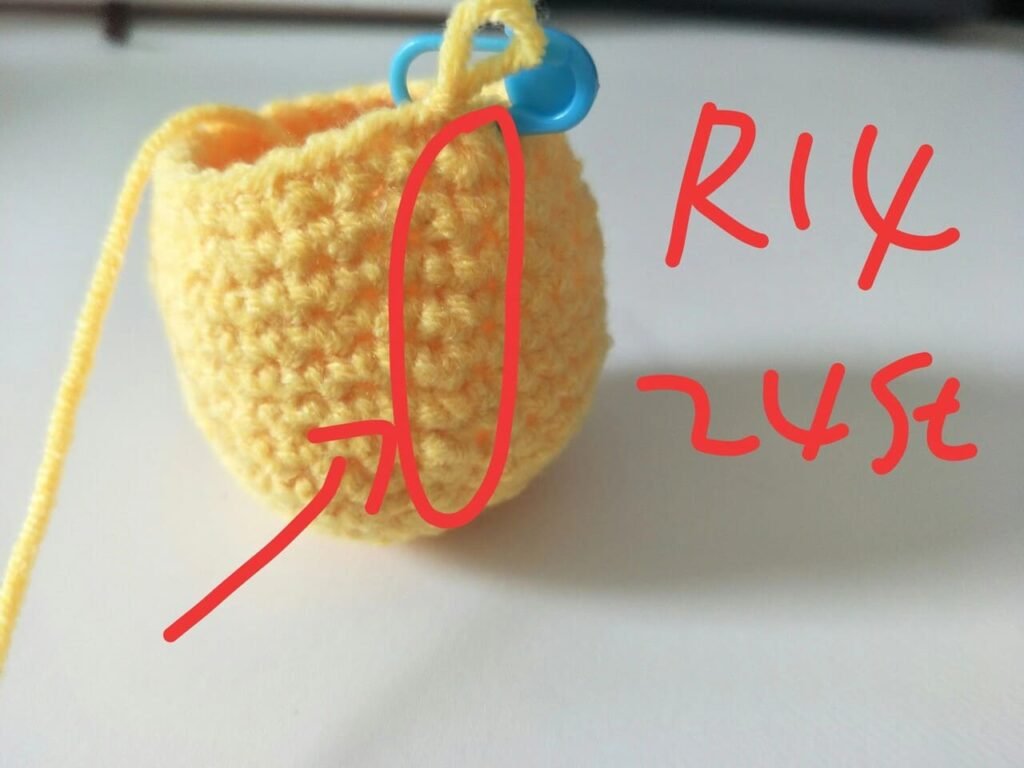
As shown in the picture, there are two red circles, indicating two rows.
In this article, we use yellow as the button mark when the first stitch is completed.
Blue as the button mark when the last stitch is completed.
Want to learn magic ring, please click:How To Crochet Magic Ring ? l Step-By-Step l Video & Text &Photo
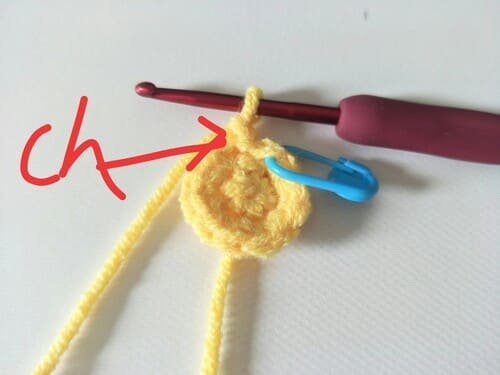
When each row stands up, a chain stitch (ch) needs to be added to ensure the height and uprightness of each row.
Want to learn single crochet , please click :Single Crochet-You Want To Know The Most Detailed Information
Crochet the body (use yellow yarn )for crochet chicken pattern
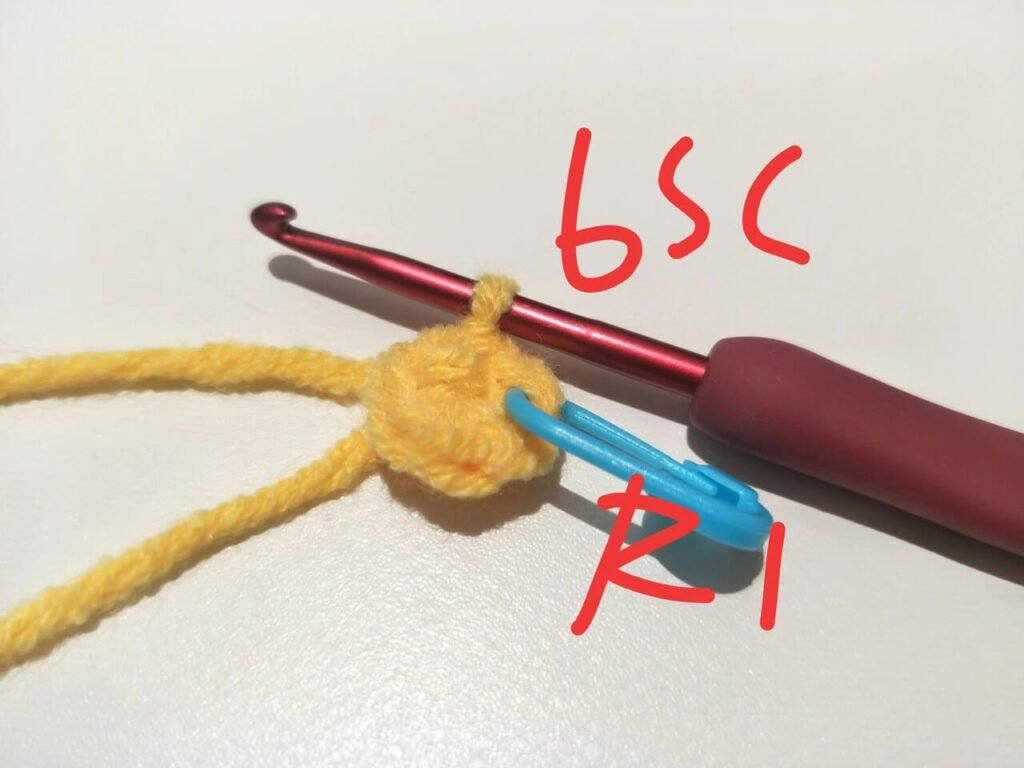
- R1: 6 sc into mc(6)
- R2: inc * 6 (12)
- R3:(sc,inc)*6 (18)
- R4:(sc,inc,sc)*6(24)
- R5:(3sc,inc)*6(30)
- R6-R12:30sc(30)
- R13:(4sc,dec,4sc)*3(27)
- R14(7sc,dec)*3(24)
- R15:(sc,dec,sc)*6(18)
- R16:(sc,dec)*6(12)
- Fiberfill
- R17:dec*6(6)
R1
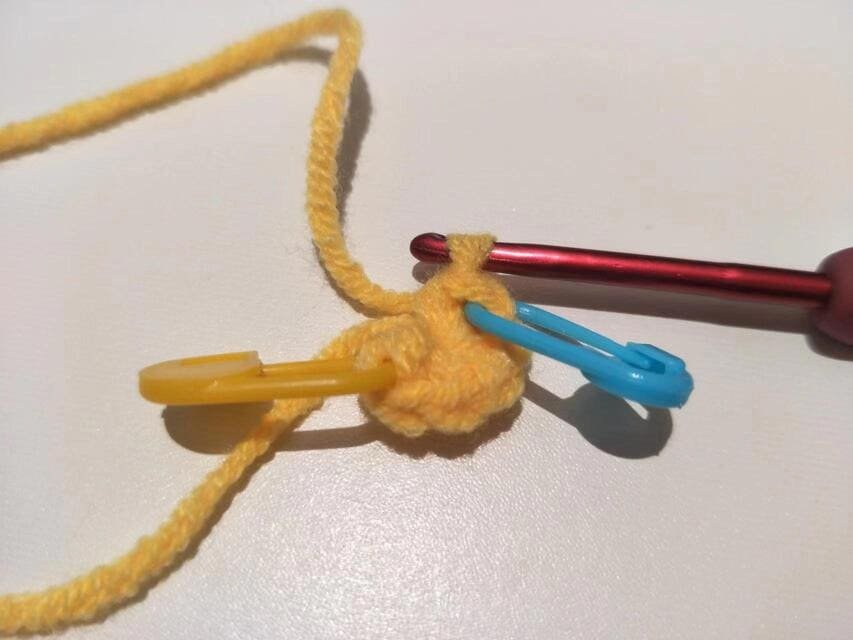
Hold the fabric with our right hand and use our left index finger and thumb to pull the yarn end to the left to tighten it. we will get a magic ring.
The benefit of using a magic ring is that there is no gap in the center.
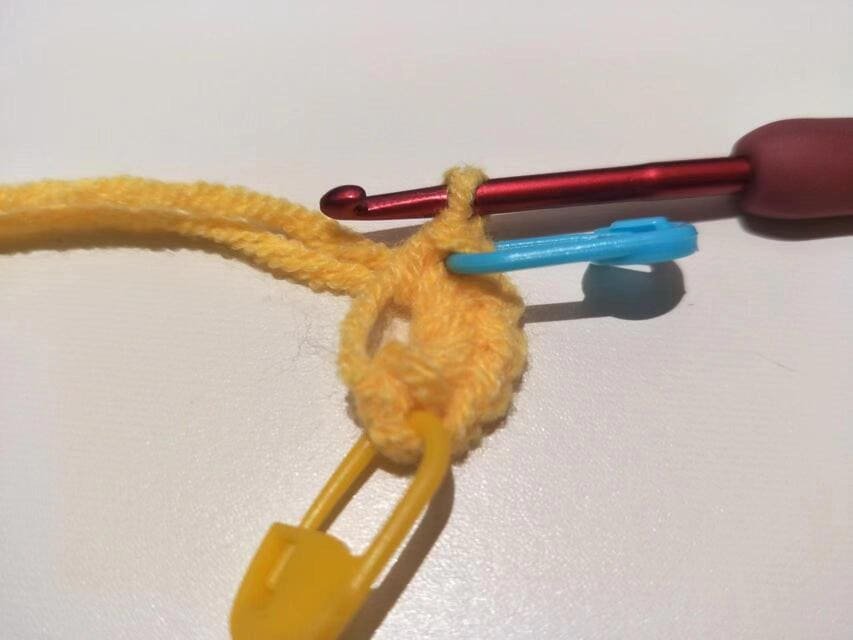
After slip stitch(sl)-Insert the crochet hook into the V-shaped stitch of the first yellow marked button, wrap the thread, and bring out the two loops on the crochet hook at one time to complete the sl.
6 st for R1.
R2
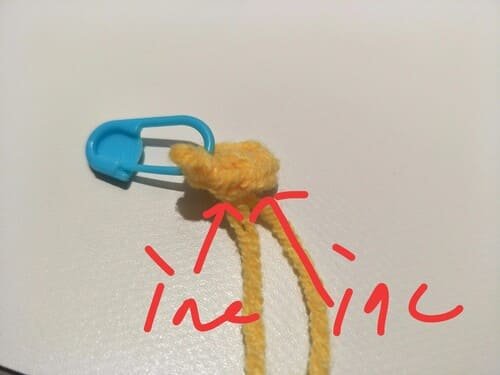
Crochet order increase(inc) in each stitch. repeat 6 times.
When we reach the last stitch, we crochet inc again.
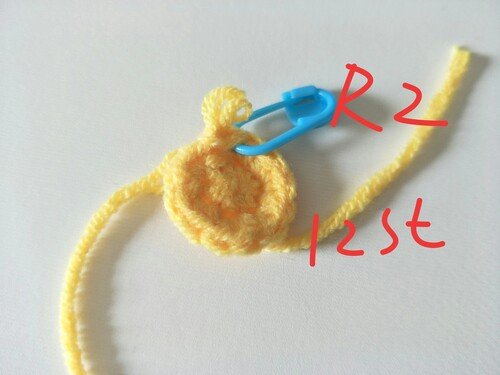
After sl , we get R2
12 st for R2.
At the end of each row, be sure to count the number of stitches to ensure that no stitches are missed.
Pay close attention and remain patient.
R3
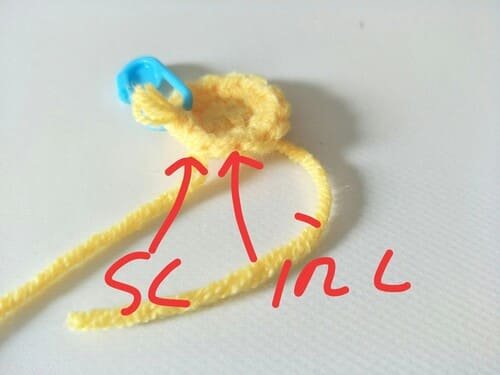
Crochet order:(sc,inc) repeat 6 times.
When there are two stitches left in this round ,then crochet sc, inc again.
Why do I emphasize how many stitches should be left at the end? Because if you only leave one stitch, it means that there is an error in the stitches you crocheted before.
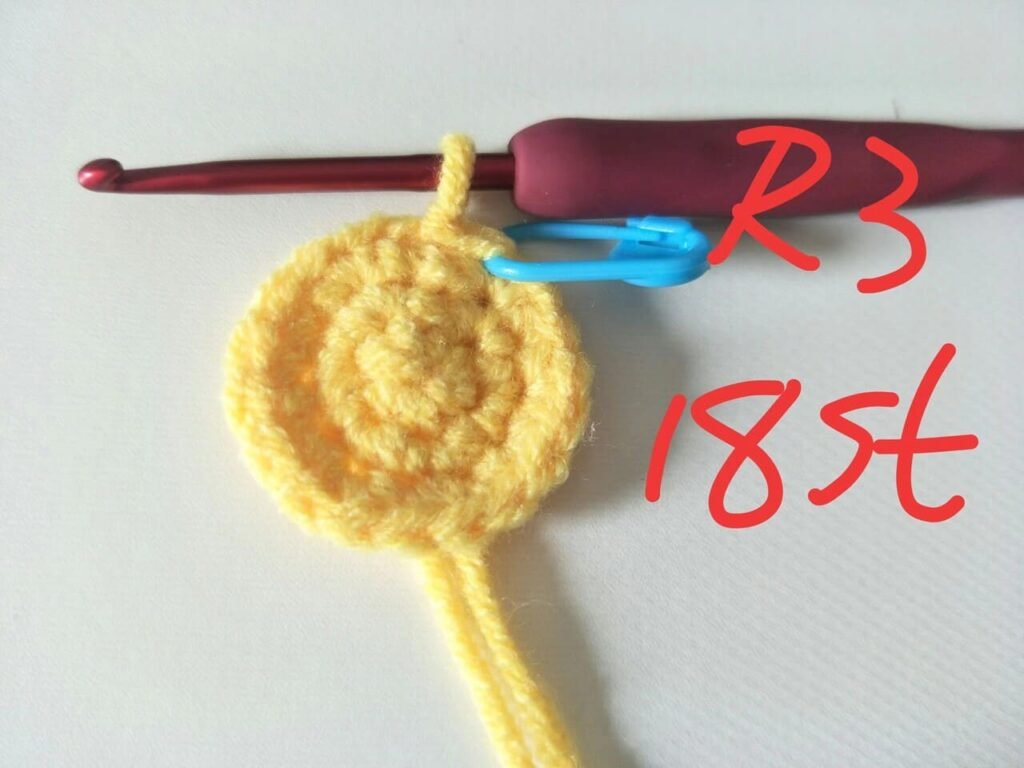
After sl , we get R3
18 st for R2.
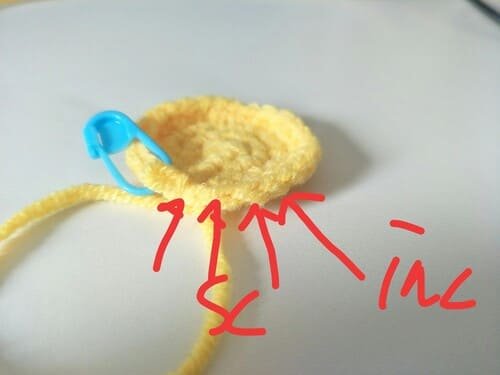
R4

Put the fabric on the side so we can see it more clearly.
Crochet order:(sc,inc,sc) repeat 6 times.
When there are three stitches left in this round ,then crochet sc, inc,sc again.
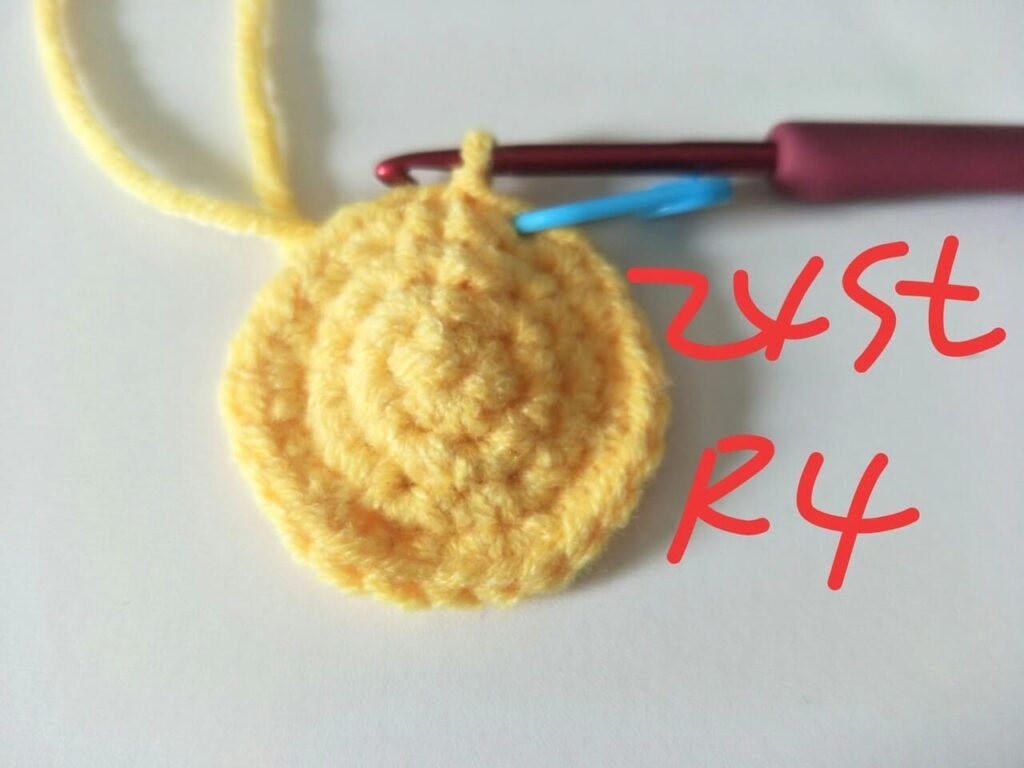
After sl , we get R4
24 st for R4.
R5
Crochet order:(3sc,inc) repeat 6 times.
When there are four stitches left in this round ,then crochet sc, inc,sc again.
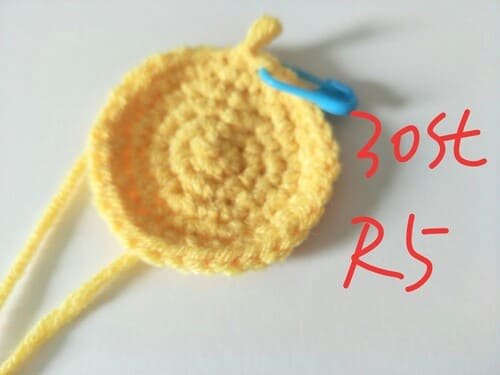
After sl , we get R4
24 st for R4.
R6

Crochet order:36 sc in the each stitch.
After sl, we get 36st for R6.
R7
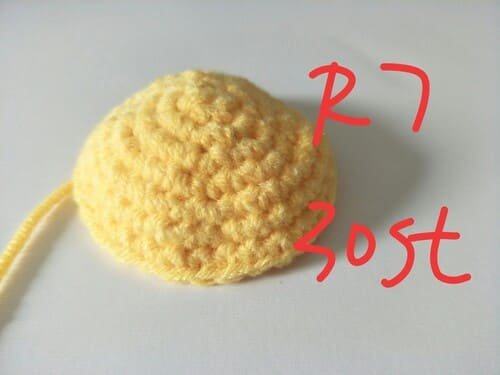
Crochet order:36 sc in the each stitch.
After sl, we get 36st for R7.
R8
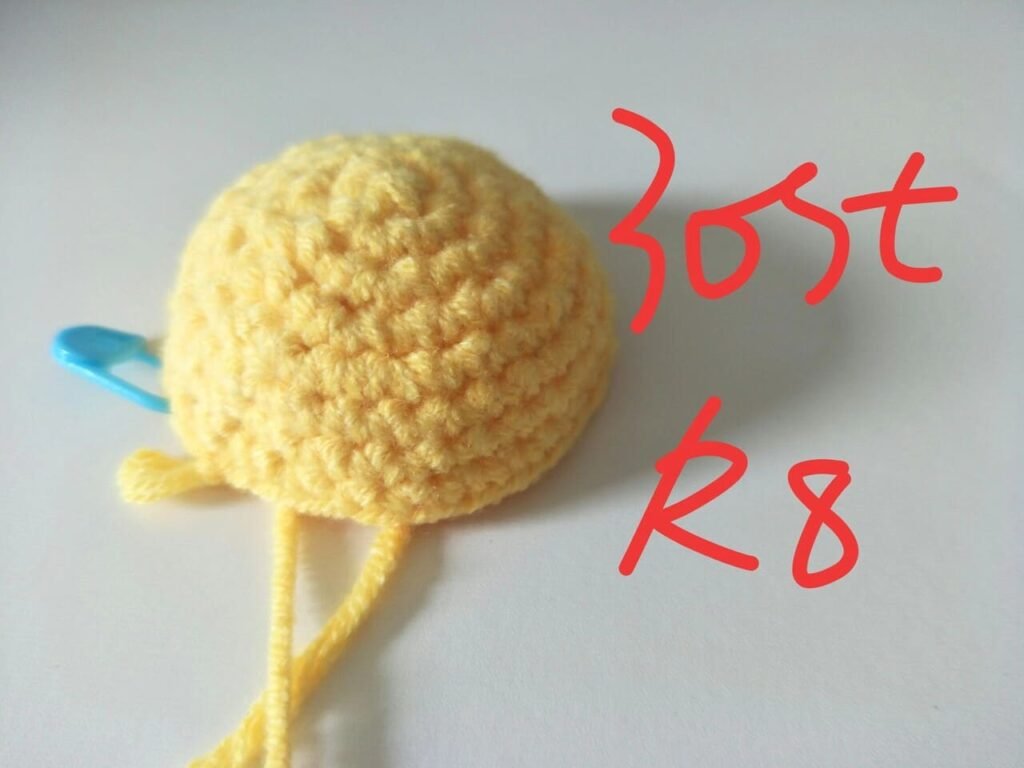
Crochet order:36 sc in the each stitch.
After sl, we get 36st for R8.
R9
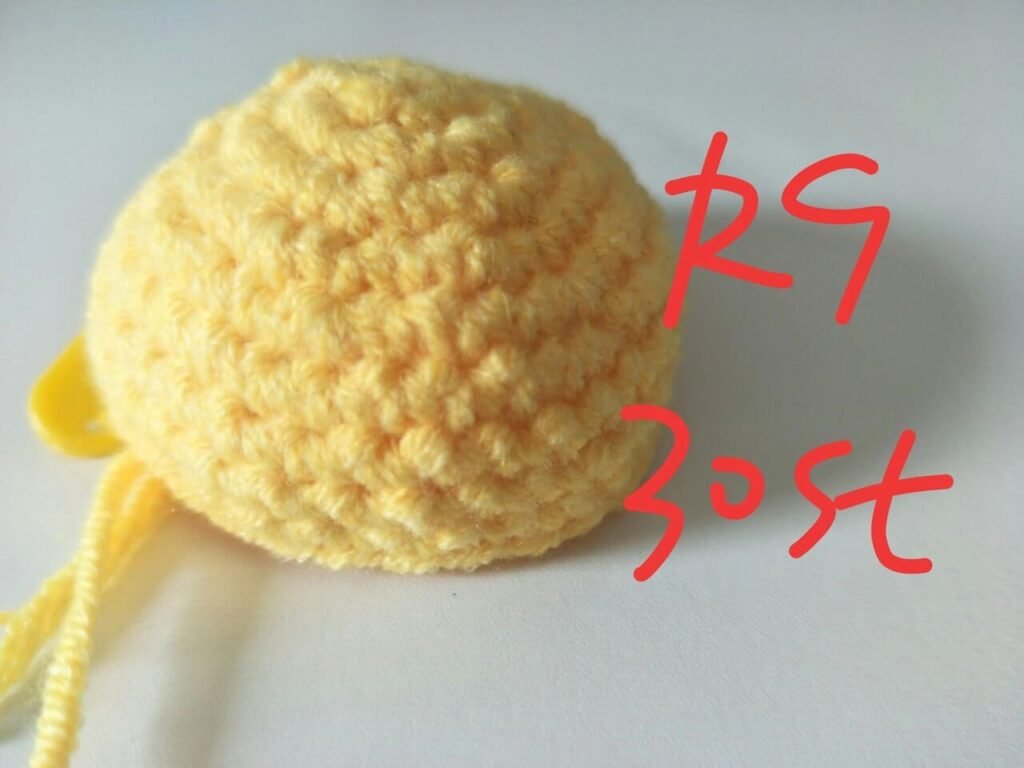
Crochet order:36 sc in the each stitch.
After sl, we get 36st for R9.
I deliberately put the fabric upside down on the table, and I can clearly see that this row will gradually become darker than the previous one.
R10
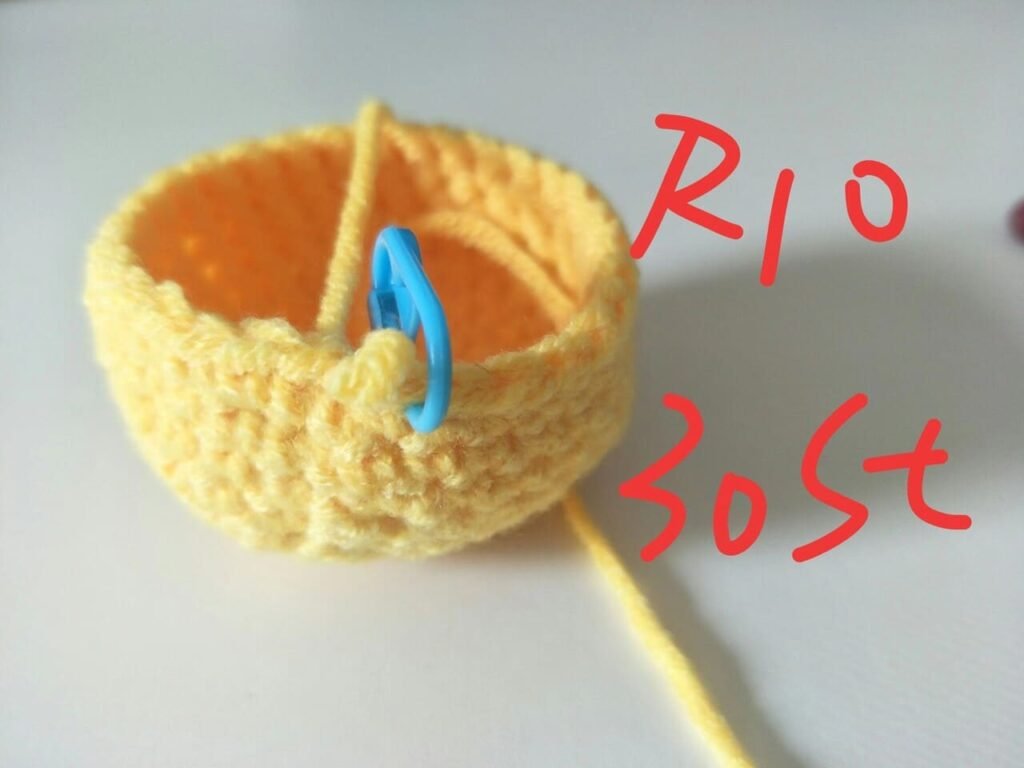
Crochet order:36 sc in the each stitch.
After sl, we get 36st for R10.
In this circle, I put the fabric upright on the table so that everyone can see it clearly.
R11
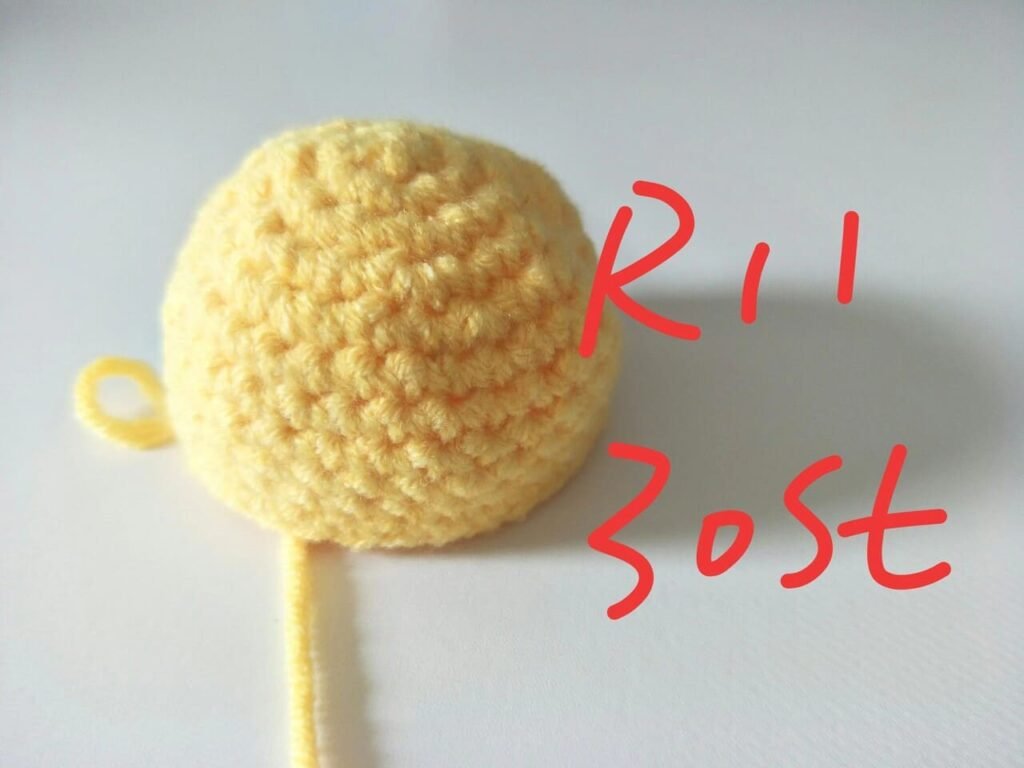
Crochet order:36 sc in the each stitch.
After sl, we get 36st for R11.
R12

Crochet order:36 sc in the each stitch.
After sl, we get 36st for R10.
From R6 to R12, we crochet 36 single stitches in each row without increase or decrease.
Don’t think it’s easy, in fact, it’s easy to miss stitches. buckle the marking button after completing the first stitch, and buckle the marking button after completing the last stitch.
Count the stitches when each row is crocheted.
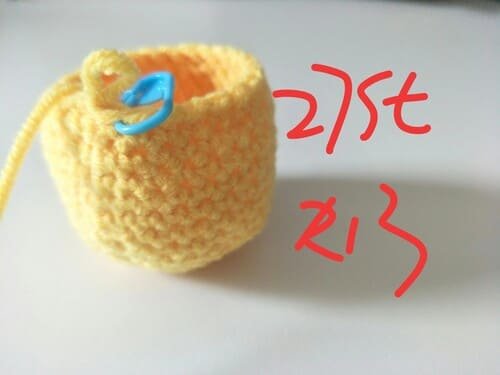
R13
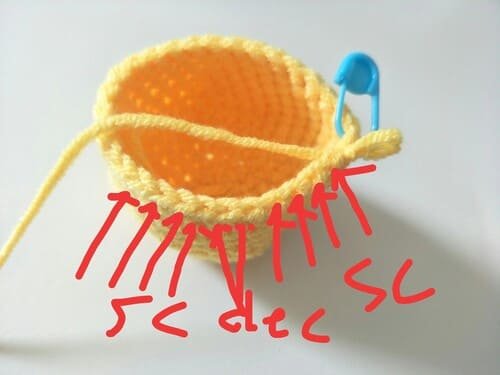
Crochet order:(4sc,dec,4sc) repeat 3 times.
When there are ten stitches left in this round ,then crochet 4sc, dec,4sc again.
We start decreasing stitches from this row, from 30 stitches in the previous row to 27 stitches in this row.
We use the invisible decreasing stitch method. If don’t know how to decrease stitches, we can check this article:Single Crochet Decrease -Three Method In More Details Slowly For Beginner | Video&Text&Picture
After sl , we get R4
24 st for R4.
From the outside, it is slowly closing in through decrease stitch.
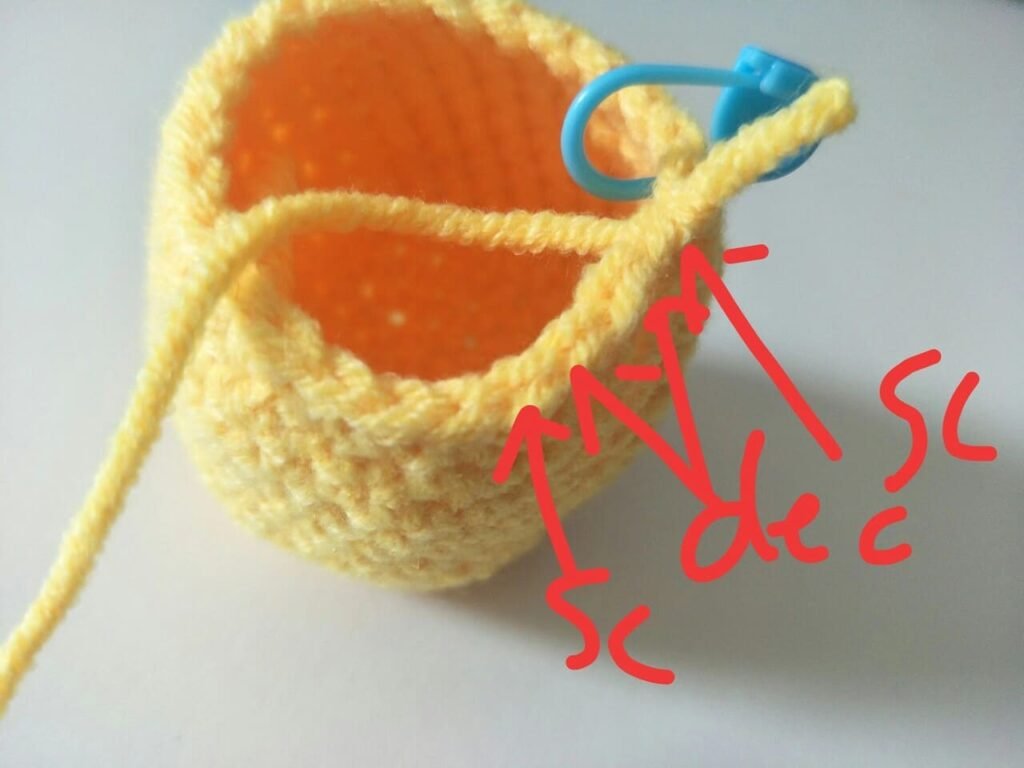
R14

Crochet order:(7sc,dec) repeat 3 times.
When there are nine stitches left in this round ,then crochet 7sc, dec again.
After sl , we get R14
24 st for R14.
I have deliberately slip stitch (sl )the position of each row of drawing in red, which is a clear trace of the crocheting of the fabric.
R15
Crochet order:(sc,dec,sc) repeat 6 times.
When there are four stitches left in this round ,then crochet sc, dec,sc again.
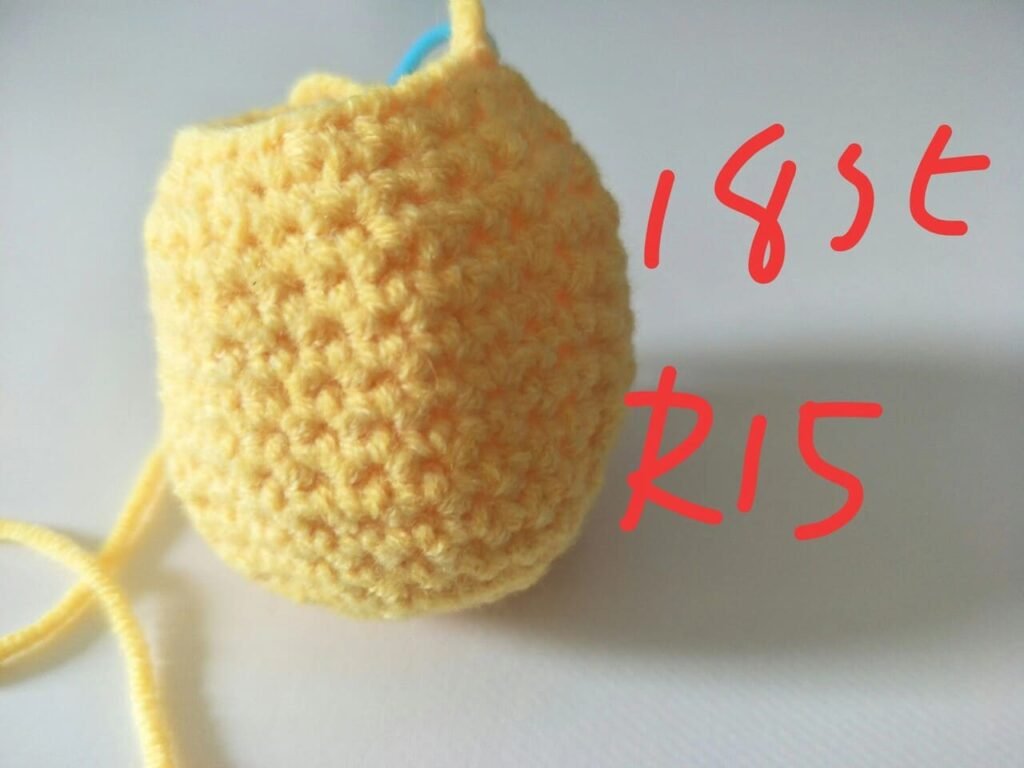
After sl , we get R15
18 st for R14.
R16

Crochet order:(sc,dec) repeat 6 times.
When there are four stitches left in this round ,then crochet sc, dec again.
If you strictly follow the patterns for each row, we won’t make mistakes.
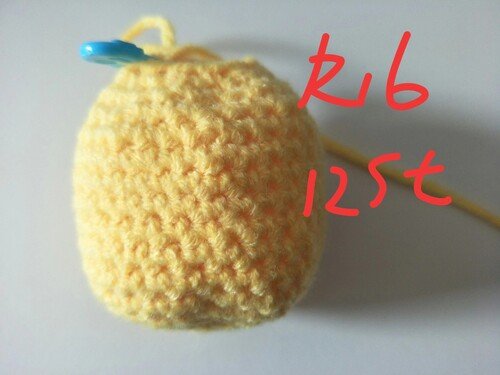
After sl , we get R16
12 st for R15.
Fiberfill
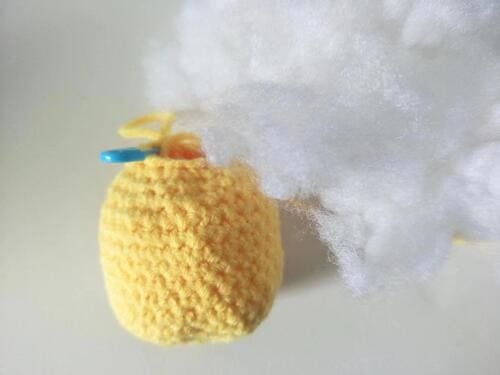
After completing 16 row, we need to add the fiberfill into the holes in the fabric formed by the decrease.
Add slowly, we can use our hands or use tweezers.
In the end, we make sure that the fabric is not too soft or too hard after adding the filling.
R17
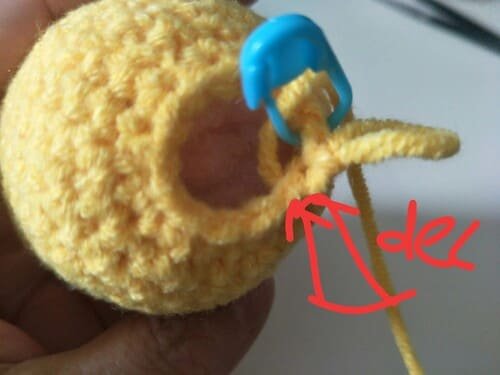
Crochet order:(dec) repeat 6 times.
When there are two stitches left in this round ,then crochet dec again.
After sl , we get R17.
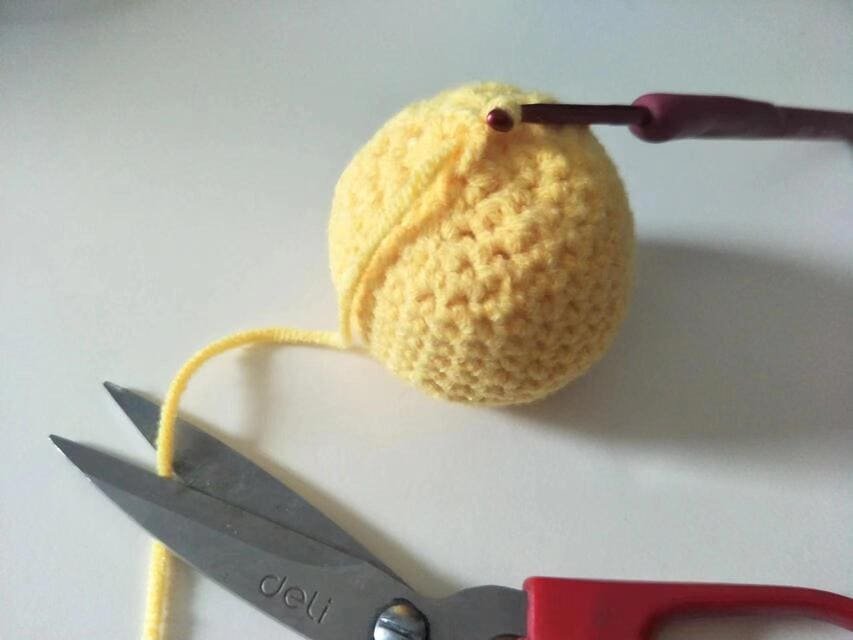
Leave 10cm yarn end .
Then cut yarn end.
Use hook to bring out the yarn end and conceal the yarn end.
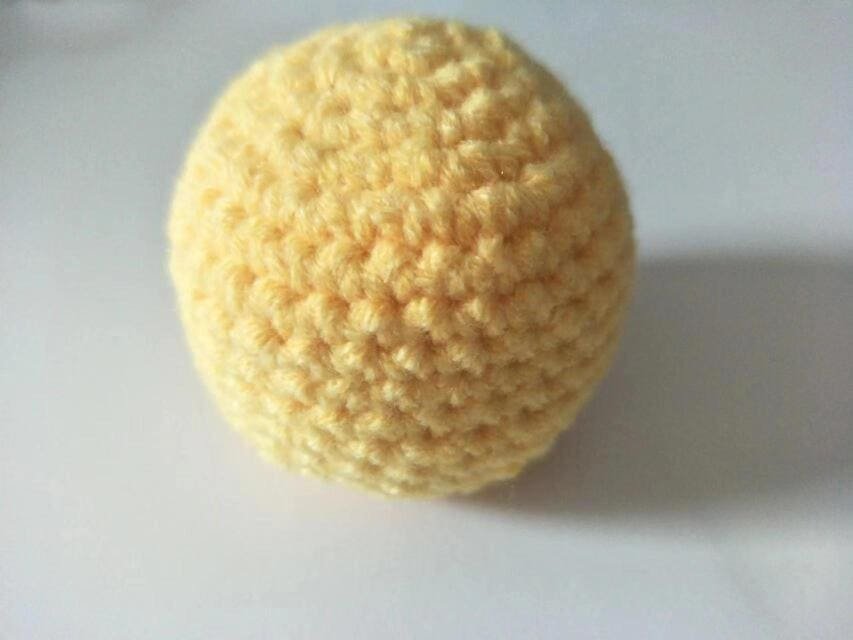
Body is completed.
The appearance is a bit like an oval.
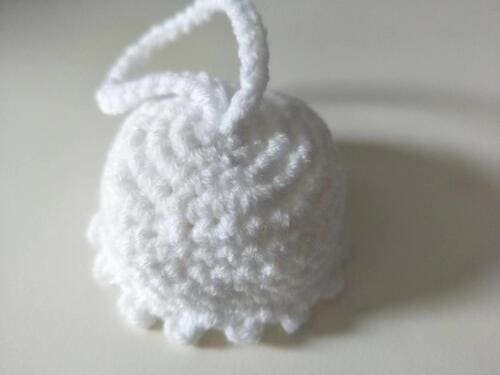
Crochet the hat (use white yarn )for crochet chicken pattern
- R1: 6 sc into mc(6)
- R2: inc * 6 (12)
- R3:(sc,inc)*6 (18)
- R4:(sc,inc,sc)*6(24)
- R5:(3sc,inc)*6(30)
- R6-R9:30sc(30)
- R10:(3ch,starting from the third to last stitch-sl,sp1,sl)*15
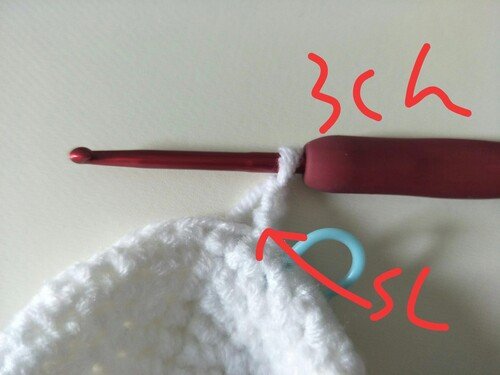
It should be noted that the crocheting method of R1 and R9 is the same as that of the main body, except that the yarn is changed to white.
For R10,we crochet 3 ch firstly , show as picture ,starting from the third to last stitch-crochet slip stitch(sl).

The first sl is completed.
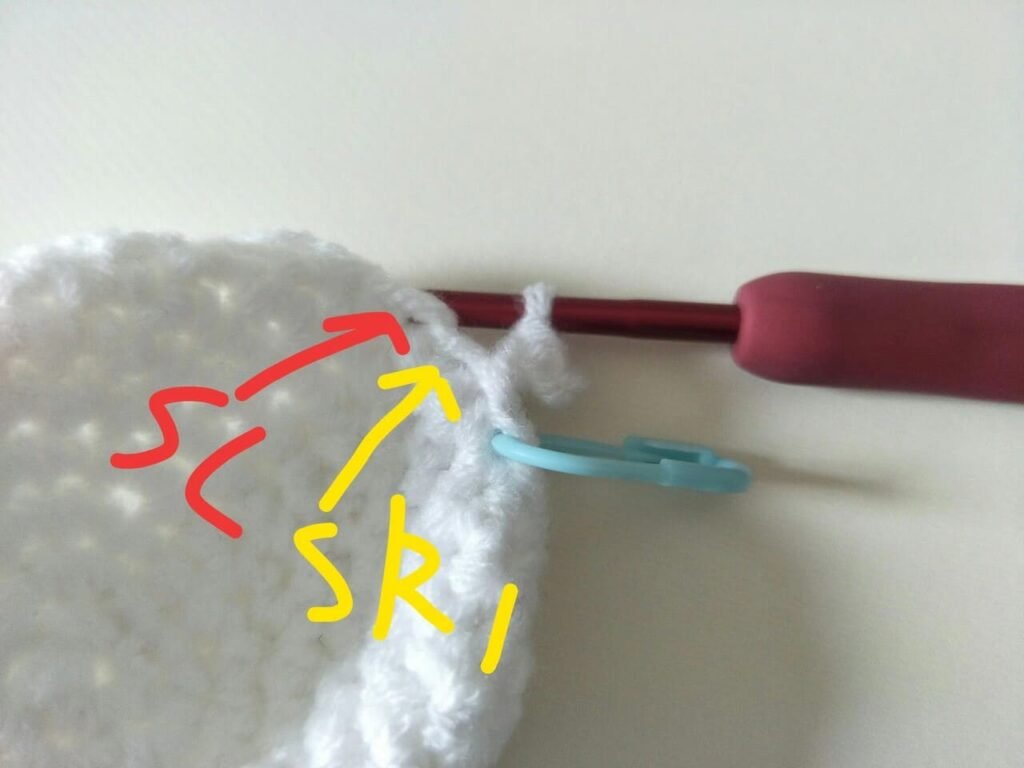
Then crochet order space 1, crochet slip stitch (sl) for next stitch.
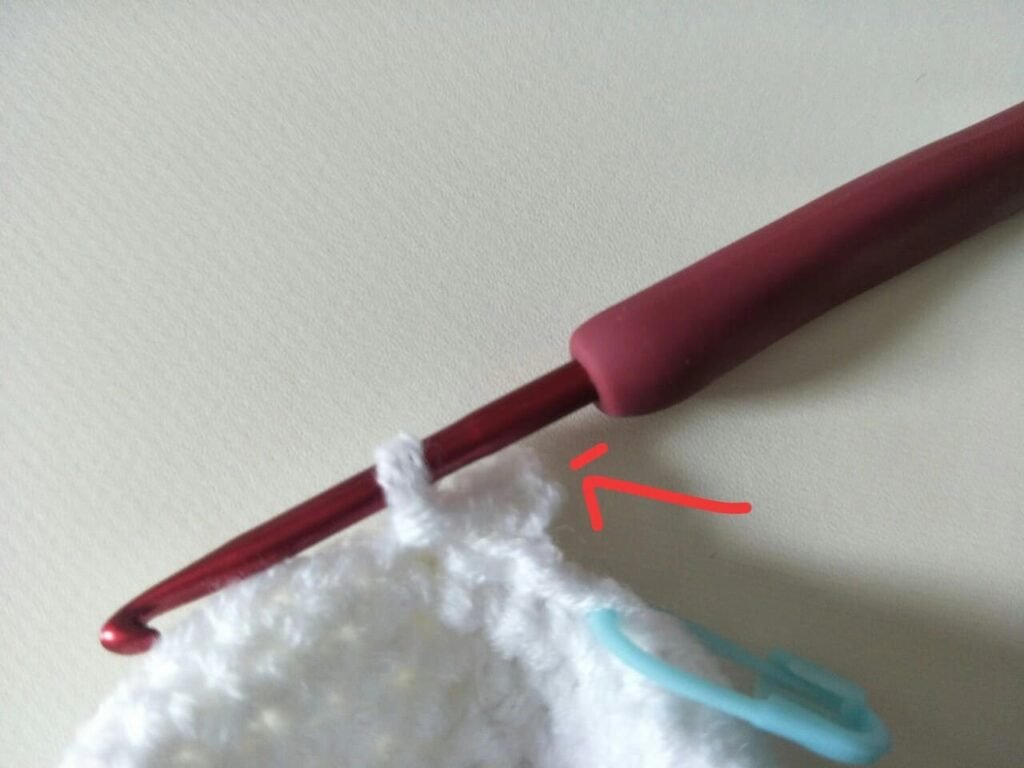
The first brim of hat is completed.

Use (3ch,starting from the third to last stitch-sl,sp1,sl) repeat 14 times again.
Cut yarn end and use hook to bring out yarn end.
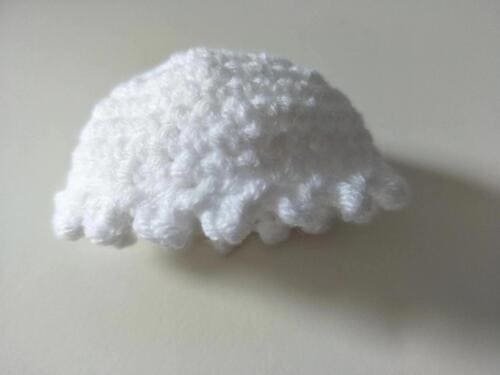
The we get 15 brims for hat.
Crochet the hand carrying (use white yarn )for crochet chicken pattern
- 40 ch
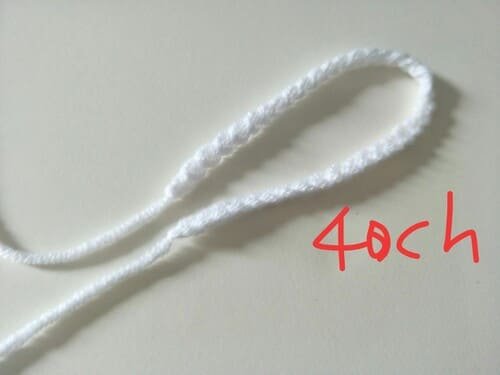
40 ch for hand carrying.
Why do we need to make a hand carrying? It makes the fabric more practical and convenient to carry in our hand or on a bag.
Want to learn how to crochet chain stitch , please click Chain Stitch |Step By Step Guide| Text & Photo &Video
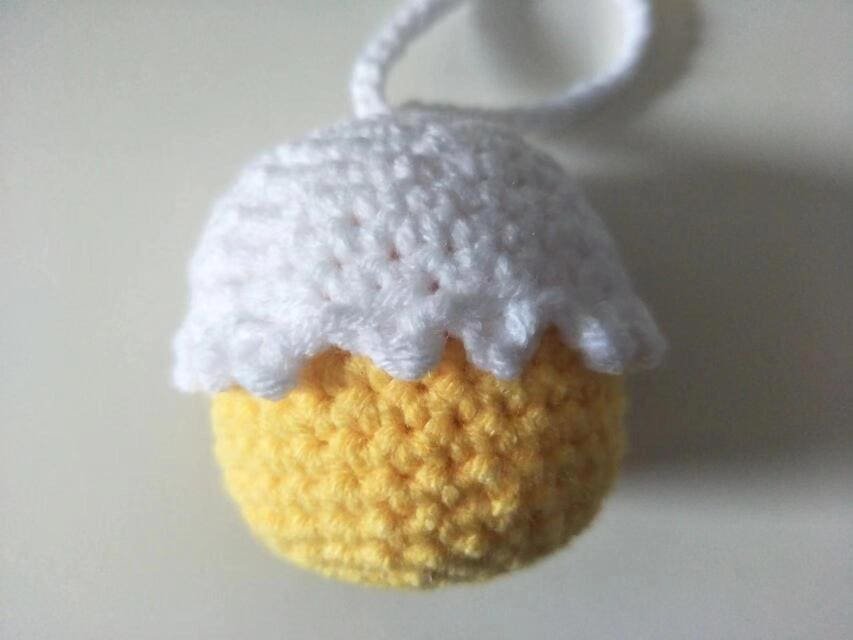
Sewing hand carrying on the hat
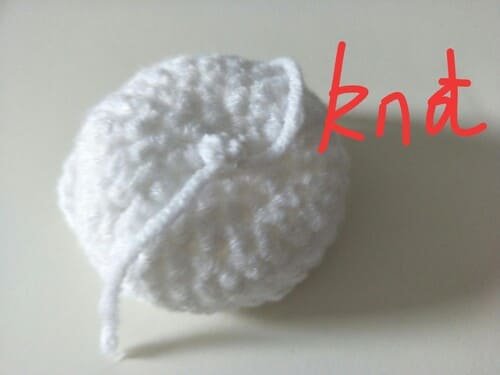
The handle carrying through the top of the hat and tie a knot at the back of the hat to secure it.
This is the final effect of the hand ring sew to the hat.
Crochet the foot (use orange yarn )for crochet chicken pattern
- 6 sc
6 sc in the magic ring , we crochet same one again.
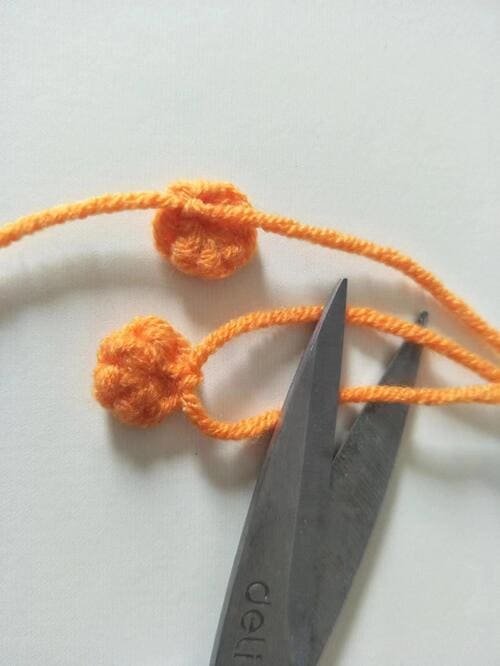
Leave 5 cm ,then cut yarn end.
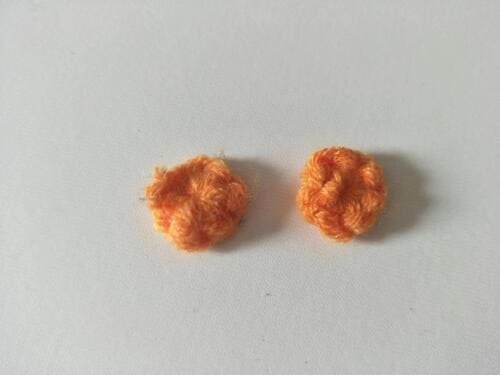
Tie knot on the back.and cut excess yarn end.
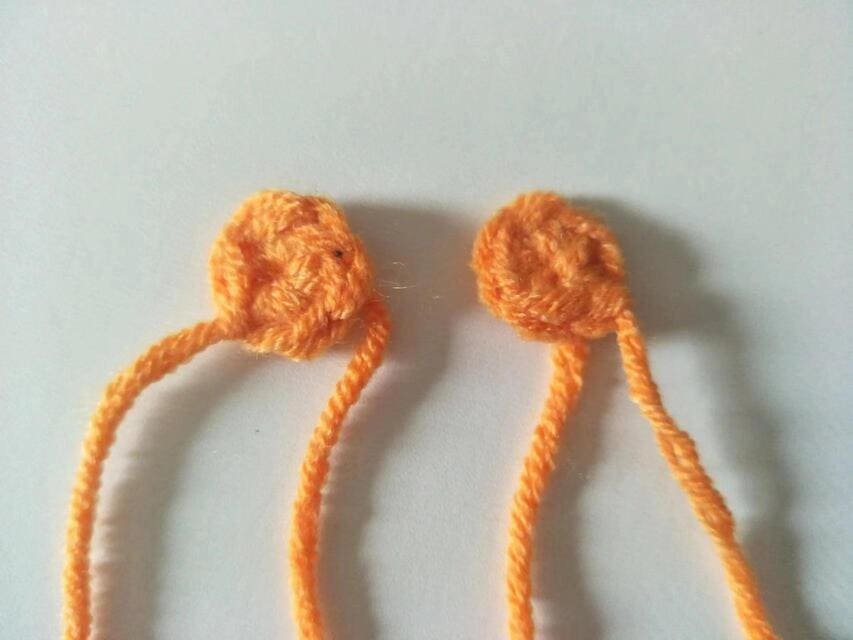
Crochet the wing (use yellow yarn )for crochet chicken pattern
- 4ch-(starting from the second to last stitch-sc,2dc)–2pcs
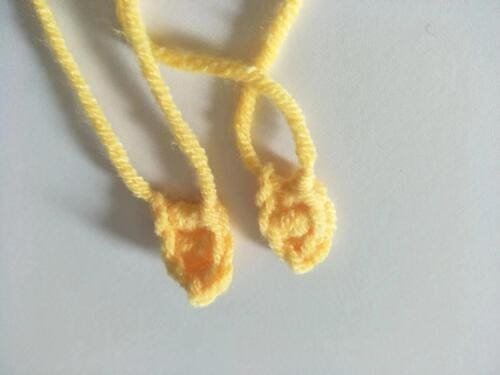
Ch 4: 4 chain stitch
Notice the second chain from our hook.
In that chain, our will work:
1 single crochet (sc),
followed by 2 double crochets (2 dc).
We crochet same one again.

The left side is the front view, and the right side is the back view.
The two yarn end are tied knot together on the back of the fabric, forming a folded wing shape.
Sewing wings and safety eyes and sewing mouth
It should be noted that the yellow main body slip stitch position is placed on the side to keep the front view good.
Then determine the position again : put the hat on top of R1. Then fix it with glue.
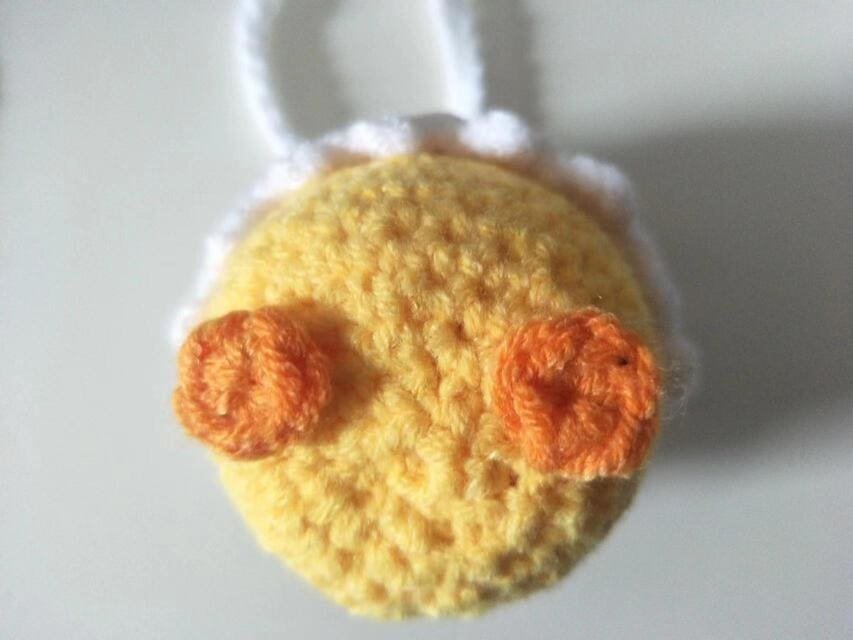
Foot:The feet are glued to the R15.
Safety eye: are located in the two rows under the hat. firstly confirm the position of the left hand. The four empty stitches in the middle are the position of the right eye.
Mouth:the mouth is located between the two eyes. use red and leave two stitches between two eyes.
Wings:The wings are sewn on both sides of the main body, and one side cleverly covers the position of slip stitch.
Reference sources
1.Learn the most comprehensive guide for single crochet(sc)
Author:Sarah Stearns
Publication date: on June 15, 2021, updated:December 14, 2024
Title: How to single crochet (sc)for beginners
Summary as blow:
- Step-by-Step Single Crochet for Beginners
- Single Crochet into a Foundation Chain
- Single Crochet into another Row
- Single Crochet in the Round
- Increases and Decreases
- Working Single Crochet in Different Loops


