


Snake Crochet Pattern The Most Comprehensive Step-By-Step Explanation
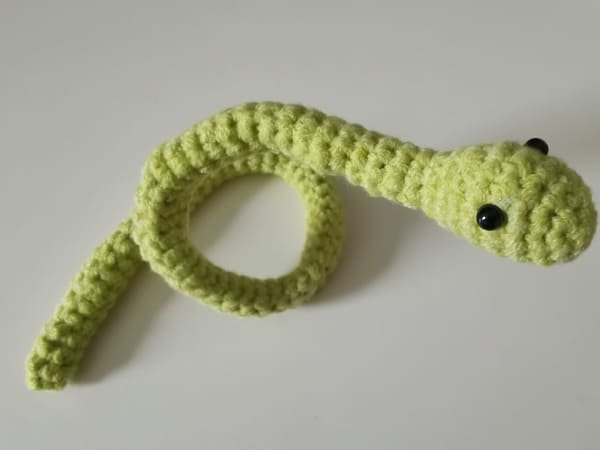
Table of Contents for snake crochet pattern
Material kit of snake crochet pattern
- Hook: 3.0mm
- Stuffing: (polyester fiberfill)
- Yarn(light green )
- Yarn needle
- Marker
- Safety eyes
- Iron wire
List of necessary tools
- Scissors
- Hot melt glue or glue
Abbreviation for snake crochet pattern
These are the required abbreviations for snake crochet pattern
- ch = Chain stitch
- sc = Single crochet
- sl =Slip stitch
- inc = Increase (usually 2 stitches in the same stitch)
- dec =Decrease (typically done by crocheting two stitches together)
- st(s) =Stitch(es)
- mc =Magic circle (or magic ring)
Best selling products
-

Raffia Cross Pattern Basket Handbag Kit
$19.99 -

Hexagonal Bucket Bag Kit
$29.99 -

Raffia Handbag Kit
$29.99 -

Hammock Bag Kit
$29.99 -

Wheat Bucket Bag Kit
$19.99
Buy snake crochet pattern kit
We’re delighted to introduce our Snake Crochet Pattern Kit, a delightful and inventive method to create your own soft, coiled companion. With this kit, we’ve made sure that beginners and experienced crocheters alike will appreciate the provided materials such as: yarn, safety eyes, stuffing, a quality crochet hook and our detailed, illustrated instruction booklet.
The tailored kit has been tested and packed with care which guarantees that every part of the DIY experience will be enjoyable from the very first chain to the last tail curl. Additionally, we offer assistance at any step because we truly value having an engaged crocheting community.
Now, let’s grab our cozy hooks and create together. This kit marks the beginning of a shared creative journey, your purchase goes towards more than just materials—it means stepping into shared creative joy.
Tips
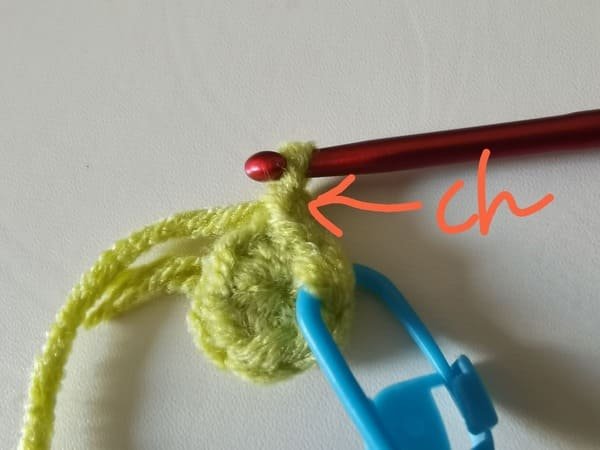
Each round requires a preparatory crochet chain stitch to elevate our yarn for the next row evenly.
Consider it a stepping stone that raises the yarn. This is the reason a chain stitch is used—to ensure a smooth and structured result.
Although I have some practice crocheting, I tend to forget a lot of stitches.
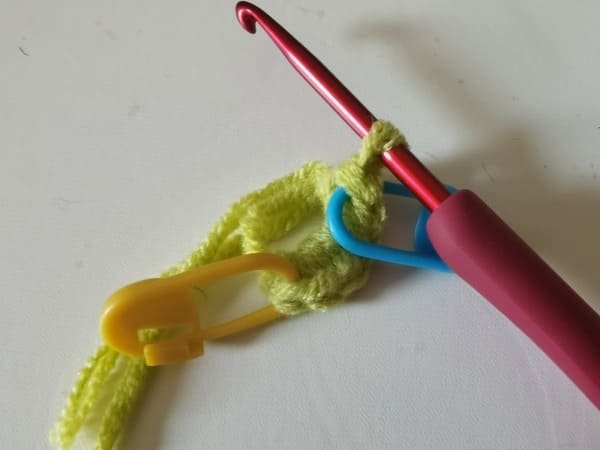
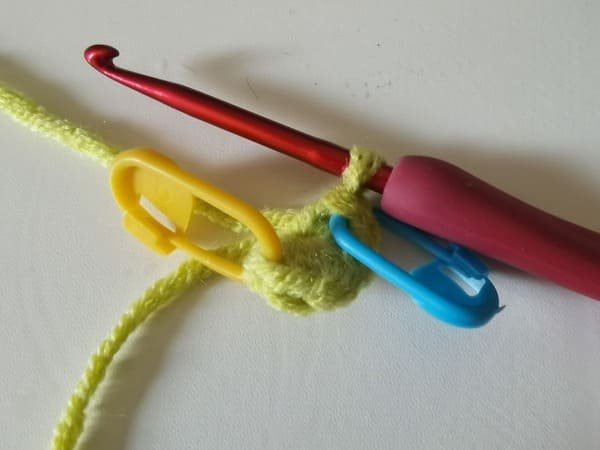
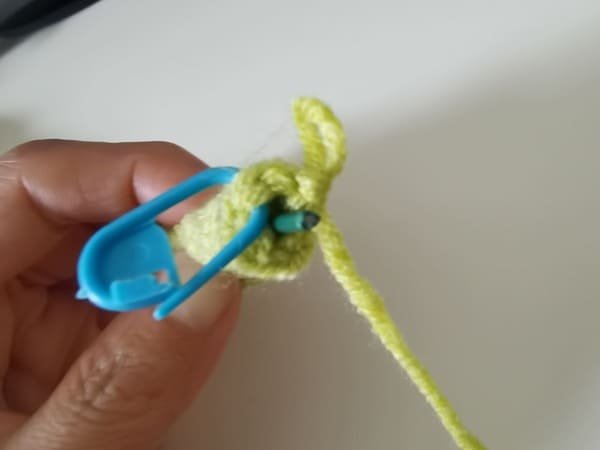
For this article’s purposes, marking button refers to the yellow button which I recommend beginner crocheters to use after they complete their first stitch.
Make sure you activate the blue marking button as illustrated after doing your final stitch.
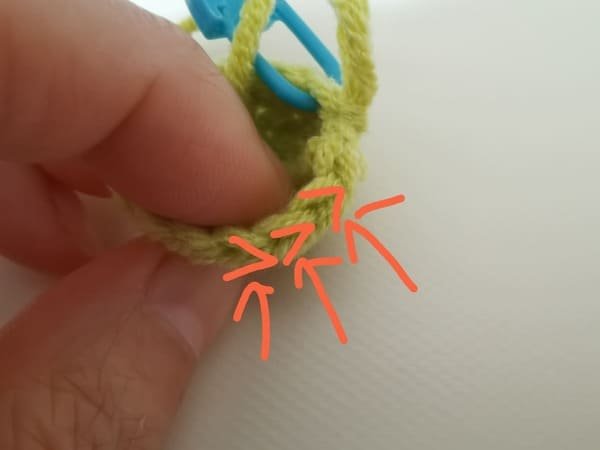
Just like every other round on a crochet piece, this particular one also has classification of stitches. As for the round in question, hand crochets ought to be to the precise number.
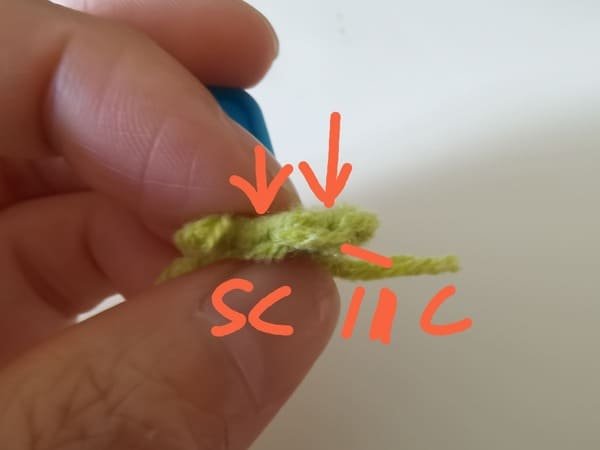
Each single crochet stitch is denoted by a letter and a v symbol hence the name “stitch”.
Crochet the body (use light green yarn )for snake crochet pattern
- R1: 6 sc into mc(6)
- R2: (sc,inc)*3(9)
- R3:inc,3sc,inc,4sc(11)
- R4:inc,inc,3sc,inc,inc,4sc(15)
- R5-R6:15sc(15)
- R7:dec,dec,3sc,dec,dec,4sc(11)
- R8:dec,3sc,dec,4sc(9)
- R9:(sc,dec)*3(6)
- Repeat R9
- Iron wire
- dec*3(3)
R1
6 single crochet (sc) into the magic ring.
Magic ring (mc): Form the magic ring with the thumb and index finger of your left hand by pulling the yarn end to the left and holding the yarn with the right hand. This will assist in forming the center or the beginning of the circle’s center which can be compared to an O gap.
For slip stitch (sl), insert the hook into the first yellow V shape stitch. Yarn overs and collectively pull through the two outer loops sitting on the hook. As a result, we obtain a single loop which we define as a slip stitch.
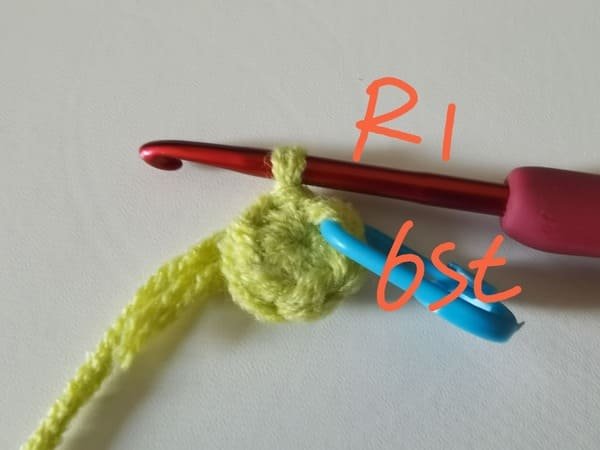
At the end of the last slip stitch, round 1 consists of 6 stitches.
To learn magic ring click here:How To Crochet Magic Ring ? l Step-By-Step l Video & Text &Photo
R2
Crochet Order: (sc,inc); repeat three times.
Since we are two stitches away from finishing the round, proceed by working sc, inc once more.
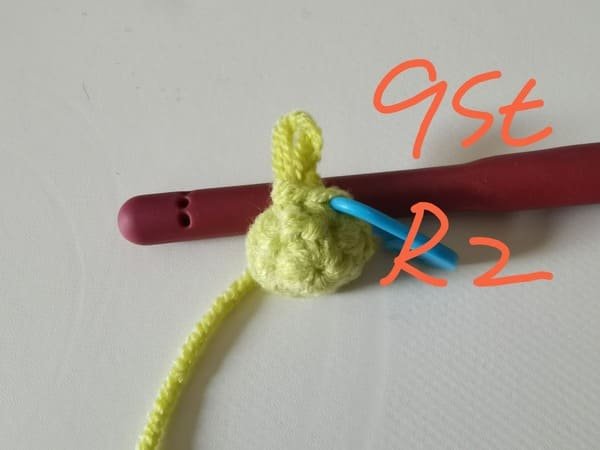
At the end of the last slip stitch, round 2 consists of 9 stitches.
R3
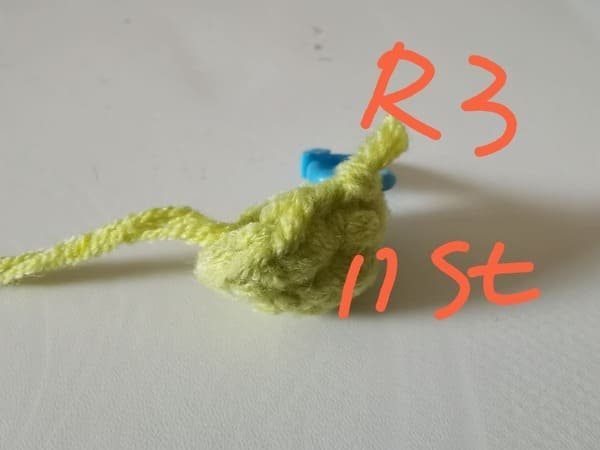
Crochet order as below:
Start with an increase (2 sc in 1 stitch)
Crochet 3 single crochets (1 sc in each of the next 3 stitches)
Do another increase (2 sc in 1 stitch)
Finish with 4 single crochets
At the end of the last slip stitch, round 3 consists of 11 stitches.
R4
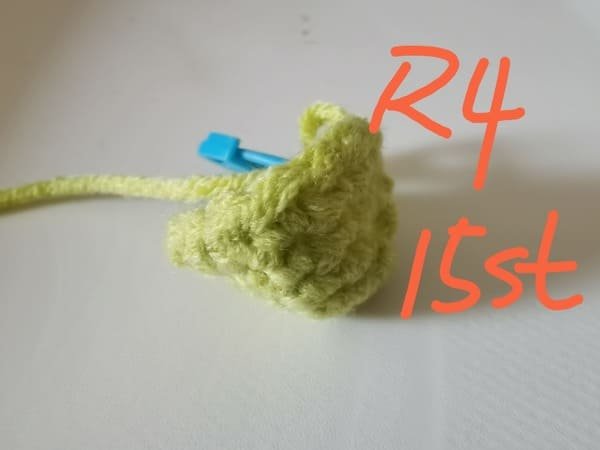
Crochet order as below:
Start with an inc (2 sc in 1 stitch)
Crochet inc (2 sc in the next stitch)
Do 3 sc (1 sc in each of the next 3 stitches)
Crochet inc (2 sc in 1 stitch)
Crochet inc (2 sc in the next stitch)
Finish with 4 sc (1 sc in each of the last 4 stitches)
At the end of the last slip stitch, round 4 consists of 15 stitches.
R5
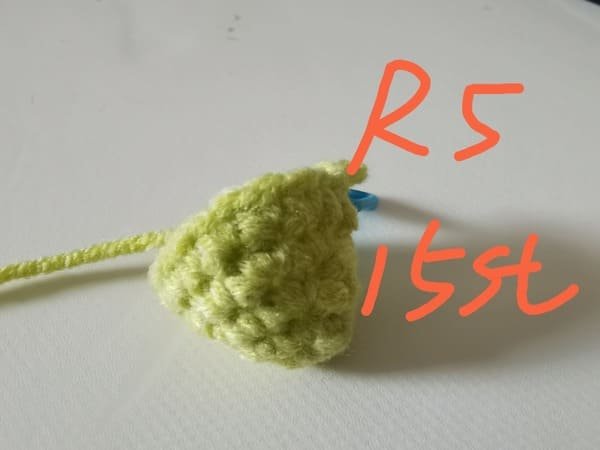
Crochet order: Single crochet (sc) in every stitch, do this 30 times.
At the end of the last slip stitch, round 5 consists of 15 stitches.
R6
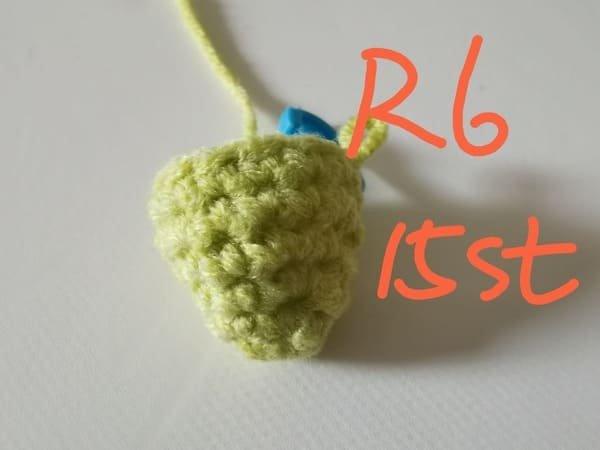
Same as round 5.
R7
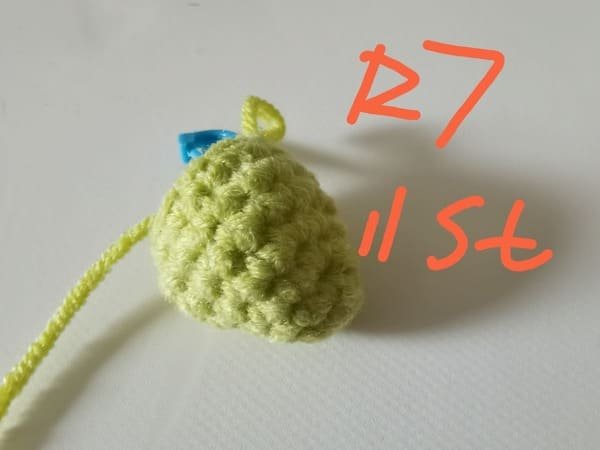
Crochet order as below:
Start with dec (sc2tog over the first two stitches)
Crochet dec (sc2tog over the next two stitches)
Crochet 3 sc (1 sc in the next 3 stitches)
Crochet dec (sc2tog over next two stitches)
Crochet dec (sc2tog over next two stitches)
Crochet 4 sc (1 sc in the next 4 stitches)
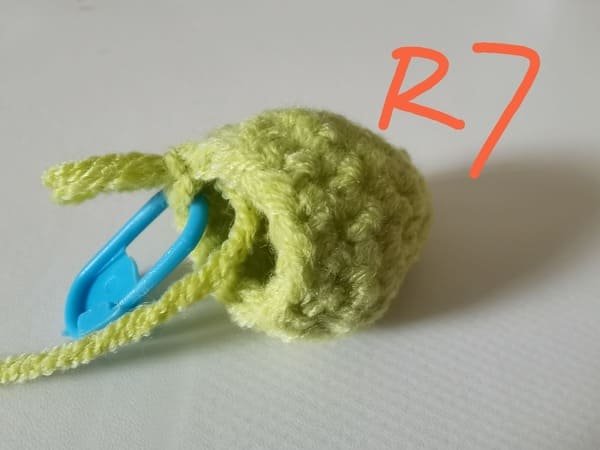
At the end of the last slip stitch, round 7 consists of 15 stitches.
As shown in the picture, we can see the perspective of the stitches.
R8
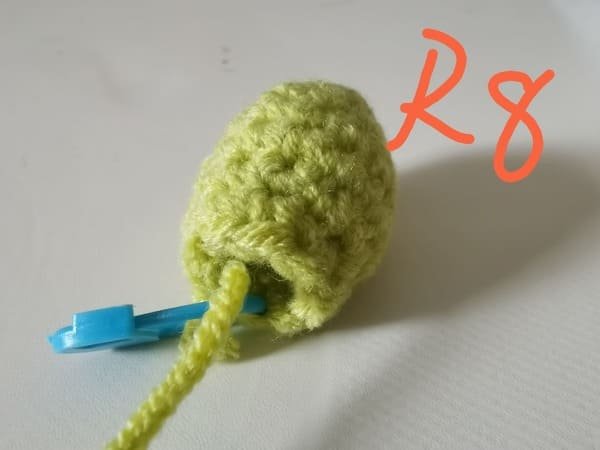
Crochet order as below:
Start dec (sc2tog over the first 2 stitches)
Crochet 3 sc (1 sc in each of the next 3 stitches)
Crochet dec (sc2tog over the next 2 stitches)
Finish 4 sc (1 sc in each of the next 4 stitches)
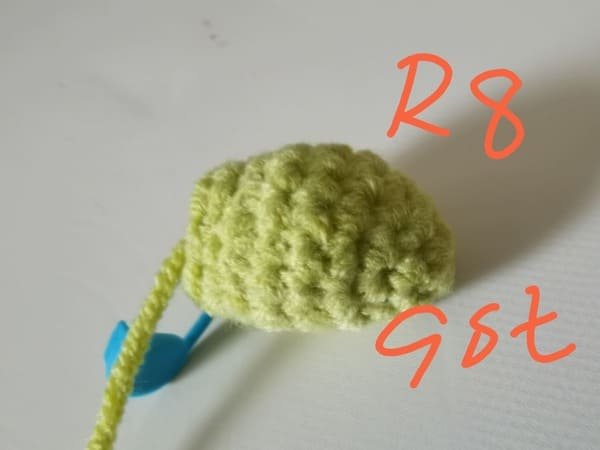
At the end of the last slip stitch, round 8 consists of 9 stitches.
We use invisible dec method to crochet it, please click this article:Single Crochet Decrease -Three Method In More Details Slowly For Beginner | Video&Text&Picture
R9

Crochet Order: (sc,dec); repeat three times.
Since we are three stitches away from finishing the round, proceed by working sc, dec once more.
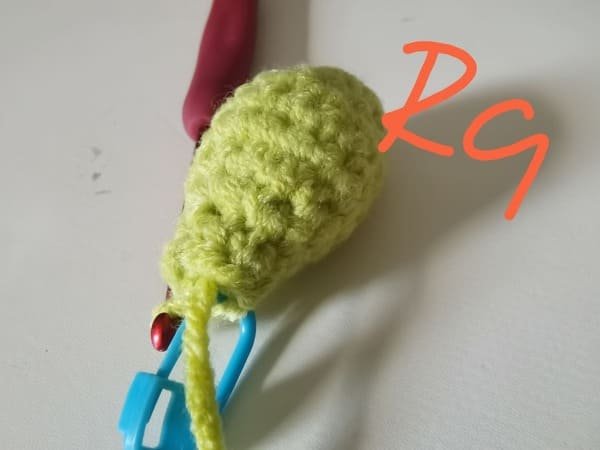
As shown in the picture, we can see the front view of the round 9.
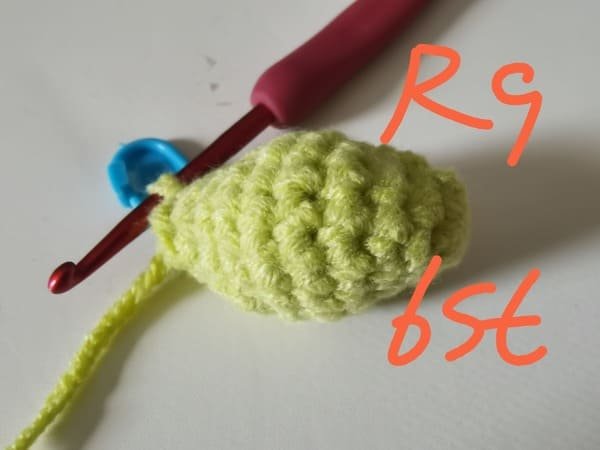
At the end of the last slip stitch, round 9 consists of 6 stitches.
R10
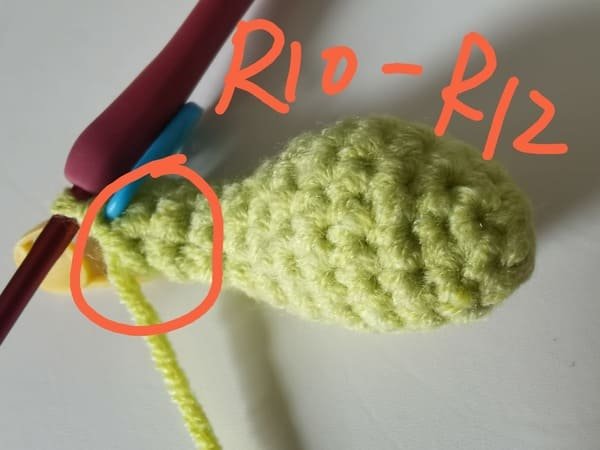
Crochet order: Single crochet (sc) in every stitch, do this 6 times.
As shown in the picture, we can see thet view of the round 10-R12.
Repeat the above crochet sequence for each round, crochet 6 short stitches in each round.
My suggestion is to buckle the yellow marker button when completing the first stitch and the blue marker button when completing the last stitch, because it is particularly easy to miss stitches.
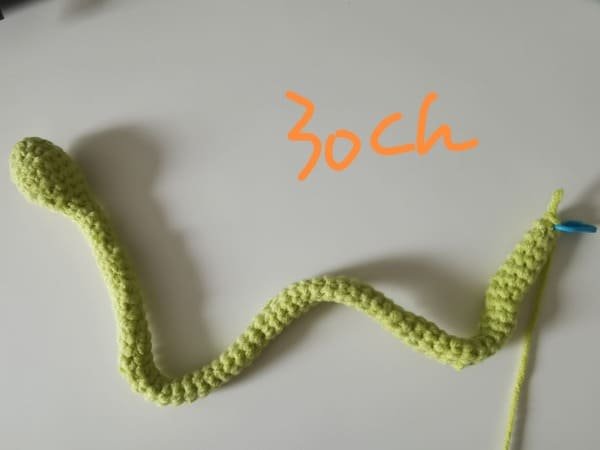
I crocheted a total length of 30cm. you can lengthen or shorten it according to your requirements. We will provide enough yarn in the kit for you.
Sorry, the image is mislabeled, it should be changed from 30ch to 30cm
Last round
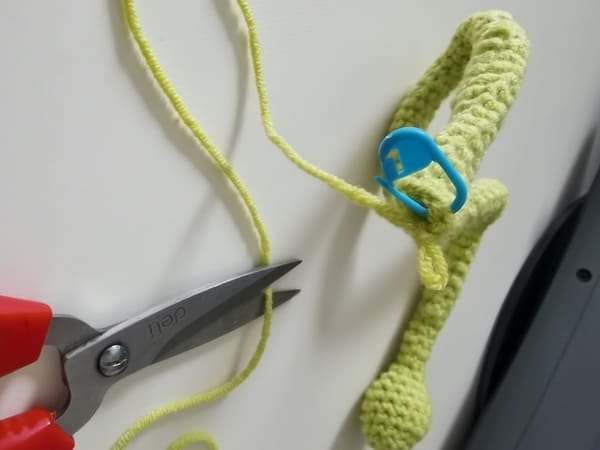
Cut the yarn( leave 10 cm ) end and use hook to bring out the yarn end .
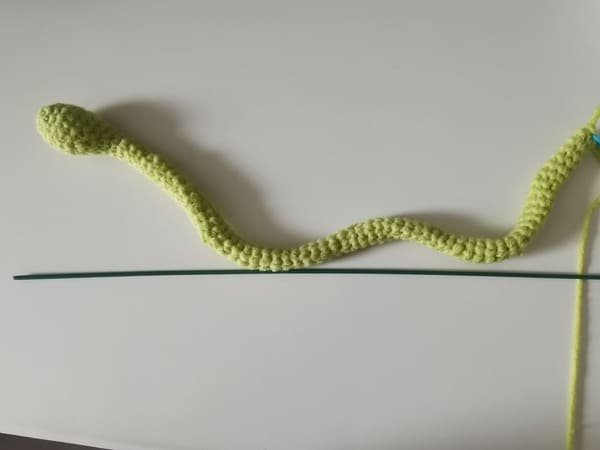
Take a 30 cm piece of iron wire and place it in the fabric.
Make sure to pass it through the head of the snake, which is where our fiberfill will go.
Iron wire is putting in the body of snake.

Use the yarn needle with the yarn end to close the opening again by picking up one stitch every other stitch.
You need to pick up three stitches in total, that is, three decrease stitches.
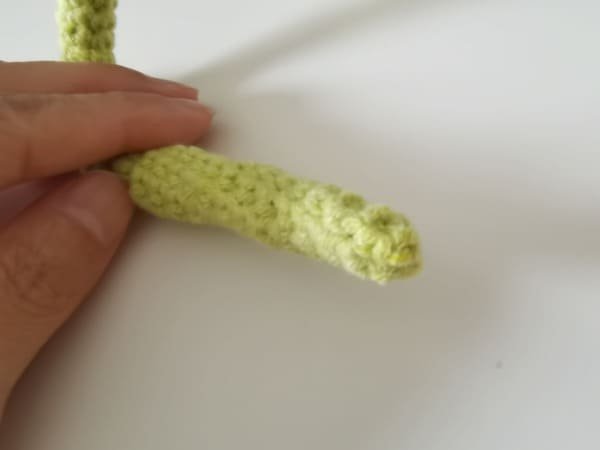
Tail of snake is completed.
From the picture, there is no gap in the tail, which is very beautiful.
We made it according to our creativity because there was iron wire inside the fabric, which made it easy to shape the snake.
We glued the snake’s eyes on the most protruding part of the round 5
Snake crochet is effortless charm, radiating at the intersection of enchanting and a bit sassy. 🐍✨ The snakes come to life with colors, stripes, eyes and tongues which gives us the chance to make a tiny, squishy character full of personality. Creativity knows no bounds, whether they flaunt their coiled curls, long silly stretches, or dapper accents of a bow tie and hat. We cherish how every single one expresses its own mood and personality.
Beginners can find joy, peace and relaxation as they develop their skills with snake patterns. They begin as a tube which utilizes the skills of increasing, decreasing, and shaping without a huge demand of pressure. Bonus points for no arms or legs, which results in less sewing and more snug time.
Watching and rolling up a crochet snake gives immense satisfaction as they curl into cute little spirals. Each one acts like a pocket-sized pet, with bundles of love and yarn. While crocheting, snakes might just be the most adorable and the fluffiest reptiles known!
Reference sources
1.Learn the most comprehensive guide for single crochet(sc)
Author:Sarah Stearns
Publication date: on June 15, 2021, updated:December 14, 2024
Title: How to single crochet (sc)for beginners
Summary as blow:
- Step-by-Step Single Crochet for Beginners
- Single Crochet into a Foundation Chain
- Single Crochet into another Row
- Single Crochet in the Round
- Increases and Decreases
- Working Single Crochet in Different Loops


