


Wave Pattern Crossbody Bag Crochet Tutorial: Step-By-Step Guide For Beginners
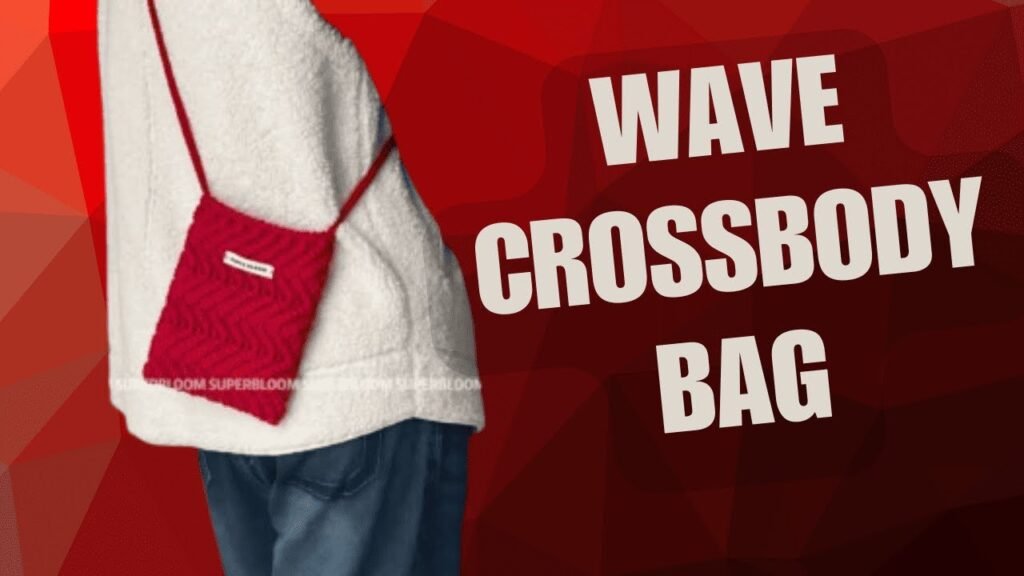
Table of Contents
Wave pattern crossbody bag crochet tutorial: crochet handbags transcend conventional accessories; they manifest personal artistry and individuality. Among contemporary crochet offerings, the wave-patterned crossbody bag stands out as a striking and sophisticated undertaking. The undulating stitches impart a lively, textural aesthetic, and the accompanying crossbody strap ensures that the piece is as utilitarian as it is visually appealing.
This tutorial presents a guided, methodical approach to creating the wave-pattern crossbody bag. We will examine the entire process, from the selection of suitable yarn and hook to the foundation row, the gradual construction of the body employing the wave stitch, the integration of the strap, and the final tidy edging. Throughout, we will introduce stylistic variations, practical accessorizing suggestions, and remedies for typical errors.
Upon completion, we will possess both a refined, hand-crafted crossbody bag and the foundational techniques to pursue additional projects defined by wave-pattern motifs.
Rationale for Choosing the wave pattern crossbody bag crochet tutorial
Before commencing construction, it is helpful to articulate the rewards of undertaking this piece:
- Distinctive Surface: The wave stitch underscores a fluid, contemporary silhouette that captivates the eye.
- Functional Design: Crossbody formats are lightweight, permit secure and unobtrusive carrying, and complement everyday routines.
- Accessible – Mastery of fundamental stitches such as chain, single crochet, and double crochet equips us to confidently command the undulating wave motif.
- Adaptable – Our color palette, the arrangement of stripes, or a cohesive solid finish permits us to imprint a unique visual identity upon the project.
- Stylish – Currently, crochet wave bags dominate spring and summer runways, merging artisanal technique with contemporary fashion to yield a refined, personalised accessory.
Base stitch for beginners
We’ve all been there! Here are some basic stitch we’ve learned along the way:
How To Crochet Magic Ring ? l Step-By-Step l Video & Text &Photo
Chain Stitch |Step By Step Guide| Text & Photo &Video
Single Crochet-You Want To Know The Most Detailed Information
Half Double Crochet In The Round-The Complete Guide
Double Crochet Stitches For Beginners
Video for wave pattern crossbody bag crochet tutorial
This video tutorial offers a comprehensive, incremental approach to crafting a contemporary wave-patterned crossbody bag. employing the refined wave stitch to achieve both visual and tactile sophistication.
Detailed guidance will assist you in maintaining uniform wave alignment, achieving polished edge finishes, and securely integrating a shoulder strap designed for comfort.
Material kit for wave pattern crossbody bag crochet
- Yarn: 2 mm cotton round strand yarn
- Hook: 4 mm recommended, adaptable to yarn diameter.
- Scissors: For precise filament trimming.
- Yarn needle: For securing filament tails.
- Buckle marker: For demarcating successive loops.
💙2.00 cotton yarn :https://amzn.to/4msAt0w
💙4.00 mm hook/6.00 mm hook & yarn needle & marker buckle : https://amzn.to/3TXavWn
Abbreviation for wave pattern crossbody bag crochet
- ch = Chain stitch
- sc = Single crochet
- sl =Slip stitch
- st(s) =Stitch(es)
- R=Round
- sc3tog=single crochet 3 together
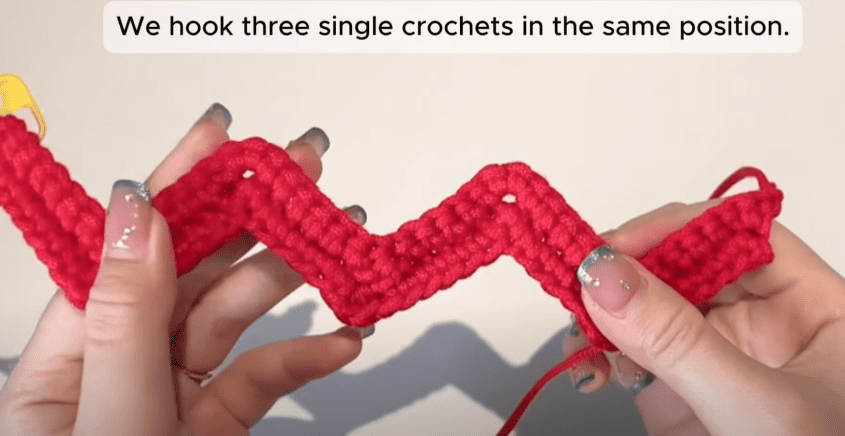
- 3 sc in same st=3 single crochets in the same stitch
- inc=increase
Crochet body
| Row | Pattern | Notes / Repeats |
|---|---|---|
| Base | 43 ch + 1 ch | Foundation chain |
| R1 | inc, (5 sc, 3 sc tog, 5 sc, 3 sc in same st) × 2, 5 sc, 3 sc tog, 5 sc, inc | Creates the initial shaping of the base |
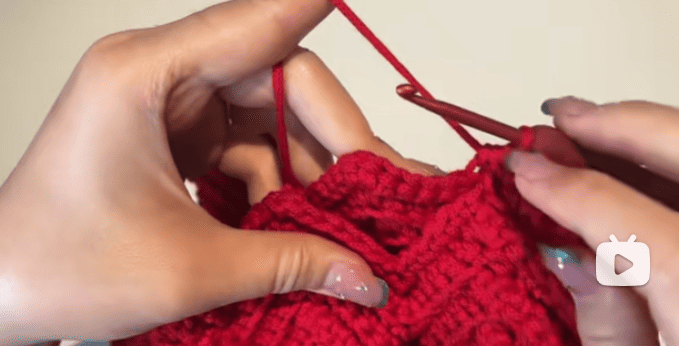
| R2–R39 | ch, flip over, inc, (5 sc, 3 sc tog, 5 sc, 3 sc in same st) × 2, 5 sc, 3 sc tog, 5 sc, inc | Repeat for 38 rounds to build body height |
| R40 / Fold & Sew | inc, (5 sc, 3 sc tog, 5 sc, 3 sc in same st) × 2, 5 sc, 3 sc tog, 5 sc, inc | Fold ends and sew body of bag |
Sew bottom of bag
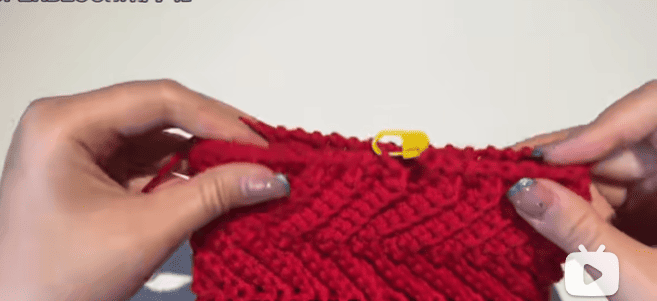
Step 1: Position stitch markers in the indentations located on the bag’s left and right edges.
Step 2: Initiate the sewing process at the second indentation beyond the markers, using the advised specialty stitch (see the instructional video for specifics).
Step 3: Proceed with the sewing until approaching the indentation that is second to last from the markers.
Step 4: Withdraw the yarn tail and finalize the last stitch.
Step 5: Securely weave in and conceal any loose yarn ends.
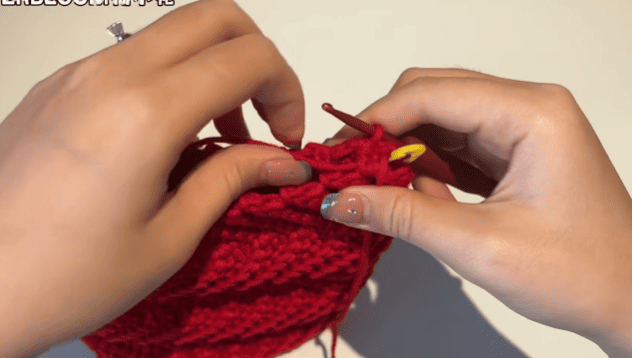
Sew opening of bag
Step 1: Create a slip knot and position the hook inside a designated stitch, drawing the slip knot loop through.
Step 2: Commence a single crochet into the referenced stitch, ensuring that prior to the final yarn over the yarn is drawn under the hook—this adjustment produces a more level opening for the bag.
Step 3: Finish the final stitch with an invisible slip stitch executed with a sewing needle for a nearly seamless appearance.
Step 4: Trim the yarn and securely weave in the loose ends.
Crochet & sew strap
Step 1: Allow for a sufficiently long yarn tail and create a foundation chain of the specified length for the strap.
Step 2: Commence slip stitches beginning at the chain immediately preceding the final foundation chain stitch.
Step 3: Securely attach the finished strap to each lateral side of the bag body using a whip stitch or equivalent seam of choice.
Step 4: Carefully weave in all loose yarn ends and trim to ensure a polished and enduring finish.
Reference sources
1.Learn the most comprehensive guide for single crochet(sc)
Author:Sarah Stearns
Publication date: on June 15, 2021, updated:December 14, 2024
Title: How to single crochet (sc)for beginners
Summary as blow:
- Step-by-Step Single Crochet for Beginners
- Single Crochet into a Foundation Chain
- Single Crochet into another Row
- Single Crochet in the Round
- Increases and Decreases
- Working Single Crochet in Different Loops


